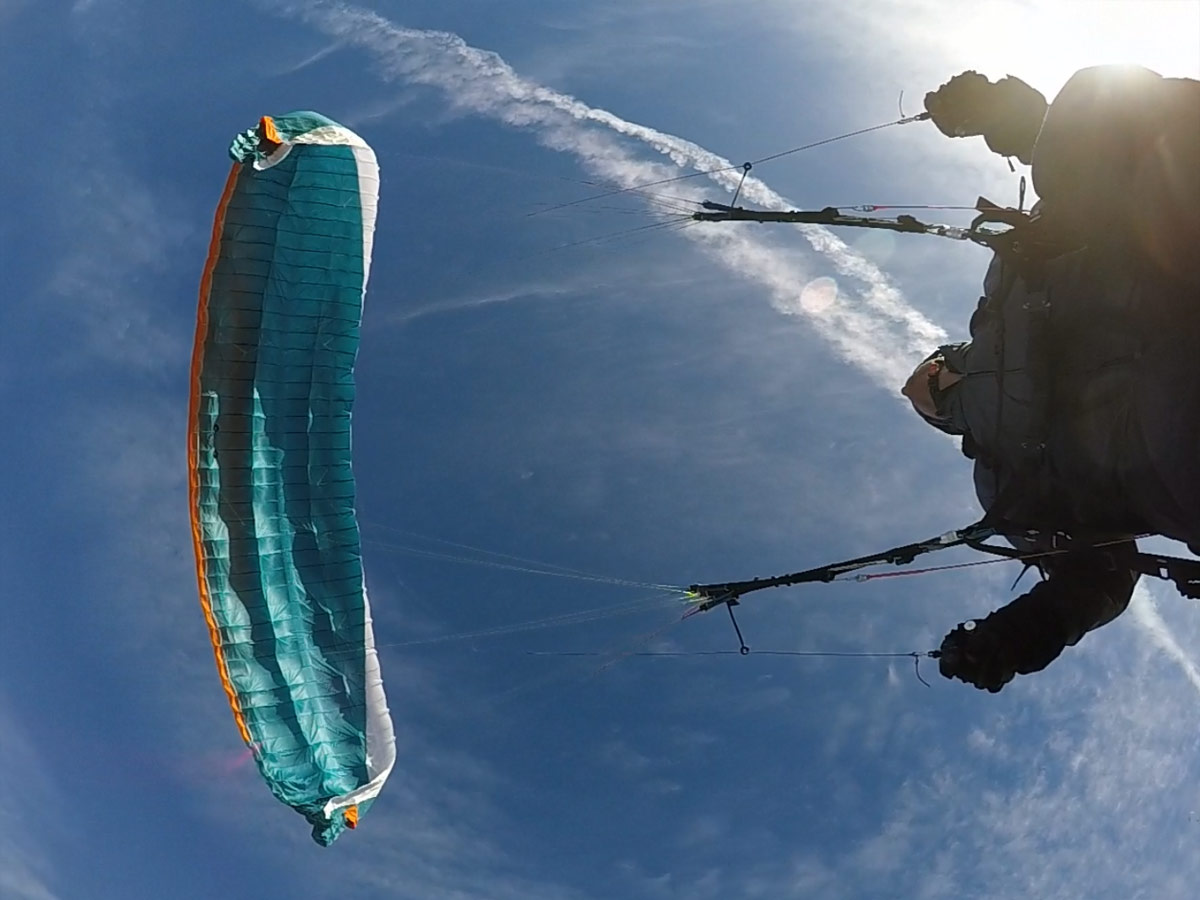
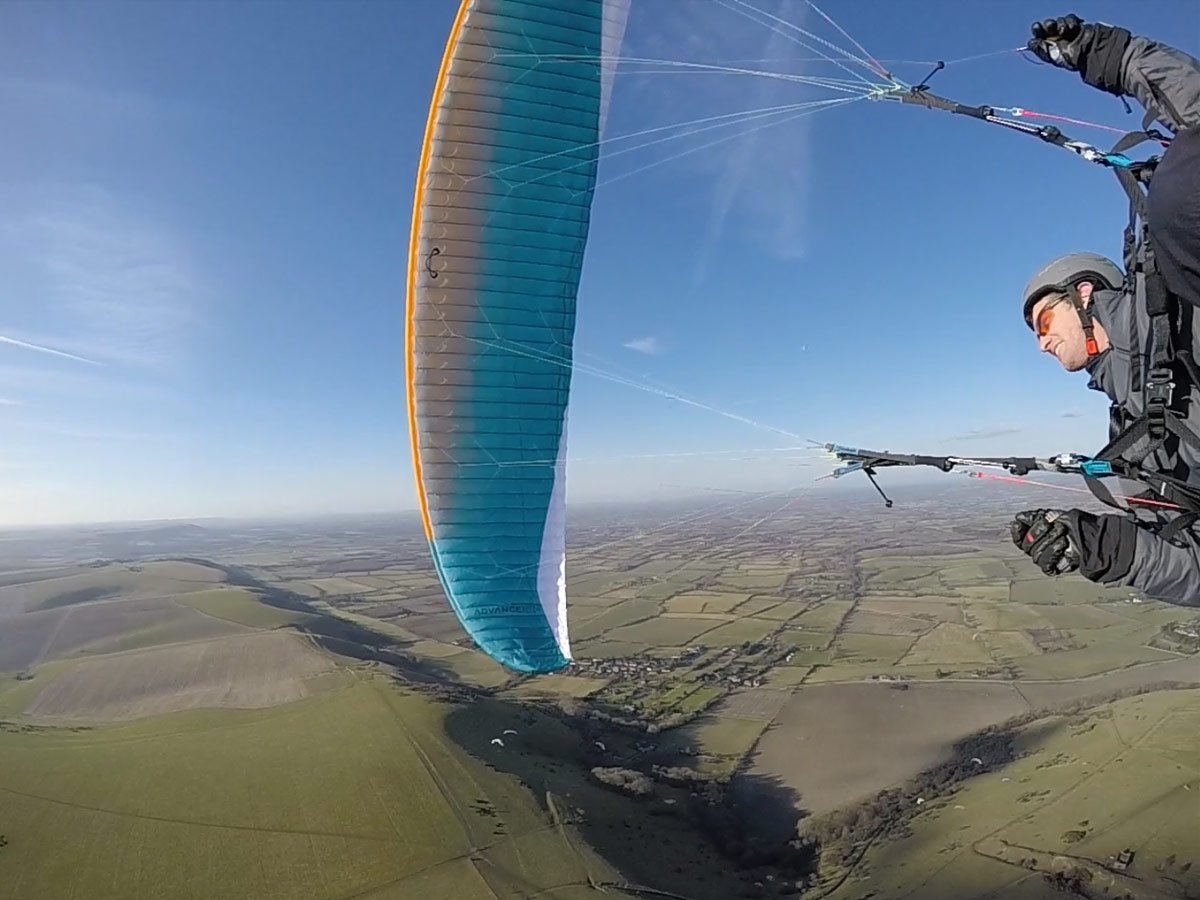
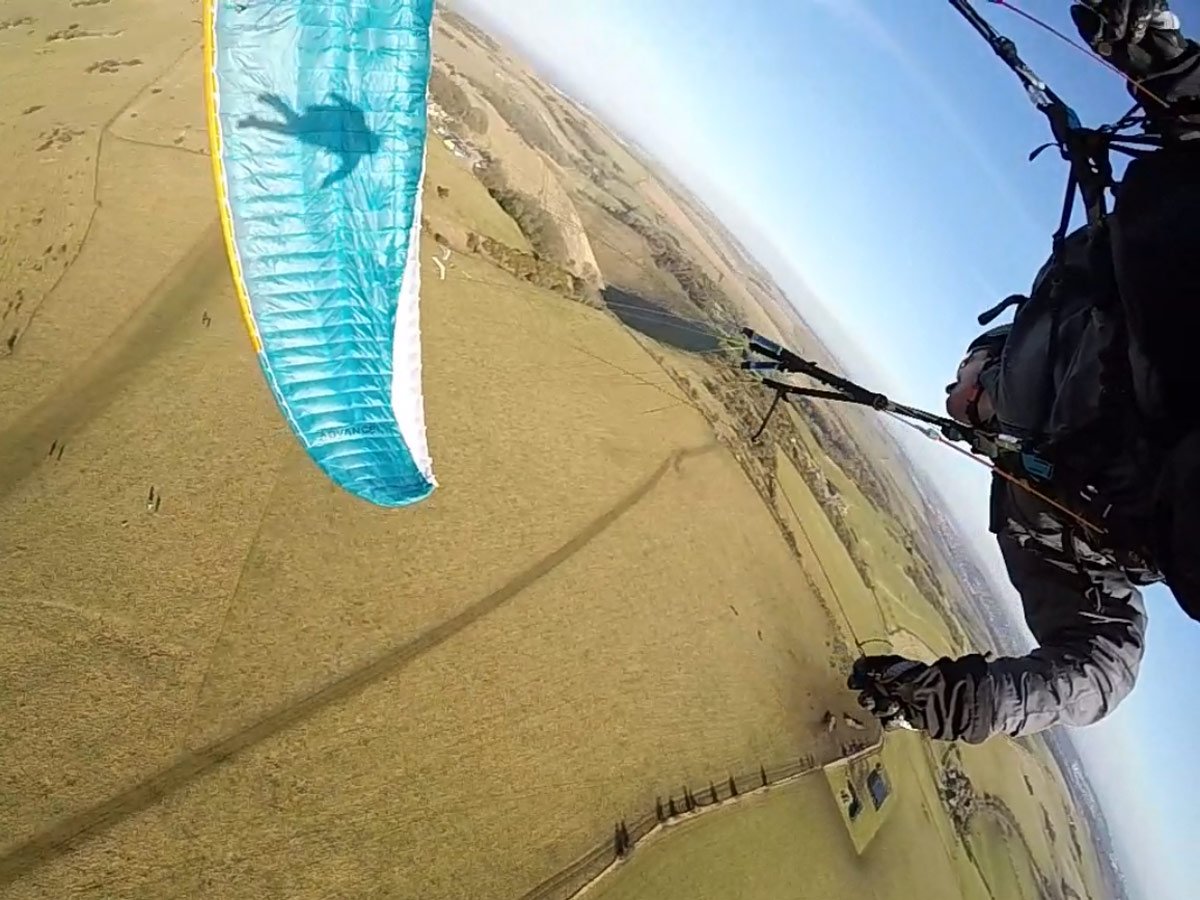
Wings are great, until they stop working. This is often due to pilot input, which is an avoidable mistake. Sometimes you've just forgotten what to do. In this article we cover the most common scenarios to prepare you for your next flight with some paraglider control skills you can use when things get wild.
The manoeuvres analysed here are for educational purposes. Don’t try them on your own until you’ve gone on an SIV course, where you’ll receive a more complete theoretical framework and be shown the possible dangers you might not be aware of.
Asymmetric collapse
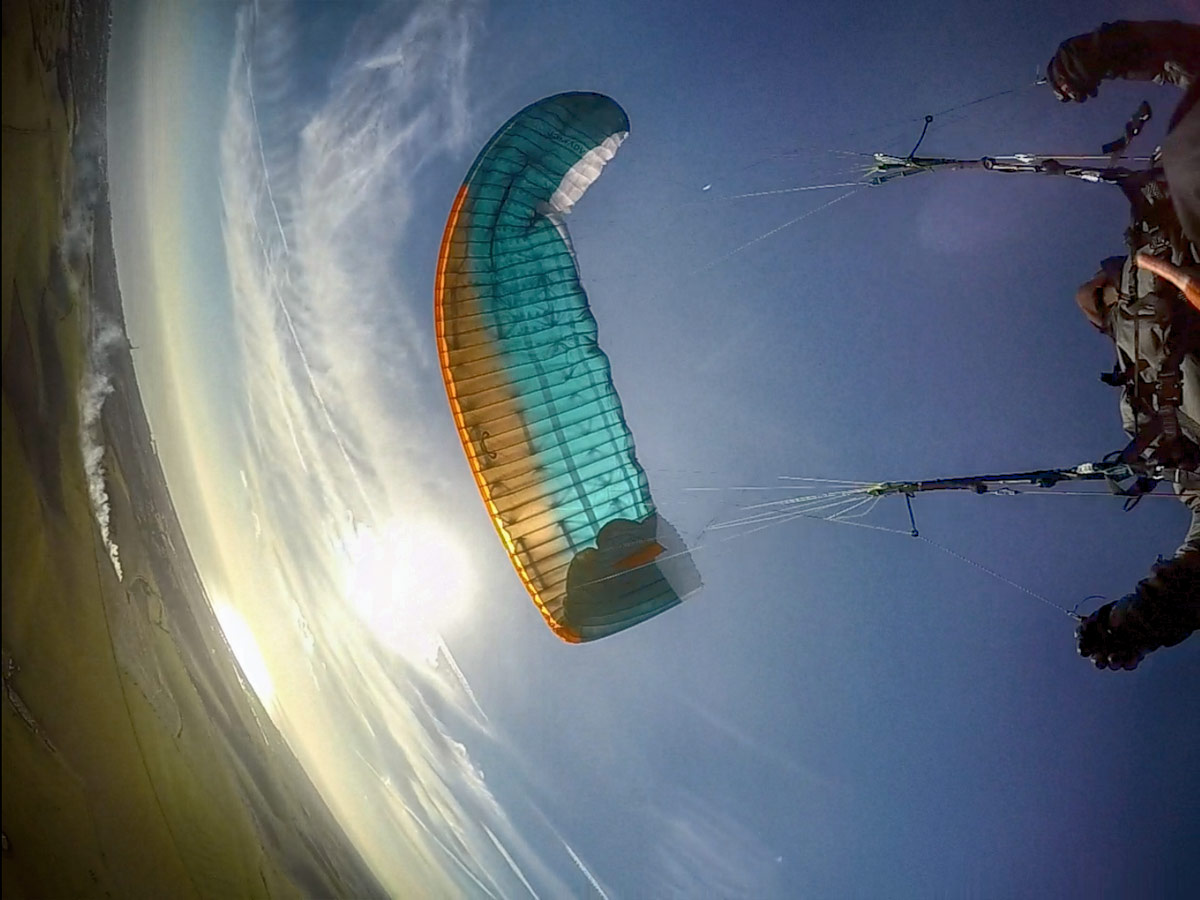
Paragliders are designed to collapse in extreme turbulence. When you understand what they will do and how to recover, it makes your flying safer and far less scary. Expect asymmetric collapses when flying in thermic conditions, downwind of any obstacles to the airflow, or when passing through wind shear layers.
The tucked wing creates drag, inducing a turn. The loss of support from the collapsed wing causes the pilot to tilt, which worsens the turn towards the collapsed wing. The acceleration due to higher wing loading (and possible turn or dive) can help to re-inflate the collapse.
How could you induce this?
By sharply pulling the A-lines on one side. As for big-ears, but just on one side, find the outer A-line and jerk it down and inwards, then release it. For a bigger collapse (not recommended outside an SIV course) gather all the A-lines on one side, jerk them inwards, and release.
Recommended recovery
There are three vital steps to collapse recovery
- COUNTER STEER
Check to see what has happened to your glider. The glider will want to turn you towards the side which is collapsed. Shift your weight in the harness to the opposite side, away from the collapse. Use gentle brake input on the wing which is still flying if necessary. Very little brake is needed.
- AVOID OBSTACLES
Look where you are going. Pilot your craft away from obstacles such as the mountain slope and other gliders.
- PUMP OUT THE COLLAPSE
A firm, deep pull on the brake of the collapsed wing will aid the re-inflation of the glider. Not a “flapping” motion, or a pull held indefinitely: it requires a long, slow pump to full extension, taking about two seconds to complete. If the wing does not re-inflate immediately, wait for two seconds (to regain airspeed), then pump again.
Careful!
The glider has been slowed by the drag of the collapsed wing, and the angle of attack has increased due to the steeper descent. By counter-steering too deeply, it is possible to stall the entire wing. It may be better to allow the glider to turn slightly, building up speed and cell pressure if you have the space and height to do so. Fine control is needed, because if the collapse is not counter-steered early enough, the glider may be turned into a spiral dive, especially if the collapse has tangled in the lines and caused a cravatte.
Front collapse
The front collapse will occur if you fly into strong downdraught, for example when exiting a thermal or flying into rotor turbulence behind an obstacle or during a cliff launch. This is much more likely when using speedbar. The leading edge tucks underneath, resulting in an immediate loss of lift. The wing pitches back due to the increased drag. The pilot’s momentum continues forwards and downwards, which tensions the rear risers and increases the angle of attack again. The glider reinflates rapidly, then pitches overhead and dives in front, trying to regain vital airspeed.
How could you induce this?
By pulling down sharply on both A-risers. Gather all the A-lines by hooking your thumb behind them and grasping the maillons. Yank down hard, release. Not recommended outside an SIV course.
Recommended recovery
Most paragliders recover instantly from a front-tuck, because the wing has air trapped inside it, and keeps its shape. A short, sharp pump simultaneously on both brakes will aid the reinflation by forcing the trapped air towards the leading edge and the cell openings. You can do that the instant you feel or notice the nose tucking under. If you were using your speedbar, release it!
Careful!
The wing will pitch back in a big front tuck, and if you pump too hard and long on the brakes, you will induce a stall. If a short pump does not reinflate the wing, wait until you drop underneath the wing before executing a strong, deep pump of two seconds. The wing will surge forwards to recover its aispeed, allow it to do so. Only dampen the dive if absolutely necessary to prevent a repeated front collapse.
Negative spin
Trying to core a small, strong thermal, there is a temptation to slow the glider down. This would make it easier to stay within the thermal, but increases the risk of spinning. As you bank hard to turn in the core, the inside wing stalls due to lack of airspeed and high angle of attack, and the glider begins to spin. The glider spins on its yaw axis: one wing flying forwards, one backwards. The loss of airflow over half the wing causes a sink rate of roughly 5m/s. A rapid spin can be disorientating.
What could cause it?
Pilots who slow down too much for a slope landing and turn at the last moment. Pilots who fly into the middle of thermal traffic then have to turn really hard to avoid others.
How could you induce it?
By applying full brakes on both sides to stall point (about 4 seconds) then releasing only one side. Not recommended outside an SIV course.
Recommended recovery
As soon as you feel the wing slipping instead of turning, release the brakes. The glider should pitch forwards and recover.
Careful!
The negative spin can become violent and disorientating if you hold onto it. If the spin is released when the glider is off to one side of the pilot, it will dive and collapse asymmetrically, often forming a cravatte, which could lead to a spiral dive. Rapid spins can twist the lines together, locking the brakes up and continuing the spin. Trying to slow the outside wing (the one which is not stalled and is flying forwards) can often result in reversing the direction of spin, which lengthens the recovery time.
Parachutal stall
The wing has stalled due to a high angle of attack but the wing remains inflated due to vertical descent and resultant airflow into the cell openings. Expect a sink rate of roughly 6 m/s. It’s often the beginning of a cascade that will lead to spins, collapses and spirals.
What could cause it?
Pilots who pull on their brakes for a ‘feeling of security’. Flying too slowly in thermic conditions can cause a parachutal stall. As you enter the thermal, a gust stall can happen due to sudden upwards airflow. Exiting from a B-line stall with a gentle release of the B-risers can also result in a parachutal stall. Trying to slow the glider down as you pass into a wind-shadow. Landing on ‘big-ears’ and passing through turbulence close to landing. Executing a ‘butterfly landing’ where the brakes are pumped to reduce speed almost to stall point.
How would you induce this?
By applying full brakes to stall point (4 seconds), then 1/2 brakes held on. Be sure to release the brakes completely at any sign of the wing dropping back or the lift breaking away. Feel something funny? Hands up! The best place to practice this is less than one metre above the ground pointing into a steady breeze of 15km/h (to reduce groundspeed). Learn more about finding your stall point here.
Recommended recovery
Release the brakes! The glider should dive forwards to regain vital airspeed. Some gliders need to be encouraged with the speedbar to recover. Alternatively, the A+B risers can be pulled down.
Careful!
Any asymmetric input on the brakes will result in a spin. Too much brake and you’ll enter a full stall. Do this with lots of height, or very low.
How to stay safe in rough conditions
Asymmetric collapses, frontals, spins and stalls: the combination of these four cover the most common extreme scenarios, so recognising the situations that will lead to them is a good start.
Visualising what you will do to recover from each scenario helps to prepare you and improve your reaction speed, so do this regularly.
Preparing yourself by practising the manoeuvres is ideal, so get an SIV course booked if you haven’t done one recently. After doing a course and depending on your skill level, you can practice on your own, with lots of height. This helps to develop the muscle memory so that in a real extreme situation you have the correct balance of brake input and flying speed.
Annual wing servicing gives you the best chance. A wing that has not been serviced recently can be more prone to stalling, spinning and collapsing due to out-of-trim lines. A wet wing is similarly compromised, due to an imperfect aerofoil.
Analysing why conditions are rough and responding to avoid the turbulence will make the most difference: if there’s an obstacle upwind, fly away from it. If there’s a change of weather, aim for flat ground. Moving away from the terrain gives you more freedom to focus on actively controlling your wing.
Always maintain awareness of your height. If you lose control and you're low, don't fight the glider to the ground: throw your reserve! If impact with the ground is possible, don't forget to 'assume the position' of the Parachute Landing Fall (legs down, together, knees bent).
Watch our video of the common show-stoppers.
Video transcript
It can be scary when your wing stops flying, so let’s look at why it happens and what to do about it.
Here’s a common scenario, banking around in a small thermal that you really want to hold onto, but the core is pushing you out, and you’re cranking that inside brake more and more, and then … whoops!
That’s a spin!
If you shoot your hands up right away, the wing will recover on its own, with a roll then dive. Keeping your hands high allows the wing to regain the airspeed it needs.
I am pulling a bit of brake to dampen out the dive.
The slower you are flying, the worse the spin tends to be. Here I’m a bit slow to release it, and I get a big rotation, followed by a big roll and big dive. I’m dampening the dive again by pulling brakes as it’s moving towards the horizon, then keeping my hands high. This Advance Iota has very precise limits and reactions, which helps me to get repeatable results.
Here are two spins side by side. Get a good look at what the approach to spin looks like on those tips. You need to become familiar with where this point is on your wing. You can see the behaviour is very predictable, it does the same thing: spin, roll, dive.
Remember these spins are pilot induced, they are avoidable. If you lead your turns with weightshift and keep your speed high, the risk of this happening is very small.
Turbulence can knock you around sometimes. Failing to control your pitch can cause a front tuck, though it’s unlikely to be as big as this one. Don’t panic, it’s the simplest one to recover from. Most wings come back with the centre inflated – give it a few seconds to stabilise. Then a single solid deep pump on the brakes will get more of the nose open. There’s no need to do any more here, I just leave the wing to sort itself out.
With really big blowouts, and on high aspect wings, you need to be careful that the tips don’t meet and tangle up. An immediate jab on the brakes can help to prevent that, but in this case I simply wait for the wing to stabilise again before clearing the collapses.
The most common collapse is the asymmetric, where one side folds under. Don’t panic, the remaining portion of the wing will fly fine if you give it gentle guidance. Move your weight over to the flying side, use a touch of steering control, and your wing might have already recovered.
For larger collapses, use the same procedure, lean away, steer a little and wait to stabilise, then use a deep clearing pump on the brakes.
Let’s go through the procedure again to get it hard-wired. First, check out the extent of the collapse. Then shift your weight to the flying side. Then just a touch of steering control to avoid a spiral turn or the mountain. Finally, do one deep pump to clear the collapse. It’s often not necessary.
The collapse does not require much attention, just simple timed inputs. So don’t become too gripped by it, rather check where the terrain is.
Controlling your pitch and roll all the time will reduce these collapses and make your flying more fun.
On a modern wing a full stall is unlikely, but it can happen in the rain, or on a wing that is out of trim. If there’s no wind in your face and your wing feels slippery, shoot your hands up and it will recover straight away.
If you hang on too long on deep brakes, you’ll drop into a full stall.
Easing my hands up to shoulder height allows the wing to settle in a stable ‘backfly’ position. It’s simple to recover from this by just easing my hands up and allowing the wing to pull itself forwards into the air.
Remember, the moves shown here are purely for educational purposes. Don’t try them on your own until you’ve gone on an SIV course.
Here are some simpler exercises to help you improve your wing control.
When you pull both brakes together, the wing hangs back. If you release the brakes when your toes start descending, the wing will dive forward more. Keep your hands up until your toes start rising towards the horizon again, when you pull both brakes together. This generates a big pitch, so start off gently. On the third cycle, delay your brake input and use it to dampen out the dive. That’s the corrective input you want to use all the time during active flying.
Gentle wingovers can be fun, but make sure you have at least 200m clearance above the ground. Lead with weightshift then follow with brake to turn the wing. Keep the centre of the wing above the horizon to prevent surprise collapses. The idea is to play with the energy of the wing and develop smooth coordinated turns.
Brought to you by Flybubble

Like what we do? The best way to thank and support us is to buy gear from us and recommend us to others. Review our service on Trustpilot and our products on Flybubble Shop. You can also subscribe to Flybubble Patreon. Thank you!