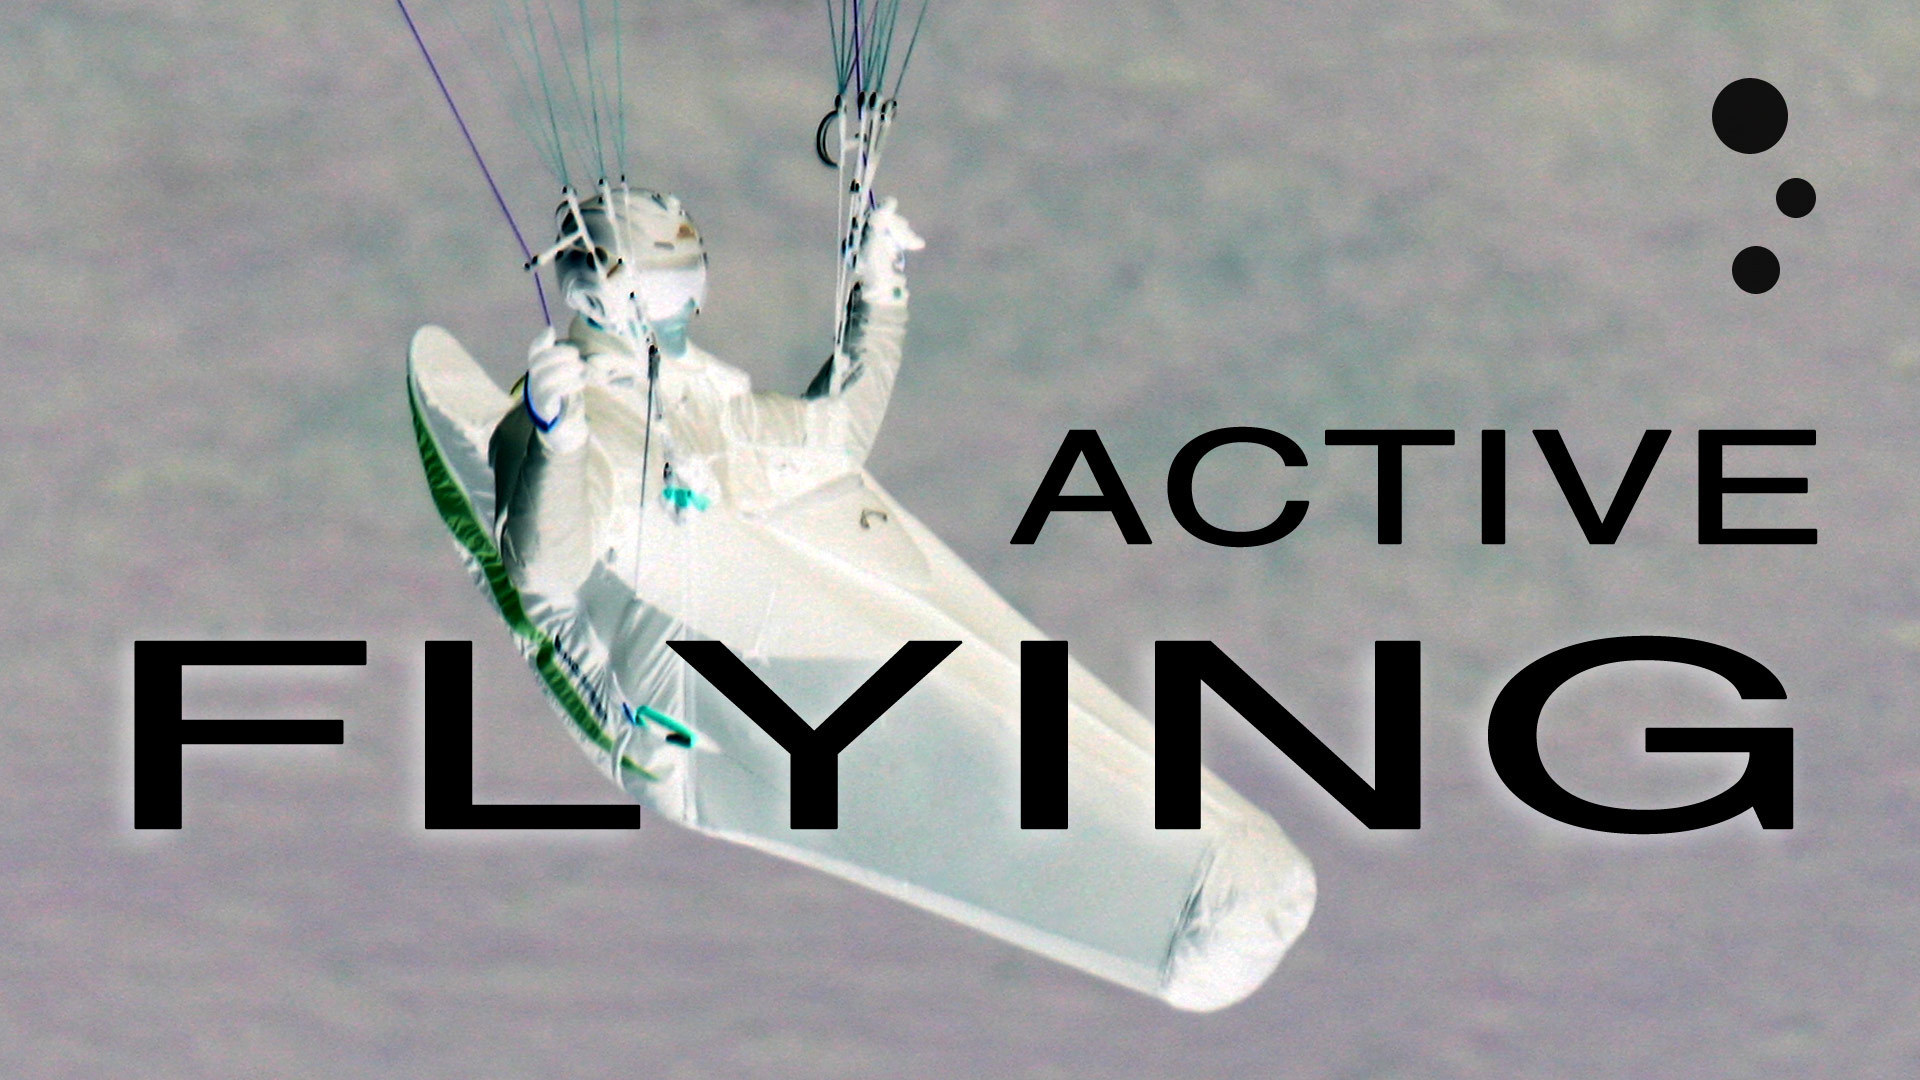
What does 'active flying' mean for paraglider pilots? We discuss this vital paragliding skill, and how to master it.
At its simplest, it means to react quickly to the movements of the wing, to calm it down.
You are trying to return the wing to its most stable flying position – directly overhead.
How To Improve Your Paragliding Active Flying (part 1)
In our first video, we cover the basics and how to practice your active flying input. We show you how to induce pitches, and then to stop the wing pitching by dampening out the dive.
Practice this every time you go flying – a few swoops and some timely dampening helps to refresh the muscle memory so when you need it in a hurry, you put in the right input. It’s also lots of fun!
Take care to build up your pitches slowly, so you don’t surprise yourself with an oversized dive and frontal collapse. We’re not expecting you to do low-level SIV training, just push your wing around a bit so you build confidence with your ability to bring it back under control.
How To Improve Your Paragliding Active Flying (part 2)
In our second video, we use these skills to control the wing through some rough air downwind of the trees.
Notice that even though it seems we are far above the trees, the turbulence rolls up the slope (it’s got nowhere else to go) so flying at the top of the hill we still get bounced about. This makes flying here fairly risky in crosswind conditions, because there’s insufficient lift generated by the ridge and if you start sinking you are forced to slopeland in the worst place for turbulence: just behind the trees. Oh, the things we do for our viewers…
The active flying inputs are small, but they are effective if done quickly. It’s like balancing a stack of plates: the sooner you correct things, the easier it is to achieve. If you wait until you see the topside of your wing before doing anything on the brakes …. Well, it’s going to be like a Greek wedding.
Active flying is also required when flying fast, on speedbar. Notice that the rear riser control as demonstrated in the video works best on 2-riser gliders (so-called ‘two liners’): high-performance competition wings like the Niviuk Icepeak 6, Ozone Enzo and Swing Core 3.
On the more traditional 3 or 4 riser wings, rear risers control must be limited to a short pull only, because the B riser ‘floats up’ between the back risers and the front risers. If you have both the speedbar depressed (As pulled down) and the rear risers yanked down (Cs or Ds or both) the profile of your wing is warped – there’s a nasty kink over the Bs, across the whole span. So a bit of rear-riser control works fine, but if you feel the speedbar tension going soft underfoot, release it quickly to get the nose of your wing to rise and generate lifting tension again.
One thing we haven’t explored in the videos is active flying to avoid stalling. In strong thermals you might feel a sudden lack of airspeed and ‘spongy-ness’ in the brakes as you enter a really hard-hitting thermal. This is due to your wing having a temporary high angle of attack and being close to stall point. Some pilots believe you should keep a constant pressure in the brakes but this is where this habit will fail you. Pulling brakes to get some tension back when your wing is already at a high angle of attack will cause a stall.
Rather follow our simple principle: if your toes are rising towards the horizon, keep your hands up. As they sink from the horizon, pull your brakes down to shoulder height for 2 seconds, to dampen out the dive.
Brought to you by Flybubble
Like what we do? The best way to thank and support us is to buy gear from us and recommend us to others. Review our service on Trustpilot and our products on Flybubble Shop. You can also subscribe to Flybubble Patreon. Thank you!

