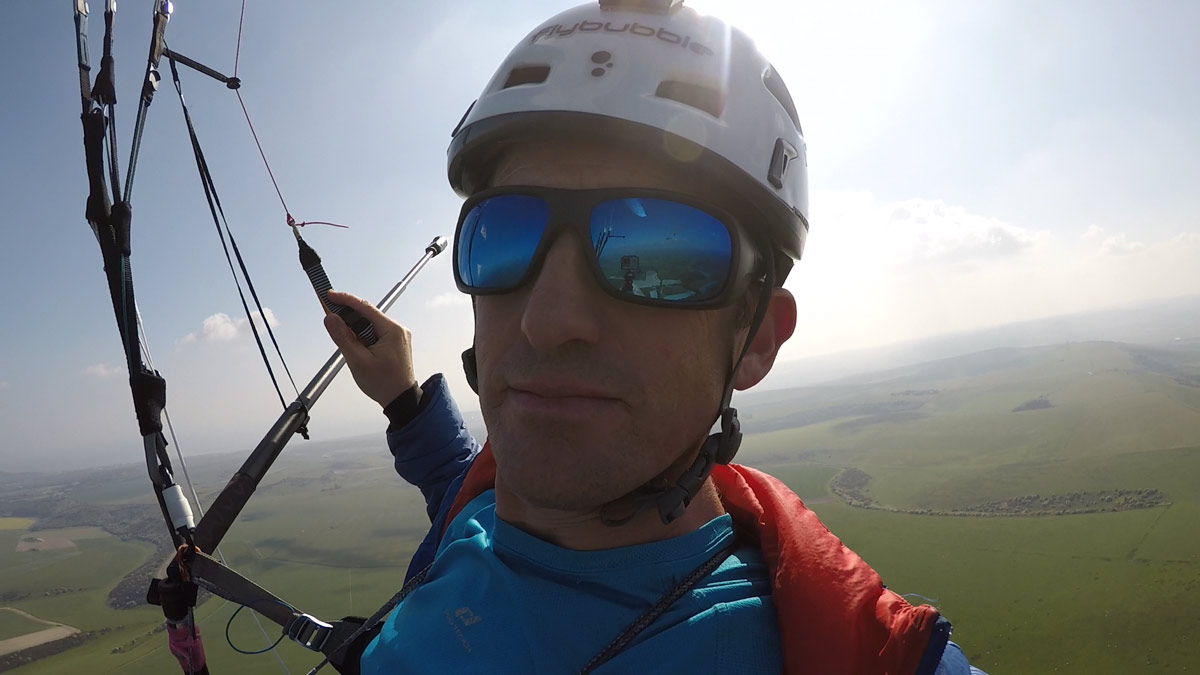
Paragliding with a video camera can be challenging. How do you set it up for best results? What kind of camera should you use? Chase cam, 360 video or traditional GoPro helmet cam footage? I explore the options and best ways to paraglide with a video camera to get epic aerial filming and action sports videos that you'll be proud to show off.
I have worked in photography and film production for years but I’m by no means an expert and am constantly learning. I’ve made over 200 videos for the Flybubble channel ranging from short instructional pieces to flying documentaries, almost all as a one-man-production-department (with the help of the pro pilots in our team).
As new cameras become available and as my technique and understanding improve, I change what I do. Almost every film I've made has some different mount, connection, camera position, film technique. I'm always playing and experimenting. Things that make sense on paper are often impractical (or get broken) in practice, so over the years my equipment has become more ‘bomb-proof’, simple and light-weight. I’m always searching for the most versatile single solution, because the best camera setup is the one you always have with you.
Let’s consider the different camera rigs and what you would use them for.
Filming in Flight: Safety first!
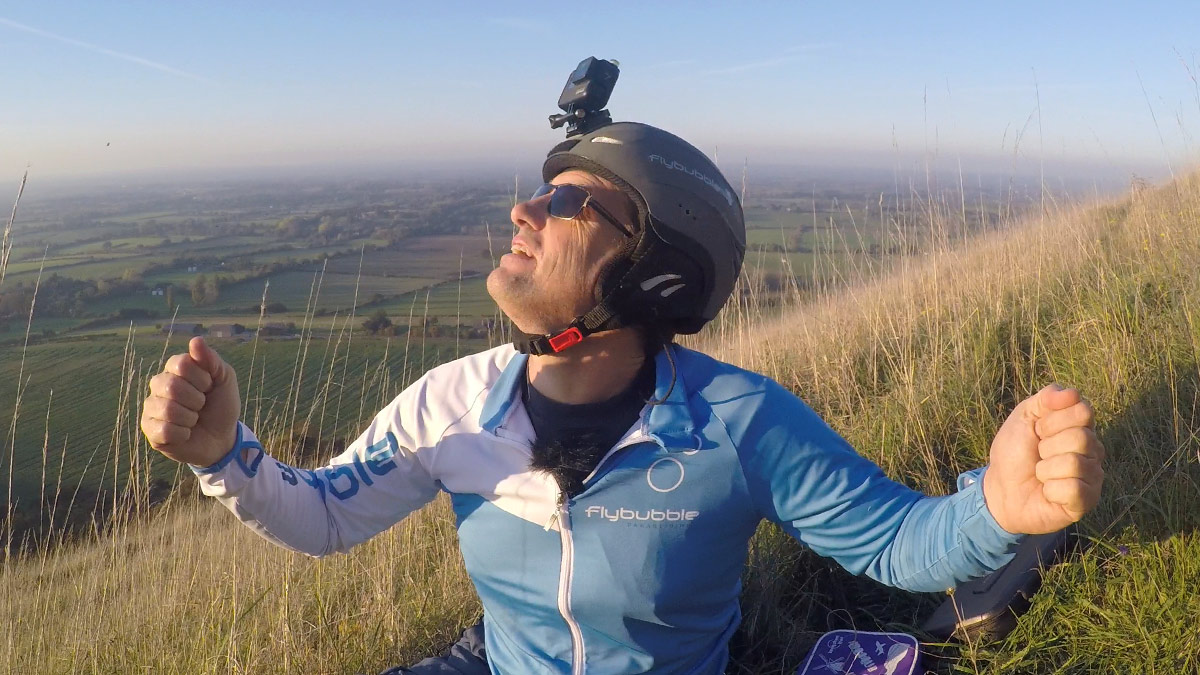
Once you’re in the air, you are firstly a pilot and a distant second, a film maker. If you think you’ll be distracted by the camera, start off far away from other pilots. Practice filming in smooth conditions, at a site with abundant lift, on a simple glider, at a site you know. Don’t buy a GoPro just before that holiday to Tenerife and try to learn it while you fly. Filming is always a distraction, so make sure you have a surplus of ability and attention to play with. Film your kids, your dog, or your friends on the ground first to become familiar with the controls. Get good at framing your shot while moving.
Filming in Flight: Which camera? (November 2018)
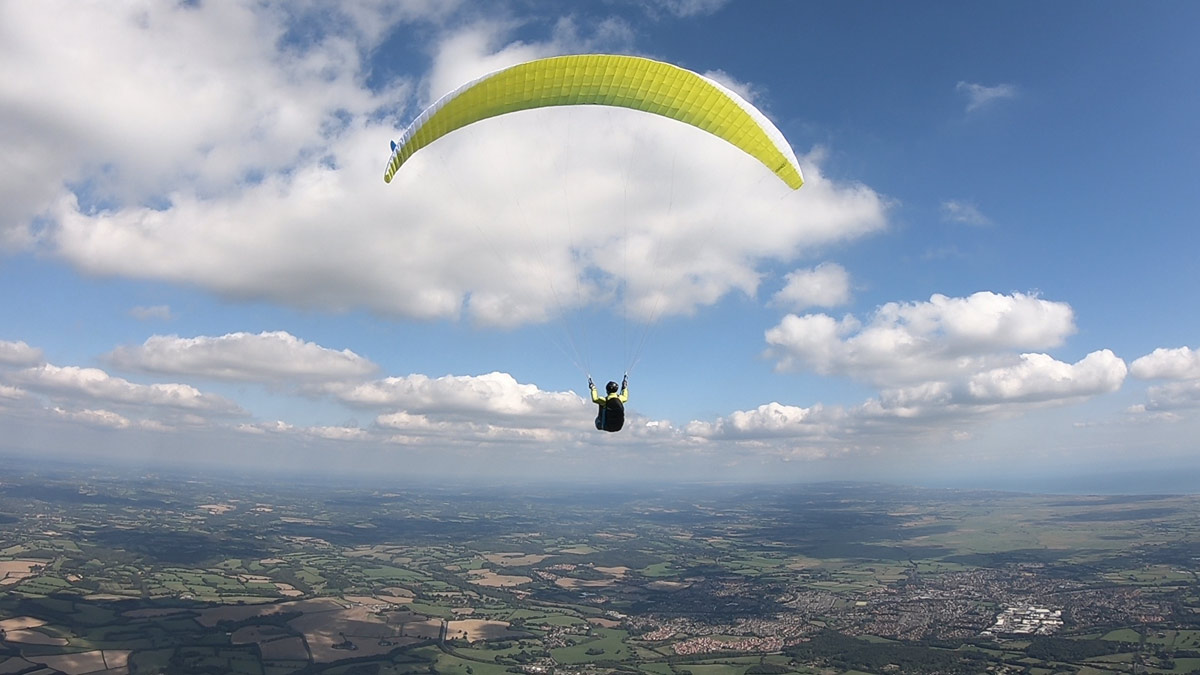
On the ground, any modern action camera will do the job (especially if you use it mainly with a tripod). Seriously, you can make an incredible video using your phone, if you plan your shots well. The story is what draws us through the video and makes it satisfying to watch. Good camera gear just enables you to dazzle us with the scenery.
However, trying to film a paraglider from the air is like trying to shoot a bee from a bicycle. Photos are simple, you press the button and the image freezes, captured in a snap. Video is unforgiving. If the horizon is skew, viewers feel queasy. If the camera doesn't follow the subject, the shot is wasted. And if the camera wobbles everyone gets the jitters.
Most beginners don’t use pro stabilization software (Premiere Pro CC), and using the software takes ages and can only do so much. Anything that can help you get stabilized footage out of the camera is worth the money.
If you want to treat yourself, the GoPro Hero 7 will give you the best balance of features and image quality. The Sony X3000 is the other one to consider at the moment for smooth shots (with slightly lower image quality from comparisons I’ve seen). You could spend much less on older models and GoPro clones (Yi 4k+ highly recommended) if you're willing to accept more lost footage due to camera shake.
360 cameras like the Insta One X offer superb stabilization and a great ‘floating’ viewpoint, but this comes with lower image quality and an editing time cost (free software, but every shot you produce must be selected, stabilized and framed). The insta360 one is a good starting point (now cheap, look for deals). The new Insta 360 One X improves the image quality so it’s comparable with the higher priced GoPro Fusion, but it’s still not as clear as the picture you’ll get from a modern action cam. Then again, if your viewers are watching on a phone, they won’t notice the missing pixels.
Filming in Flight: Where to put it?
Rig 1: The Tripod
Get a sturdy flexible tripod and the GoPro foot clip to give you a great filming base and the best option for quickly transferring the camera to a helmet or other mounts.
You can get lovely shots of setting up your wing, pulling it up, maybe a time-lapse or two of clouds forming. Just before launching, transfer the camera to your helmet or other mounting options.
Rig 2: The helmet mount
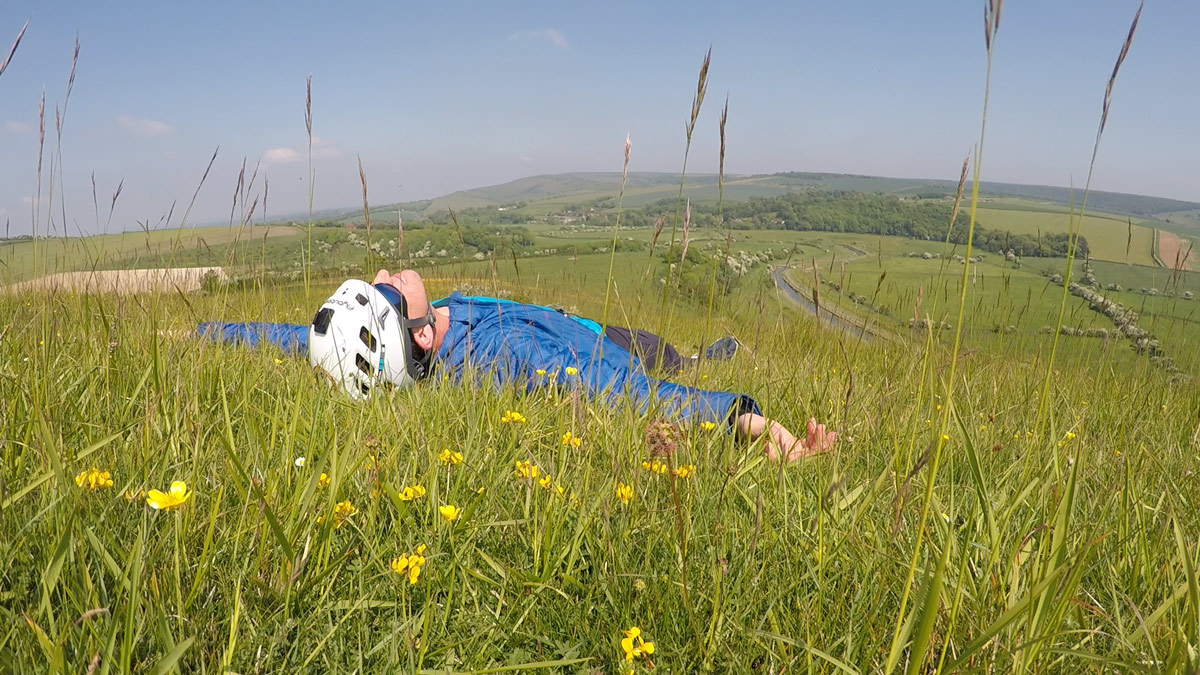
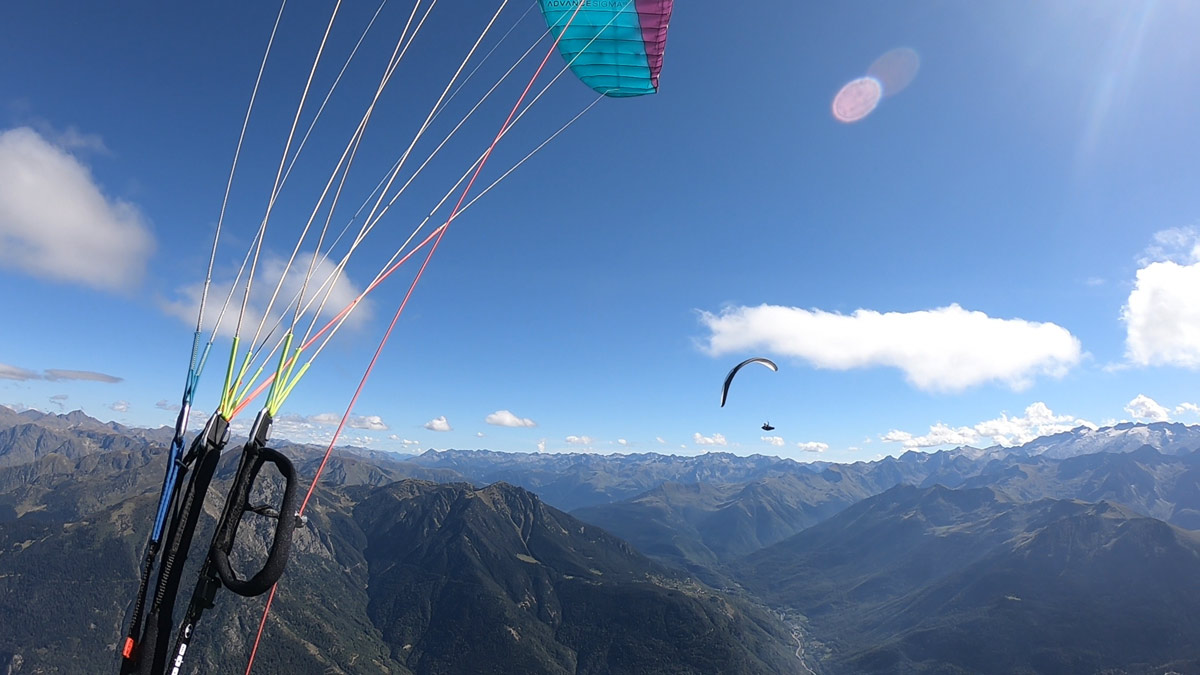
Most action cameras come with an adhesive helmet plate, so that’s where most cameras end up, but it’s risky having the camera in the ‘telly tubby mount’ position. It’s a line-catcher and increases the chance of a cranial implant if you land on your head. It also produces horrid whip-pan footage because as a pilot you have to look around all the time.
However, it is the best starting position for filming paragliding, because you automatically get a level horizon (most of the time), you naturally film the subject (because you look at the most important parts of the scene) and it can be entirely hands free (new GoPros can be activated by voice command).
For documenting your own flights it works fine, just be aware that making a film for others to watch from this footage can be challenging and needs a lot of clipping. You’ll forget the camera is running. Sometimes you can get some classic moments. With practice and editing, you can produce a decent story, like Alone in the ALPS.
Place the mount towards the front of your head, so you can duck under the lines (and if you’re lucky and add some strategic fluff, you might even get some useable audio directly from the camera).
To improve the footage you get during short ‘classic moments’, pretend you are in a neck brace (don’t wobble your head), hold onto the risers or sit upright and move really slowly. I mostly use it if conditions are too turbulent or challenging for handheld filming, or if I’m on a long adventure / race and just don’t have the energy to be thinking about my camera all the time.
Rig 3: The Riser Mount
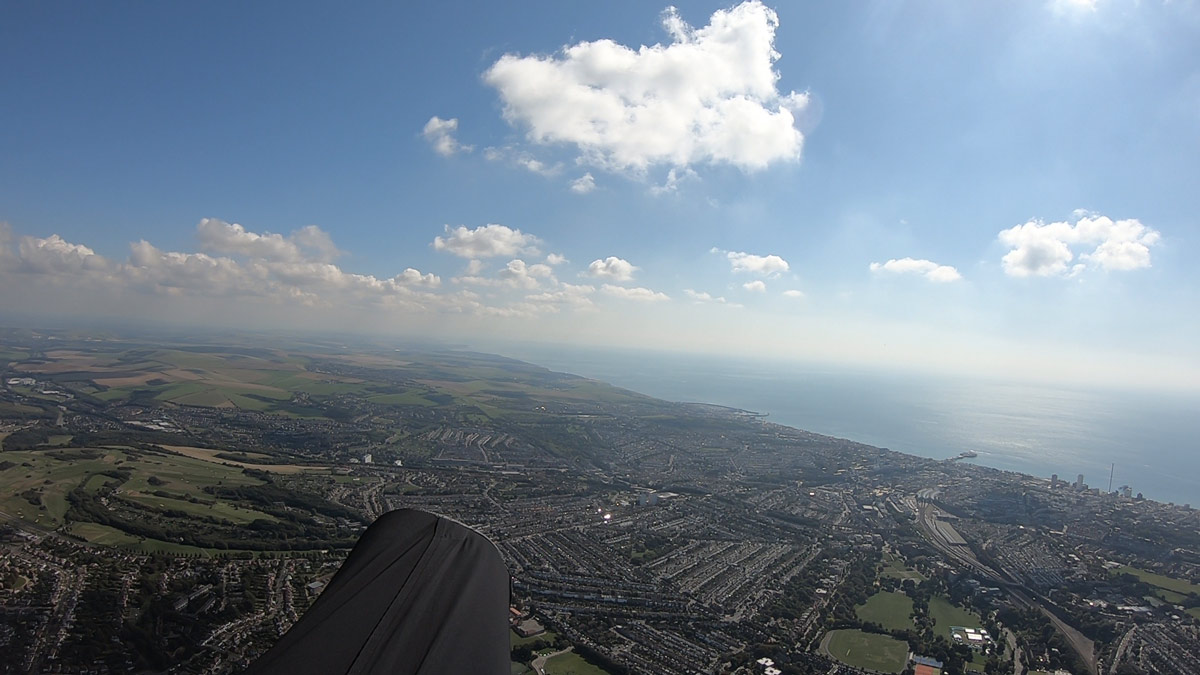
You could just use a backpack clip (useful for your kit bag) but the twist on the risers can produce an unwanted angle. Rather just strap the legs of your tripod onto the base of your riser, using a strong elastic strap. Then you have the advantage of the ball head adjustment.
The best solution for this mount is the Flytec Bumblebee
This gives you a good position to operate the camera (mostly hands-free) and you can reposition it a bit to show the scenery or maybe even yourself, but the camera is kept fairly stable. It’s important to get the horizon set up level. This will give you forward pointing shot flying through clouds. Check out what Brett Hazlett does with a similar position.
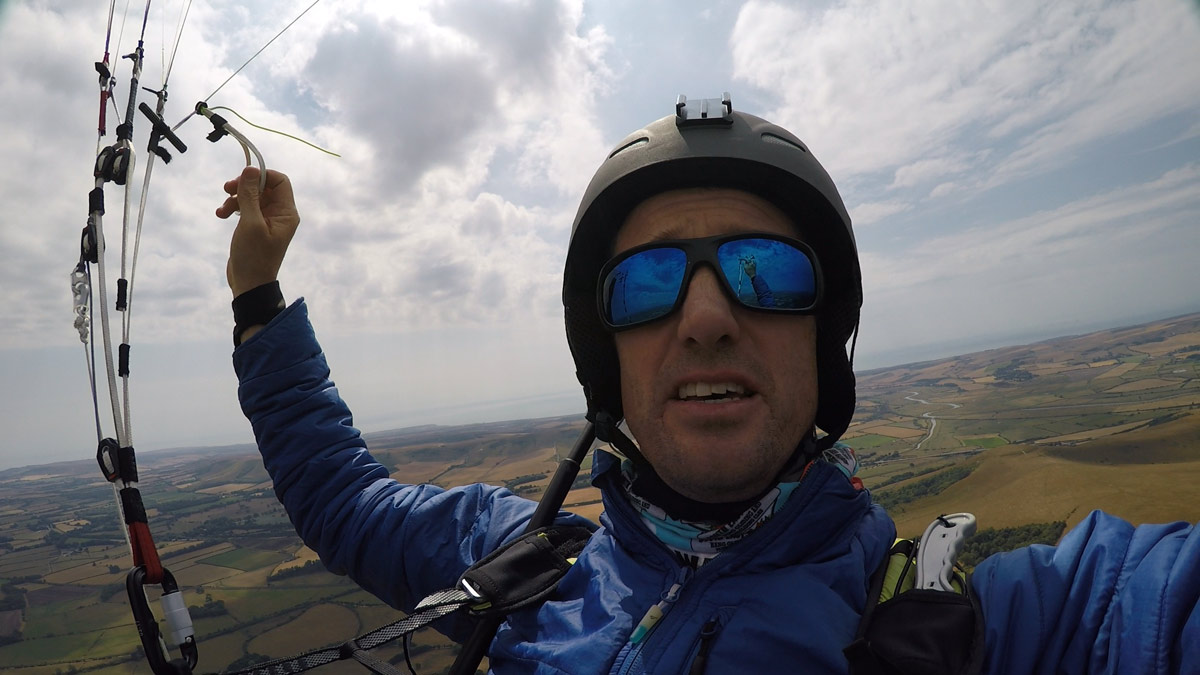
Add a short extension part from a GoPro clamp set to get a better angle watching the pilot like Find the first thermal.
Advantages: hands free. Disadvantages: tilts every time you turn, making footage hard to watch unless you are gliding or soaring. Catches the lines on launch, takes attention away from flying when you fiddle with the angle and operate the camera, often isn’t pointed at the subject, has an odd-looking bit of pod in shot.
To remove the tilting horizon, you could use a 1 axis gimbal (I’ve not tested this unit, it’s just a suggestion for simplicity and compactness. Andre Bandarra successfully uses a 3 axis Dji Osmo X3 with this set up. With any gimbal, be prepared for a fair amount of technical fiddlery and frustration.
Best camera solution for this mount: GoPro Hero 4 + steadXP.
Rig 4: The pole
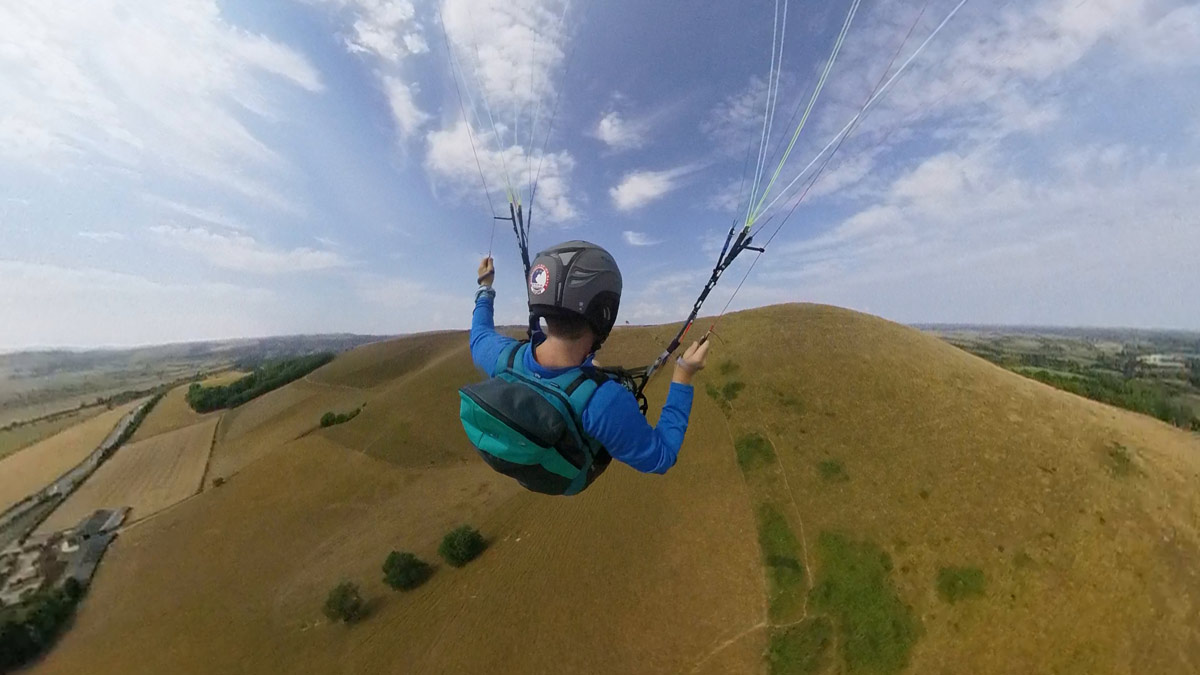
For shots that show my control inputs and give great takeoff and landing scenes, the best setup I’ve come across is the 360 camera on a selfie stick, which has the benefit of being stabilized, and ‘floating’ due to the software removing the presence of the stick. It takes some time to learn how to edit the footage for best results, and it needs bright sunshine. I throw it in to spice up my films.
Because the insta360 one I use is so incredibly light, for landing and takeoff I just hold the extended pole in one hand, together with my brake loop. This requires very good launch technique, but I don’t recommend attaching it anywhere because it’s likely to get broken on launch. In the air, I slip the 1.2m pole into various places in my harness, the best being over the shoulder which shows the most interesting angle: you can see where I am going, and what I’m doing.
The photo that opened this article shows the rig I used for a hands-free moving pole shot in the Ascension video. It's secured on the karabiner and suspended on a short loop hung off the risers.
For crisper visuals, you could put the GoPro Hero 7 out on a pole instead. Faster to edit, but the pole will be visible and it’s trickier to operate because the camera needs to be perfectly level and the stabilization isn’t as good as the jaw dropping locked horizon you get from a 360 camera.
Rig 5: The gimbal
For wing reviews I like to do air-to-air filming, which is the hardest. You notice the little camera shakes and bad framing when you are looking at things in the distance. You have to be really close to the other pilot to get nice footage, close enough that it only works with trusted friends who know you’re not going to cause a mid-air collision.
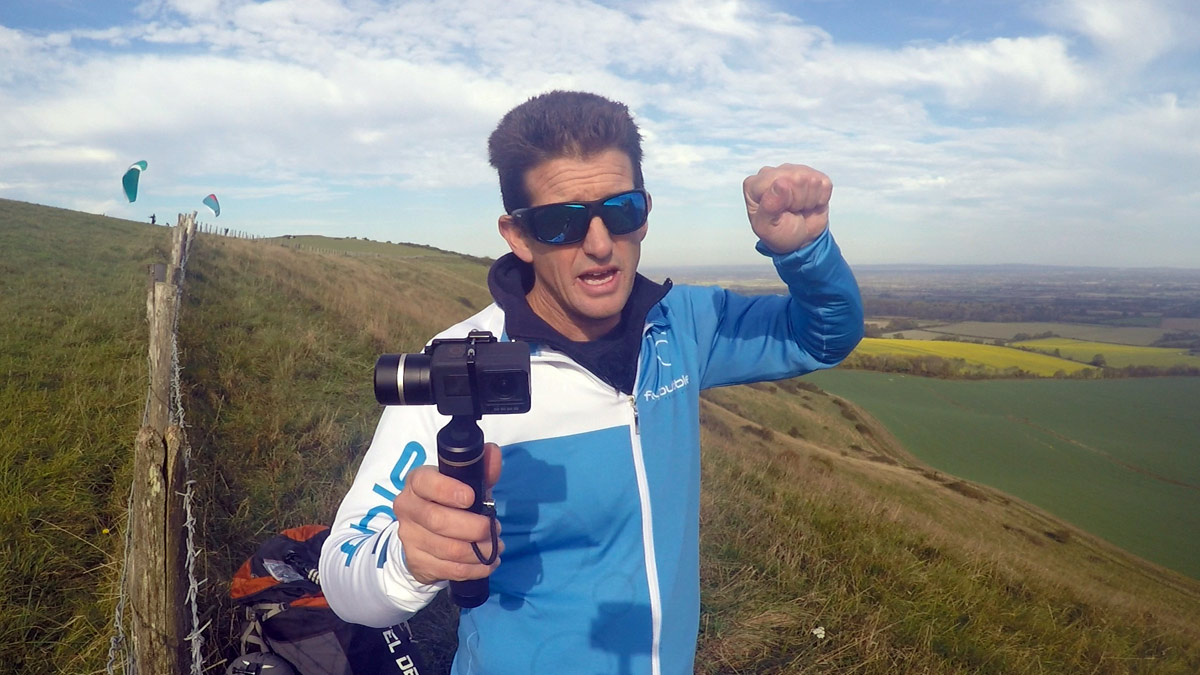
For professional quality, a gimbal like the Karma Grip or the Feiyu Tech G6 will keep your horizon level (some of the time). Although it’s possible to fix a gimbal on a riser mount, the shot you get is most dynamic when the gimbal is hand-held so you can move to follow the subject. So this involves flying one-handed (with both brake loops in one hand) while operating the camera with the other (and also being hyper-aware of the position of your subject and other pilots in the vicinity while glancing at the screen image to retain good framing). This is not easy.
The big problem with a gimbal is it doesn’t like being exposed to the wind, so gets knocked around. It is delicate, and loves to snag lines. It is temperamental, and doesn’t always do what it should. But when it works, the footage is excellent.
Where the gimbal works wonderfully is on the ground, getting action shots with some camera movement, gliders launching, ghosting through the flowers, filming the mountains with a steady slow advance. I typically get some footage, then pop it safely in the car before going flying with my simpler more robust rigs.
The GoPro Hero 7 is a gamechanger. The stabilization of small movements is so good I can get nice air-to-air footage holding it in my hand, good enough that I won’t use the gimbal any more. It’s challenging to avoid tilting the horizon during turns and turbulence, but it’s pleasant enough to watch, especially for other pilots.
If you want better big-shake reduction and rock-steady horizon without a gimbal and more control over the software stabilization, look at the SteadXP which does an incredible job with the GoPro Hero 4 Black (not 5, 6 or 7!).
Rig 6: The chase cam
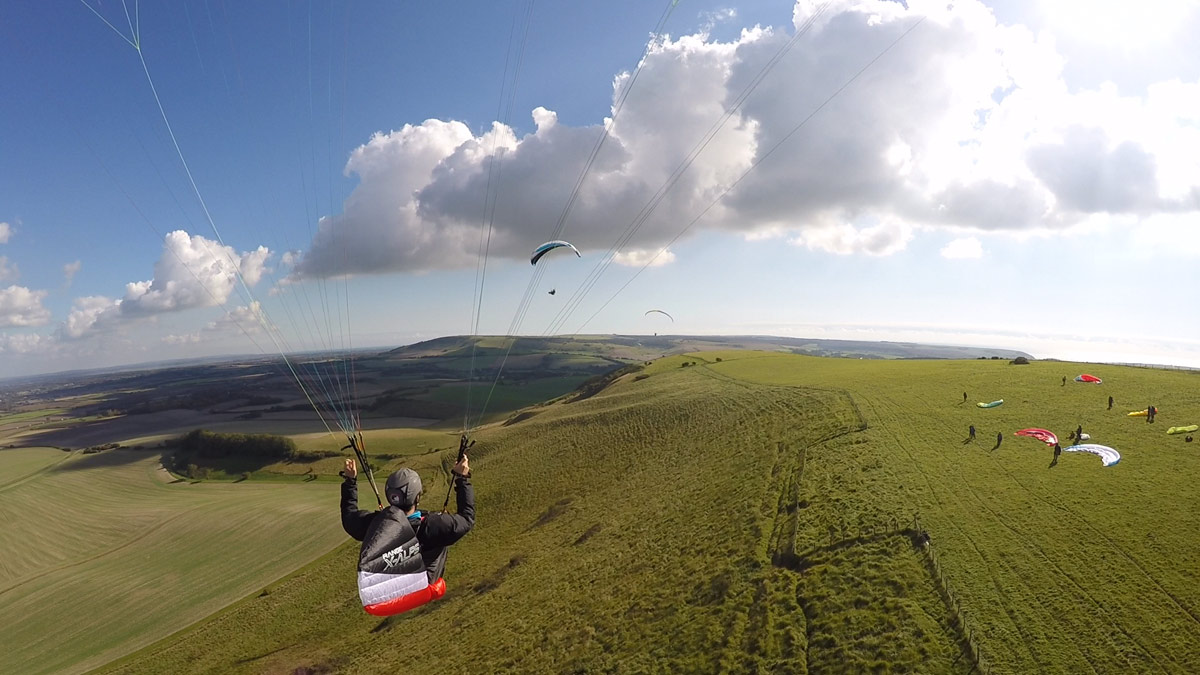
Suspending a camera from your wing with a line and towing it behind you can provide a fun angle, but once the chase camera is deployed, the shot is fairly ‘static’ (and you can’t change your mind). I’ve found it hard to incorporate this into most films. You’ll get one long shot (until the camera dies, unless you use a remote camera control as well) so you need to be flying past something scenic. It’s best suited to paramotoring, where you can fly low over interesting terrain features. If you encounter severe turbulence there’s a risk of the camera tangling in your lines.
The insta360 One is great for this, being so light and providing rock-solid stabilized footage. It needs to be carefully angled (kept upright) to avoid stitch lines crossing the pilot or wing. However, as a chase cam, the resolution wasn’t high enough for me; if you can afford it, get the new One X or GoPro Fusion.
Most DIY chase cam rigs I’ve seen using normal action cameras are horribly wobbly. If you want high resolution with a level horizon, you need to use a gimbal (as used in our Skywalk Range Xalps review) but that’s a heavy and risky rig to fly with. The lighter Skybean Chasecam + GoPro provides good footage (now with Hero 7 stabilization, it should be really nice, although the horizon will tip). The Sony X3000 is also worth considering for this application.
This is where the SteadXP works well with GoPro Hero4 (as in Philip Brugger's test) because it is lightweight, compact and tough.
Filming in Flight: Putting it all together
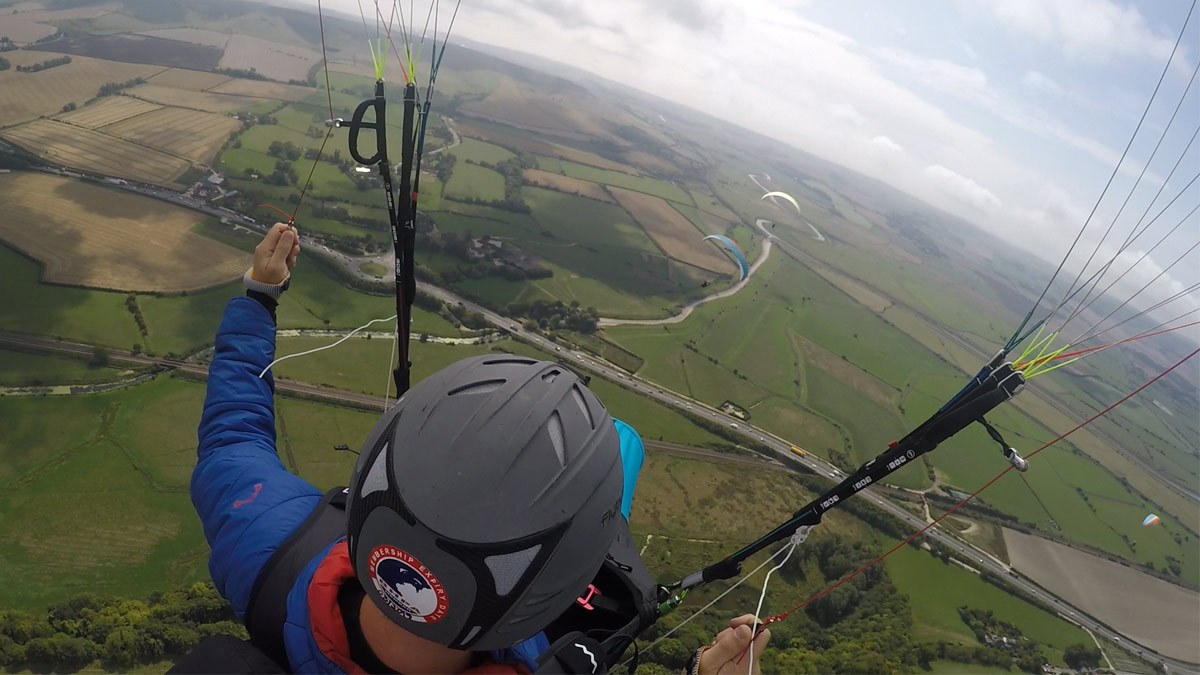
The GoPro Hero7 on a tripod is the most versatile single setup for paragliding filming. I use it handheld for filming scenery, the wing, selfie sections, landing approach shots, everything. You could tie it onto a carabiner for a more stable fixed shot, or helmet mount it for simplicity. Keep it in sheltered areas when talking to the camera.
If you have the time to do editing, the Insta One X on a selfie stick will give you an incredible ‘floating’ follow angle, with the option to reframe to any part of the view to catch the best action. It will also give you easy camera operation during your flight and amazing stabilization.
I hope this helps you improve your freeflight filming. Cameras are constantly improving, so keep a close eye on the tech channels.
For more film making tips and tricks join us over on Patreon | Flybubble
Filming in Flight: Video
See these concepts in action in our special feature on film-making gear.
Brought to you by Flybubble
Like what we do? The best way to thank and support us is to buy gear from us and recommend us to others. Review our service on Trustpilot and our products on Flybubble Shop. You can also subscribe to Flybubble Patreon. Thank you!

