It’s very hard to set up a harness by yanking on straps in the air. Although easy adjustment is a vital feature of any harness, the initial trimming is best done in a static environment where you can take the time to get the geometry perfected.
Make everything as close to in-flight use as possible. Stow your usual gear in the back, as this can make a big difference to your body position (rolled up backpack, lunch, back issues of your favourite freeflight magazine). Wear your normal flying wear, including jacket and boots, as these can shift your centre of gravity.
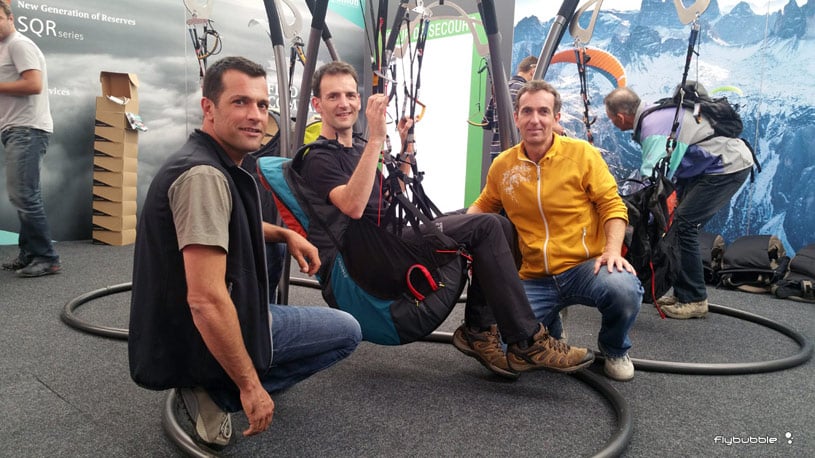
If you don't have access to a proper harness hanging system, hang from two ropes, spaced wider than shoulder width to simulate the way a wing pulls outwards.
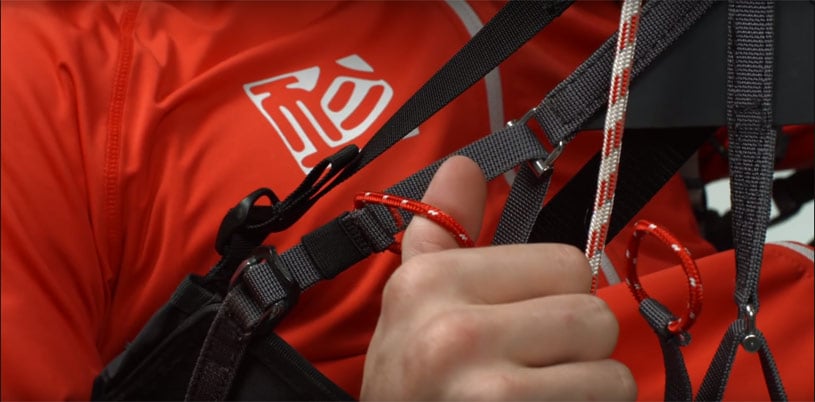
Work methodically, from one end to the other, and set one pair of straps at a time. It should be possible to get continuous support. Any pressure points will become uncomfortable during a long flight.
When you lift your hips, you get a more ‘tippy’ seat prone to rolling more.
When you rely too much on tight shoulder straps for support, you’ll find it difficult to stand upright during launch.
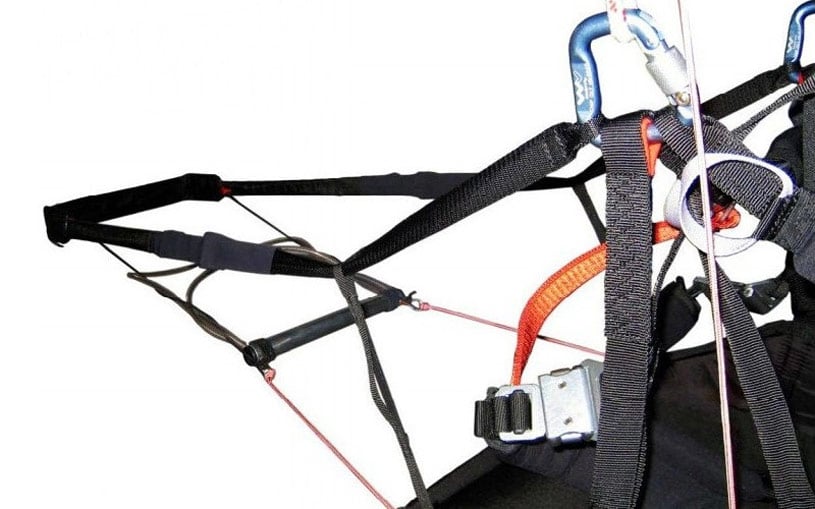
The waist strap on a harness is crucial for setting the maximum distance between the hang points, ensuring safety, stability, and comfort during flight. It is important to adjust the waist strap according to the manufacturer's guidelines and the all-up weight. The recommended setting varies based on the all-up weight, with specific requirements for EN or LTF flight-tested wings. It is advised to always refer to the manufacturer's user manual for proper setup instructions. If the manual is unavailable, a general rule of thumb based on all-up weight can be followed.
- Under 80kg, 38-42 cm
- 80-100kg, 42-46 cm
- Over 100kg, 46-50 cm
For pod harnesses, keep the pod loose, until the upper section of the harness has been adjusted to support your weight. Then if you bring the footplate inwards to support your feet, it should be on the same plane, instead of creating a pitch-unstable system. Ideally get an observer to help you set the exact angle of your pod, it should line up with the airflow to minimise drag.

Set the speedbar so you can comfortably reach the first step with one heel, and ensure that on full extension you can get the riser pulleys to lock up. You can get the length set up pretty well with a good simulator, but really you need to have your wing attached to the harness to be able to set it exactly. The best is to get it roughly right in a simulator then test in-flight and fine-tune on site. The locked position is a good start point for adjustment because you don’t need any more travel than that; set your final speedbar loop to be almost touching the footplate at this point.
If you fly with a foot stirrup then it's important this is set to the correct length. It should be set short enough so that you get good positive pressure from pushing on it; just enough to be able push your bum nicely into the back of the harness, if required. It should not be so short that apply excessive force to the foot stirrup, or you can't bend your legs, as this is tiring for your legs and can damage the harness. Set right, many pilots find that a foot stirrup helps take the strain off their legs and lower back, and better allows them to fly in a more supine (laid back) flying position. Foot stirrups can also be very useful for helping the pilot get back in the harness properly - without having to let go of the controls, or put them together in one hand.
This is also the perfect time to do a reserve compatibility check and test deployment, so you can learn the feeling of extracting the reserve and the optimum angle for this.
If you buy a new paragliding harness from Flybubble you’ll get this service included.
Brought to you by Flybubble

Like what we do? The best way to support us is to buy gear from us and recommend us to others, thank you!