Flybubble Carlo and Nancy have actually flown the Forza 2 quite a bit—probably getting close to 30 hours of flight time—with several different wings in a wide range of conditions. "I have to say, I’m really enjoying flying it, and there are many aspects I really like about this harness. For me, it's the best Ozone harness I've tested so far. It offers a lot of great features that" - Flybubble Carlo
Feeling In The Air
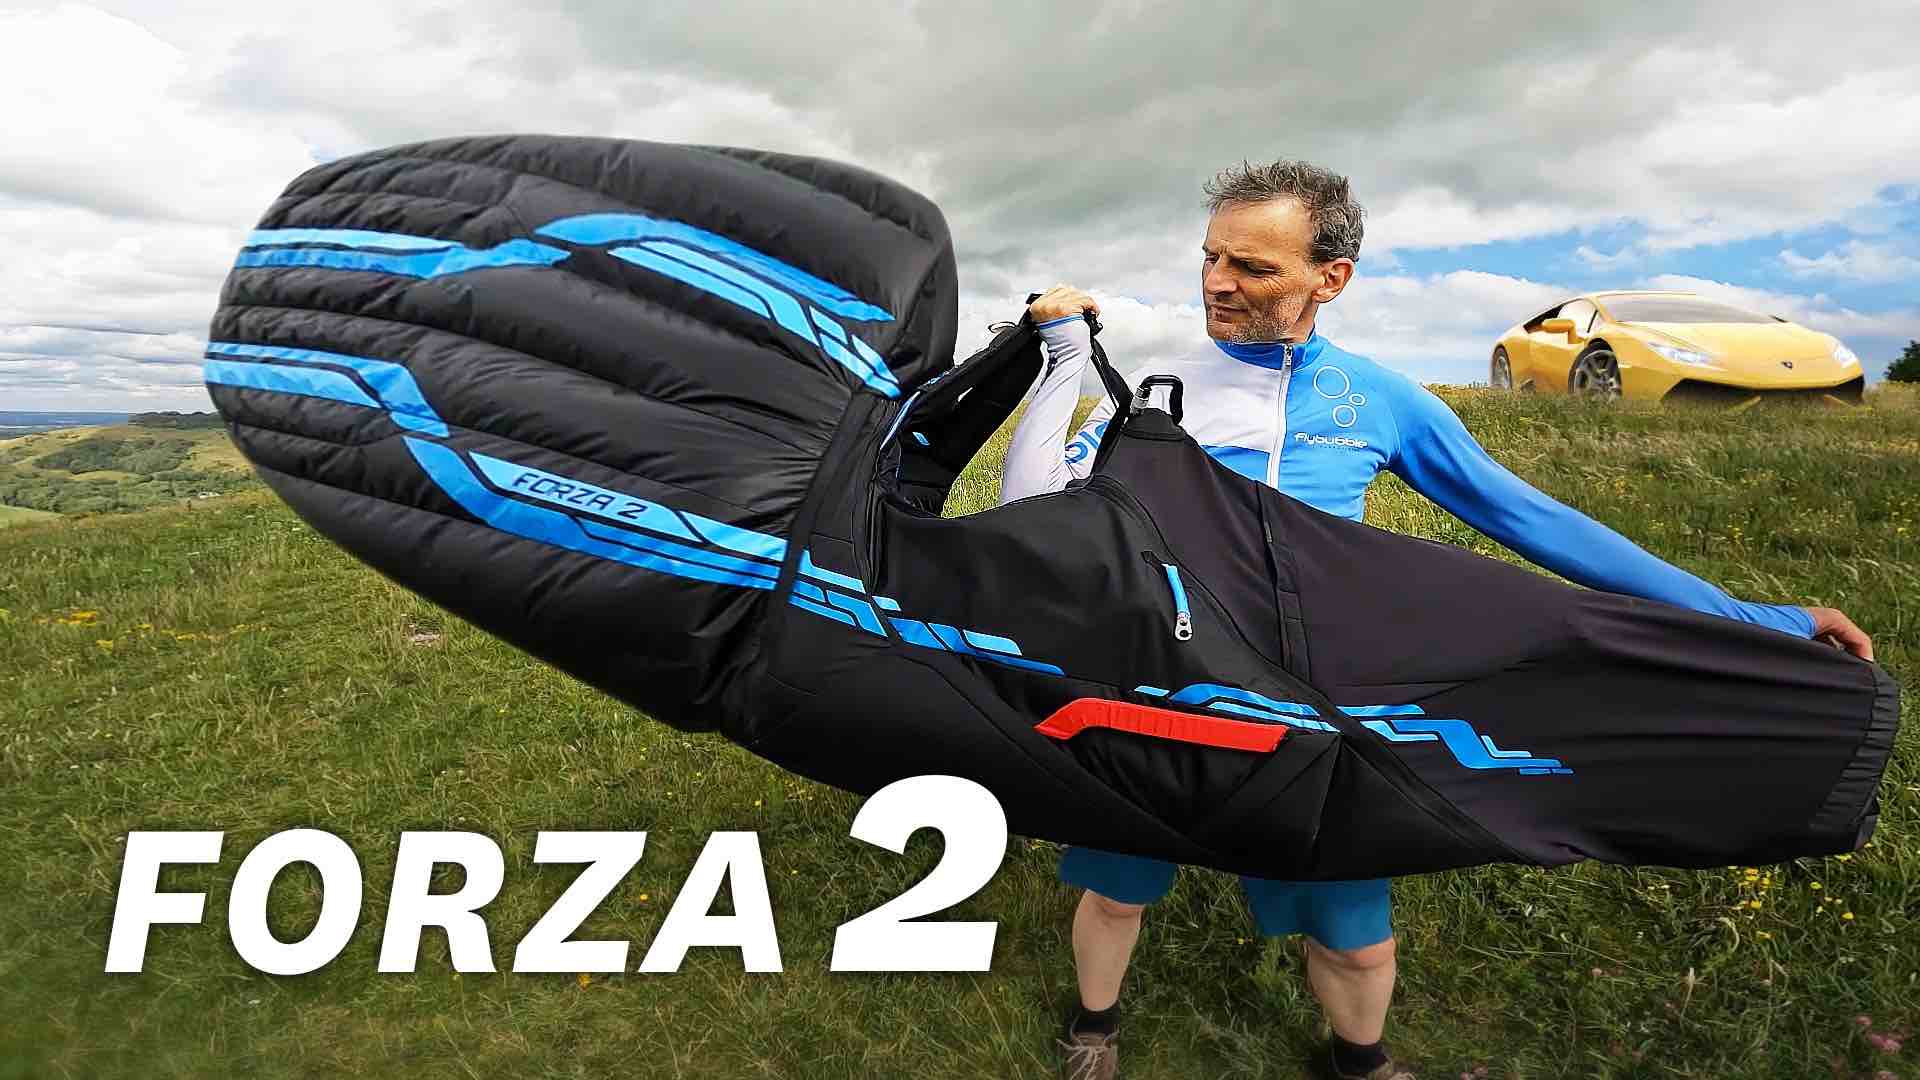
First of all, as we’ve mentioned, it’s a high-performance cross-country pod harness with a very rigid frame, which is great for long flights. It’s designed for big cross-country flights and has the provision for two reserves, one on each side. It also has a moderate fairing.
The biggest plus for us is the very rigid back support. It’s extremely comfortable, especially on long flights. The comfort around the back, hips, and sides is fantastic, unlike the Forza 1 and the Ozium 1 and 2, where we felt pressure points. We’re happy to say that the Forza 2 offers much better comfort, particularly for long cross-country flights. It also gives a good feeling of control with excellent weight shift and rigidity, even when flying high-aspect, lightweight wings. It feels a bit like a competition harness in that way and is similar to the Impress 4. Honestly, we think the Impress 4 has even better comfort, especially around the back, but we’d be interested to hear from pilots who have flown both to compare their experiences. The comfort and control with the Forza 2 are still very impressive, and the weight shift control is really nice.
Shoulder straps, Speedbag & Fairing
The shoulder straps: They have a good bit of padding, but they’re a little stiff, and you do notice them a bit. However, the overall comfort is still very good. We just wish the shoulder straps were a bit softer for our delicate shoulders.
In terms of the speed system, it’s easy to get your foot onto the steps, and the pressure is low and smooth, which is what you’d expect for a harness of this level. We’ve had some really good long glides while holding the bar and using the rear risers, and it works very well.
The fairing is made from lightweight material, even on this heavier harness, which helps it inflate quickly. It inflates through one inlet on the right-hand side, and though it’s a little slow to inflate, taking about 10-20 seconds, it eventually sits nicely and holds its shape well. The fairing also allows access to the storage at the back, which is easy to open wide, making it simple to pack gear inside.
Reserve
The Forza 2 has two symmetrical reserve containers, one on each side. The handles are held together by magnets, which is an interesting design. However, we found it a bit fiddly to get the handles in place. Once they’re in, they hold well, but we’ve noticed a few times that the magnets have come slightly apart while transporting the harness. It’s something to check during your pre-flight inspection. The reserve deployment system is great though, with the "bombbay" doors opening wide, making it easy to deploy the reserve.
One positive feature is the large reserve handles, which are much bigger than on many other harnesses. This makes them easy to grab, and the foam padding around them adds comfort. Deploying the reserve is effortless due to the wide opening of the container, and during testing on the hanging system, it worked well on both the left and right sides.
In the harness, we use two Ozone Angel SQ Pro 120s reserves, and the bridles fit well without jamming. There's also a velcro patch where you can attach a mini vario, Garmin, or satellite tracker, and a safety bridle knife stored in the harness's handle.
Adjustments & Details
The harness adjustments are simple. Tightening or loosening the shoulder straps is easy to do mid-flight. The chest strap includes a whistle, and the harness is equipped with Edelrid ALIAS II carabiners. There's also an easy-to-adjust back angle strap. However, after using the harness for a while, we’ve noticed the straps sometimes slip slightly. The positive side is that they're easy to re-adjust while flying, so you can tweak your position during the flight.
Moving on to the waist and leg straps, the harness uses a Get-Up system, common in most modern harnesses. The leg straps are color-coded—blue for right and red for left—and the buckles are of high quality. The leg straps are nicely padded with neoprene, ensuring comfort, and the waist strap has a minimal but functional range of adjustment.
Cockpit
We really like that it has this opening system. You can see that we’ve put the gloves in there for the moment, and there’s a good-sized pocket as well. While it’s not as big as the Niviuk Arrow's pocket, it has a similar design. We really appreciate this type of system because it allows easy access to the flying gear. You can place instruments in there, and during flight, you can simply open it up to access what we need—nice and easy.
There's also a pocket for our power bank, and at the top, there’s a small hole for the cable to go through and come out the other side. However, we do have to mention that this hole is quite small; we’re not sure why it wasn’t made a bit bigger. We actually can’t fit the right-angle cables through it. The stretch material is related to the extra pocket on the side, which we really like—it’s a nice addition. You can also use this side pocket to store a drag chute if you want.v
G-chute
You can put a drag chute in this harness; for this instance, we're using a Gin G-Chute. The reason we prefer this one is that it's quite light, compact, and offers excellent value for money—it's less expensive than some alternatives.
To connect the G-Chute, simply take the riser off, attach the G-Chute, and then reattach the riser, ensuring it's oriented the same way. After that, you can stuff the G-Chute into the designated pocket and tuck the excess handle in as well, which is used for disabling it if you want to pack it back up. We find that just tapping it into the pocket and zipping it up works quite nicely—it's a simple solution that we really like.
In comparison, the Advance IMPRESS 4 has a dedicated drag chute pocket that fits neatly behind your backs, allowing us to deploy it to either the right or left. However, one drawback of placing the G-Chute in this pocket is that it occupies a significant amount of space, which can affect the overall packing of the harness. Additionally, having the G-Chute in the pocket makes the cockpit bulkier.
Flight deck
Carlo is using this Kortel flight panel, the Cockpit Extension, because he is often swapping his instruments between harnesses for testing. The Forza comes with a removable flight deck instrument panel included in the package as standard, so you won't need this.
For example, the Skytrxx 5 fits seamlessly, and there’s ample space for attaching a phone as well. Additionally, the Naviter Oudie N is another instrument that easily integrates into the setup. A particularly impressive design aspect of the flight deck is the inclusion of a rim around the panel. This thoughtful feature effectively prevents our lines from becoming tangled underneath our instruments or phone, safeguarding them from potential damage.
Although we didn’t have the Flymaster Double Screen with us at the moment of filming, we confirmed that it fit on this panel as well. However, it occupied most of the available space, which left insufficient room for a phone.
The design bears similarities to the Supair Cockpits, featuring convenient lanyard attachments. They’ve added nice little lanyard attachments, allowing you to quickly clip your instruments on rather than having to thread a lanyard through a loop each time.
One important point we want to emphasize is that it’s essential to fasten the clip that attaches to the waist strap. We’ve experienced situations where we forgot to secure it, and when the panel extends below the waist strap, it becomes imperative to keep that strap tightened.
Furthermore, the panel’s ability to fold flat for packing is a significant advantage, as it minimizes the volume taken up in our gear. This is a noticeable improvement over the Niviuk Arrow, which tends to remain rigid and can become cumbersome. Notably, the new Lightness 4 from Advance features a similar design with a folding mechanism, enhancing portability.
Pockets
One thing we really like about the Forza 2 is the abundance of pockets, and they are good sizes too. On the left side, we have a pocket that has an interesting design; it’s stitched shut almost halfway, with magnets to hold it in place. This setup works very well, allowing us to easily store our items without worrying about them falling out.
Additionally, there is an extra pocket slightly positioned on the left side of the speed bag, which is also very useful. This pocket is narrow and rectangular in shape, giving you a good idea of its dimensions. While there isn't a corresponding pocket on the right side, the right side does have a symmetrical pocket similar to the one on the left.
As you can see, we have chosen to include the tree rescue kit that comes with the Forza 2 in this pocket. It includes a carabiner for added convenience.
Speedbag
The speed bag on the Forza 2 strikes an impressive balance between durability and weight. Unlike the super lightweight options that don’t quite complement this harness, or the heavy-duty 7mm neoprene found in the Forza 1— which weighed almost as much as the harness itself—this speed bag is both robust and optimally designed. A notable feature is the integrated magnets, which help keep the bag securely closed during use.
Next, let’s discuss the nose cone. Constructed from ripstop material, it features an inflatable design but lacks any storage pockets. The designers chose to forgo additional storage in favor of a streamlined design.
The adjustment system on the Forza 2 is relatively simple. Some speed bags feature connections at both the top and bottom, often with two or three adjustments per side. In contrast, the Forza 2 has just one adjustment per side on the speed bag. This makes setup and adjustment easier, but it also means we won’t be able to adjust the toe-to-heel angle. While this simplifies the process, we’ve noticed that over time, the strap has been slipping a bit. We’ve ensured it’s threaded correctly and doubled back on itself, but it’s something to keep an eye on.
A great feature is the white markers they’ve included, which make it easy to see how much adjustment has been made. This helps ensure symmetry with the other side.
Speed system
Forza is delivered with 20mm ball bearing pulleys for the speed system. It has additional attachment points suitable for ratchet style pulleys, if you wish to upgrade to those. We recommend Ronstan 40mm Ratchet Pulleys.
The Forza 2 features a standard speed system with a three-step bar, inspired by the bullet bar design and equipped with asymmetric steps. We find this setup easy to engage, allowing us to place our foot on the bar effortlessly. The three-step configuration is practical, and the integrated bungees do an excellent job of keeping everything secure during use, contributing to a well-functioning speed system.
However, we’ve encountered an issue where the webbing straps occasionally slip through. When we apply pressure to the speed system, it sometimes loses tension, which compromises its effectiveness. We’ve followed the manual closely, ensuring the webbing is correctly threaded and doubled back on itself.
We’d love to hear from other pilots—have you experienced similar issues with your Forza 2? Some pilots have mentioned opting to replace the standard speed system with alternatives, such as the bullet bar or other speed systems, which might provide better performance.
It's also important to note that many modern harnesses are designed to maximize speed bar travel. In this setup, the speed system runs directly beneath the harness, which is crucial for achieving optimal performance.
Seat board
Forza's mini seat board actually sits in front of your bum, not really under it. This is different to the Delight , 3 and 4, for which the mini seat board is under your bum. We feel the rigidity of the harness could be better here, as this area tends to scrunch up a bit. The side bars on each side of this area help here, as it seems they are designed to do.
The seat plate, which acts as the main support for the harness. It fits securely into place, providing a solid base for your comfort. Tthe underseat container: With a capacity of approximately 7 liters, it offers a generous amount of space. This pocket is incredibly useful for storing items like my concertina bag and other soft gear. I prefer placing softer items underneath me for added cushioning in case of a landing, ensuring a more comfortable experience.
One noteworthy feature of the harness is the included blanking foam piece. This is particularly helpful if you only plan to carry one reserve. While the harness has room for two reserves, you’re not obligated to use both. The foam can be used to close off one side, maintaining the harness's symmetry and keeping it properly shaped, whether you’re left-handed or right-handed.
Packing the Harness
To begin, let's discuss the process of packing the harness legs without a glider attached. We’ve discovered that a practical method is to tuck the legs inside the harness, positioning the footplate in one section and the flight panel in another. The rigid parts on the sides of the harness, which appear to be made from a durable twin-ax material, should be handled with care to avoid overbending, as this could potentially lead to cracking over time.
To achieve a more compact pack, we can fold the base and then overlap the bottom part. Finally, we’ll fold the fairing to complete the packing process. This method results in a neat and manageable size.
When comparing it to the Advanced Impress 4 (also in size medium), we notice that while the Impress 4 folds in a similar manner, it does so more easily and retains its shape better. The Forza 2, on the other hand, features a stiff back that makes it slightly less compact. We advise against forcing it into a smaller size, as doing so may risk damaging the back panel.
In terms of pack sizes, both the Forza 2 and the Impress 4 are comparable, but the Impress 4 is slightly more compact and lighter. Once we have packed the Forza 2, we can simply place the glider on top for convenience.
Different Backpacks Test
For pilots who prefer a spacious backpack that makes packing effortless, the Ozone standard rucksack is an excellent choice. It offers plenty of room for all your gear, ensuring everything fits with ease. One key feature is its length, which makes it simple to place your helmet and other items on top while still being able to close it up securely. When wearing it, you’ll notice how well it fits. However, one feature we miss is the absence of front loops to hold onto. While you can hook your thumbs into the straps or grab the top tightening straps, we find ourselves pulling these as tight as possible to prevent the bag from hanging off our backs.
The Ozone standard rucksack, in size medium (around 140L), stands out as the best match for the Forza 2 in terms of both size and shape. It’s the one we’d recommend from Ozone’s range.
We also tested two other backpacks: the Advance IMPRESSPACK (which comes standard with the Impress 4) and the Advance COMFORTPACK 4 (130L). Both have an almost identical fit. While these backpacks tend to sit more snugly, it’s still worth adjusting the side compression straps for added comfort.
Lastly, we tried the Niviuk Kargo backpack (130L), which fits the Forza 2 medium exceptionally well. It’s comfortable and performs almost as well as the COMFORTPACK. While the COMFORTPACK offers a bit more luxury with extra padding, the Kargo backpack still provides great comfort and carries well.
In conclusion, our top choices for the Forza 2 medium are:
- The Advanced COMFORTPACK 4 (130L) for optimal comfort.
- The Niviuk Kargo 130 for its solid performance and comfort.
Who is it for?
Forza 2 is aimed for high-level cross-country pilots—those wanting to push their flying, cover long distances, and fly for hours. That's the primary audience for this harness. The handling isn’t overly weight-shifty, and the position isn’t too laid-back. Eventually, this could be a good first pod harness, but I think most pilots will choose it after flying with a standard pod harness and are ready for something more performance-oriented. It could also be used in lower-level competitions. However, in higher-level competitions, torpedo or submarine-style harnesses have become ubiquitous because of the glide ratio advantages they offer. While this harness provides good performance, it doesn’t match the top-level competition harnesses with big torpedo fairings. Those are a different ballgame and a step up in performance.
Flybubble video review
Brought to you by Flybubble
Like what we do? The best way to thank and support us is to buy gear from us and recommend us to others