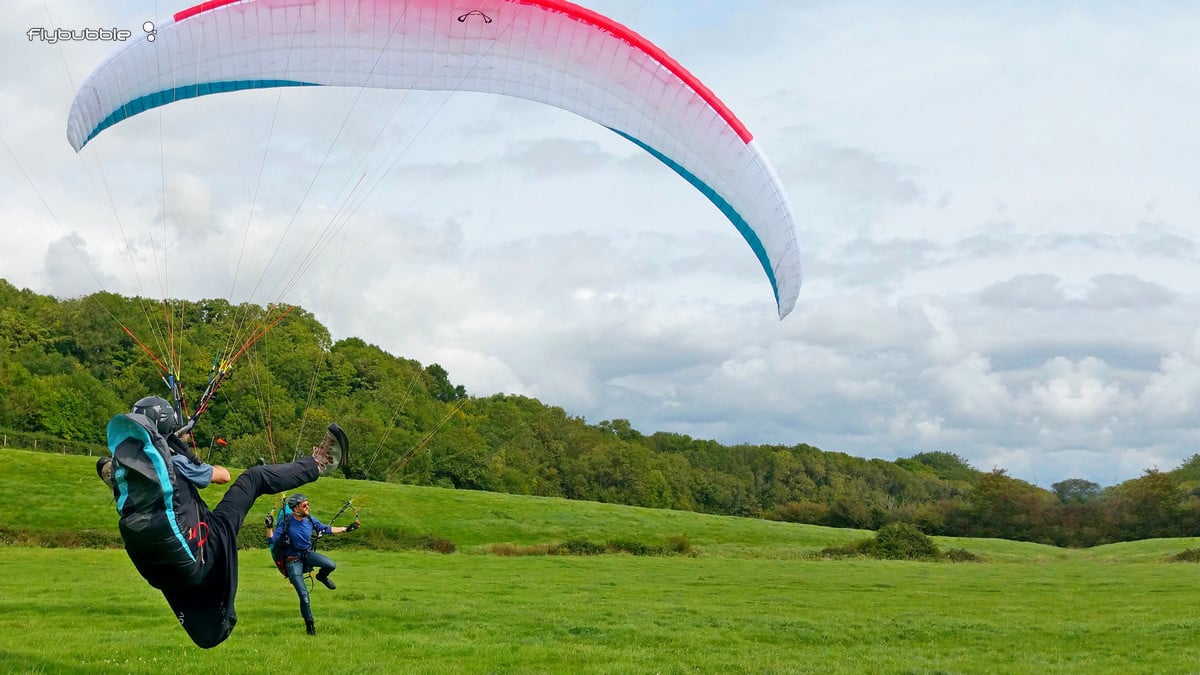
Improving your ground handling skills is very important for paraglider pilots, both for your safety on the launch site, and for building your confidence before going to fly. But where should you practice it, and what should you be trying to do? We offer some tips and a structured set of exercises to get you started on mastering your wing control.
What you’re looking for is 10-20 km/h of wind on an open slope. It’s better to try and do ground handling on a sloping field than on a flat field, because on a flat field your wing will sit back slightly from vertical, and it makes it harder to get a real feeling of what a glider will do on a launch site.
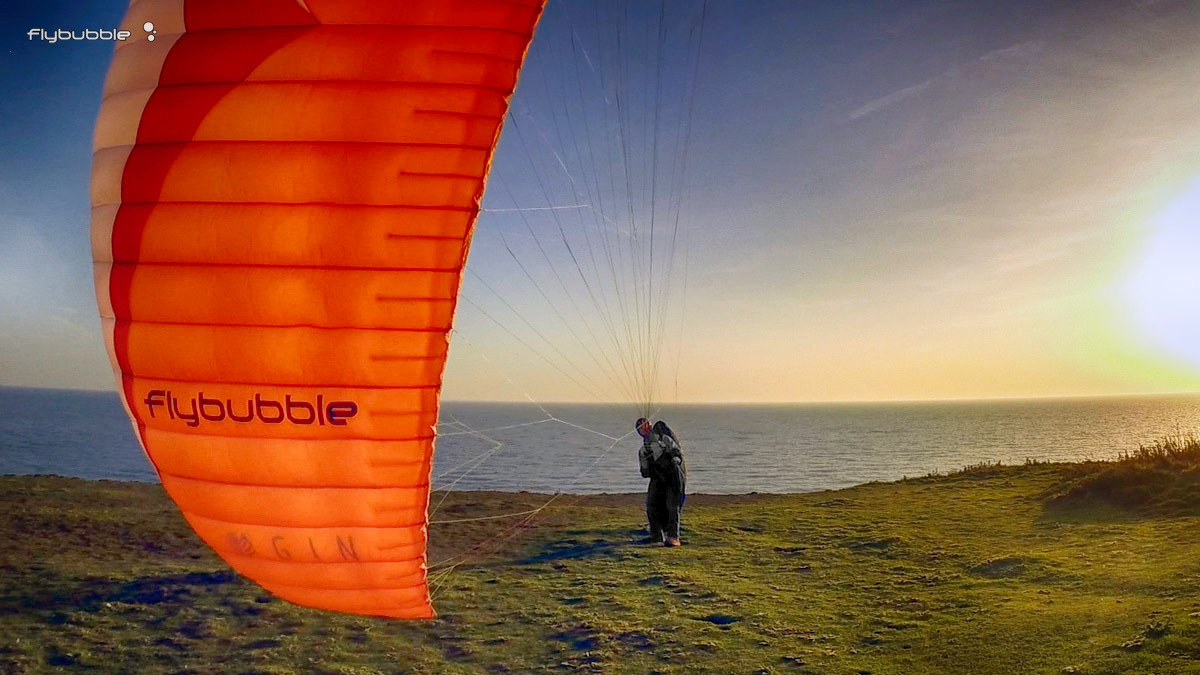
Quite often if you go to a paragliding site early in the morning before the crowds arrive, you could just go off to the one side and practice there. Stay back from the actual launching area a little bit, so you’re more on the flat top of the hill, then you won’t fly off the slope, but that gives you a really good real situation to try and learn what the wing is going to be doing in a typical airflow on a launchsite.
What to use for ground handling
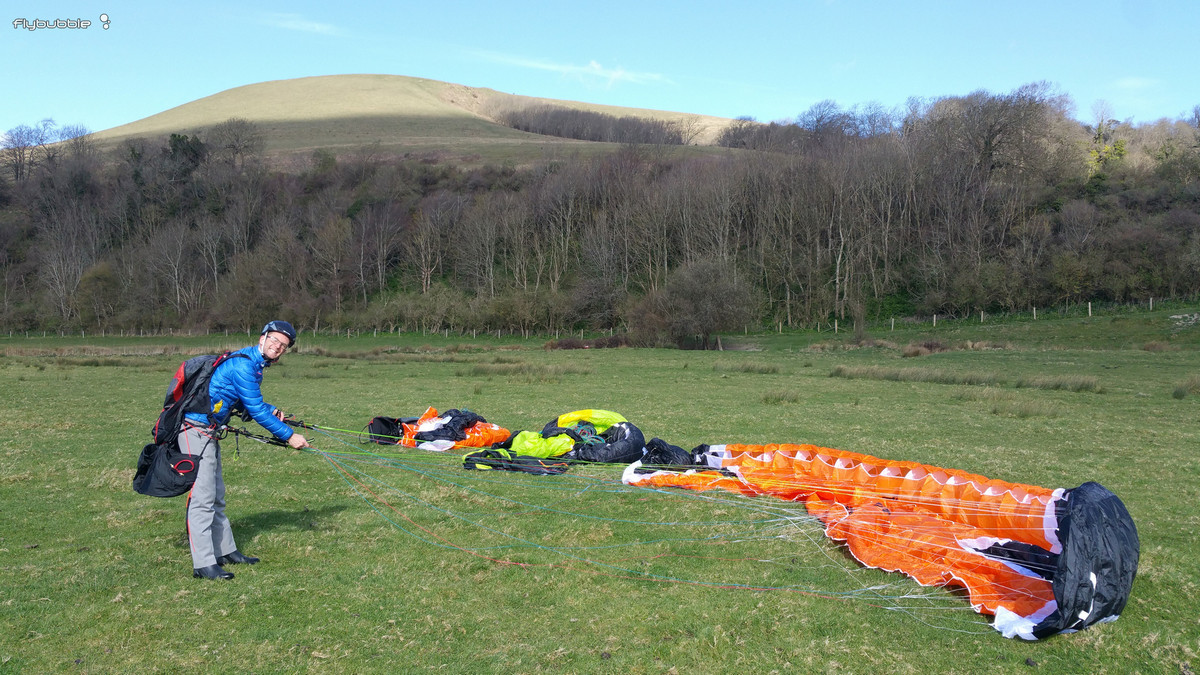
Always remember to wear your helmet! It’s really important when you’re ground handling, because you’re very close to the ground. So it’s quite easy to get tripped over or lifted up into the air and then bang your head on something. So put your helmet on.
Also use back protection: it’s a good idea to have a harness with foam in the back that’s going to be available for you when you’re plucked and dumped on the ground. You don’t need to fall from very far to start breaking bones in your back. So use your normal harness, most of them have got back protection in.
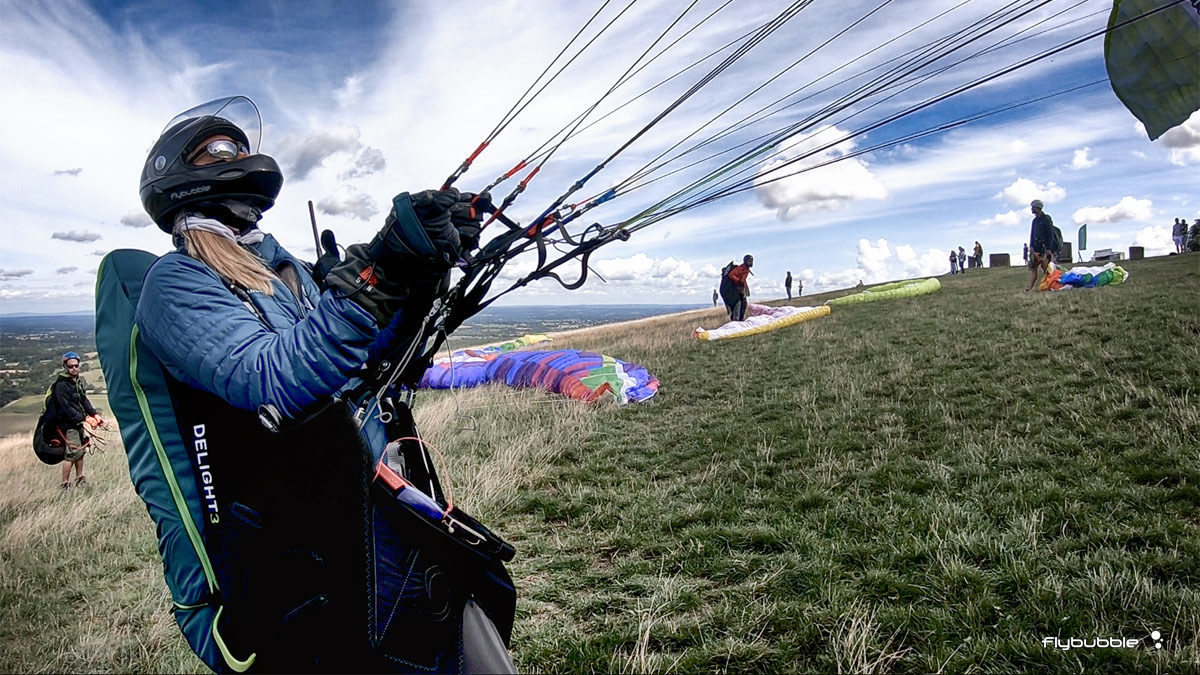
Also use your gloves, it’s easy to get line burn. And use your boots, as you would for normal paragliding. Maybe you fly in trainers, but definitely not in sandals, because you’re going to be dragged around across the ground, there might be some rubbish lying there; you don’t want to mess up your feet.
Use normal equipment, what you’d normally use for flying, that gives you good practice, gets you familiar with the feeling of your harness and your glider.
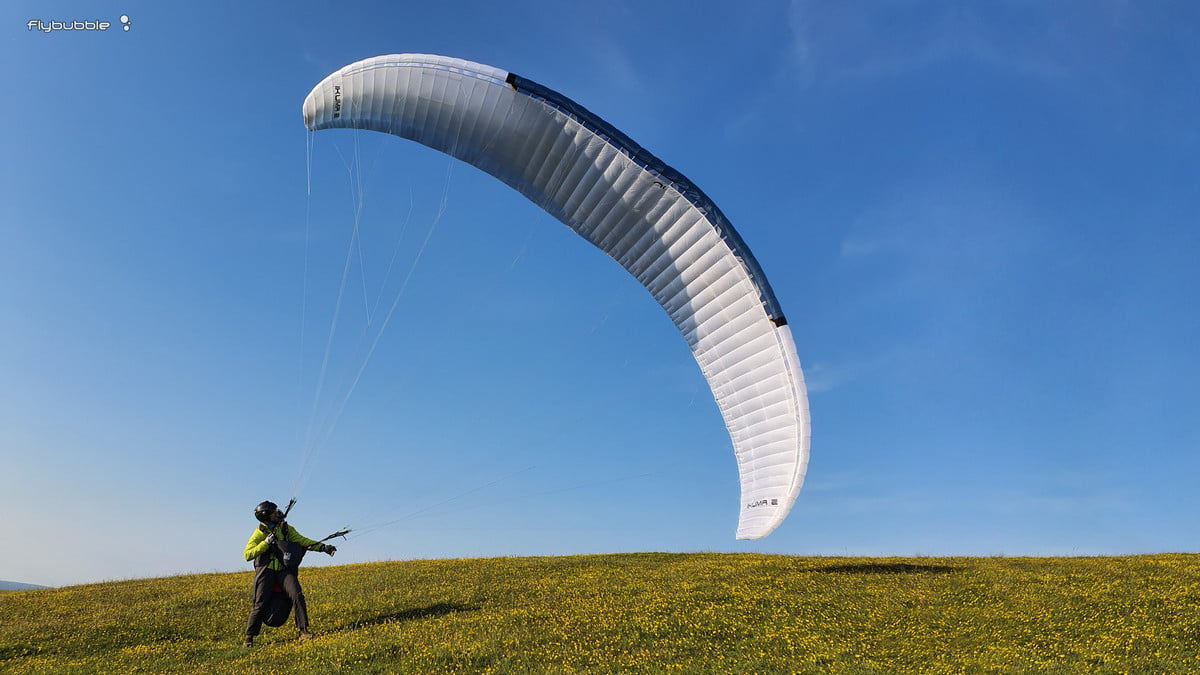
We sometimes have ground handling only wings and ground handling only harnesses really cheap on our website (these are old and un-airworthy), there for you to get hold of so you can trash them. So if you’ve got an unfriendly field you’re going to be ground handling in, or it’s very muddy, or you just don’t want to damage your wing, then pick up one of those. Alternatively, some pilots choose to get a mini-wing (added bonus: you can do strong wind soaring) or a speed wing (added bonus: you can use it for speed flying) or a dedicated ground handling practice wing (not for flight, just for practice in strong winds).
Ground handling exercise 1
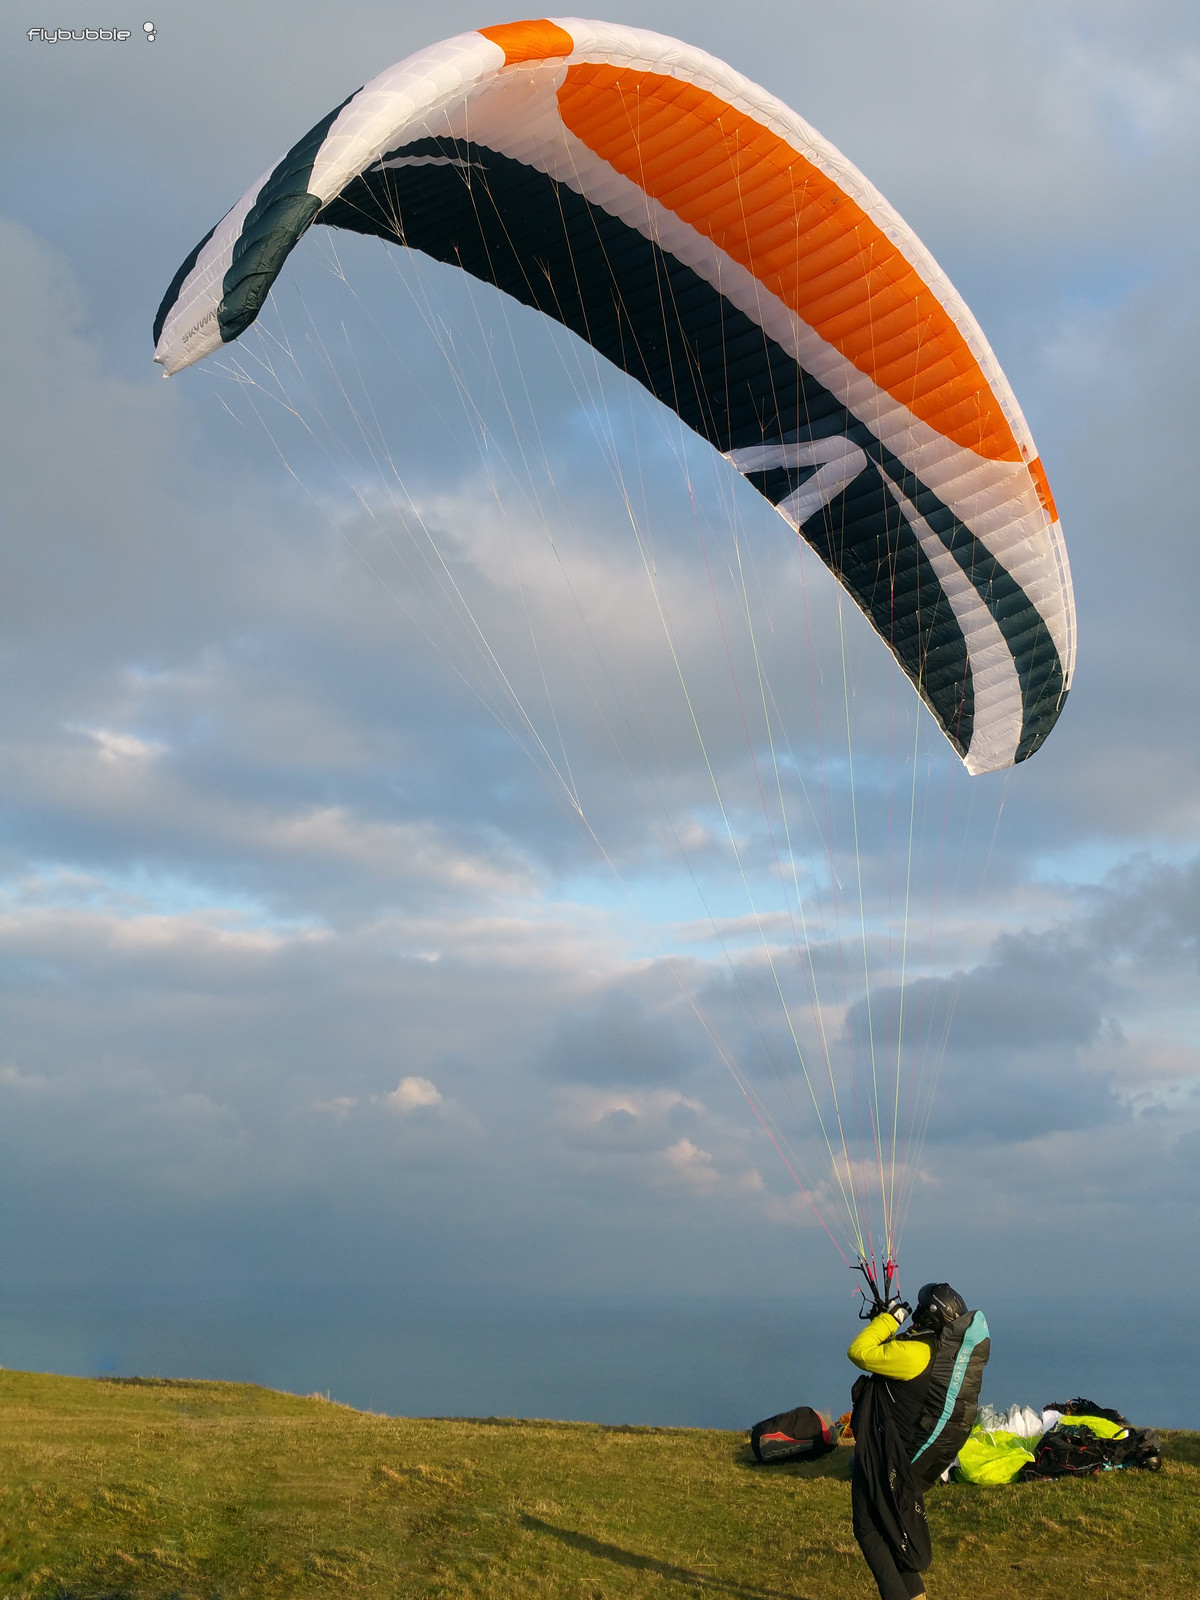
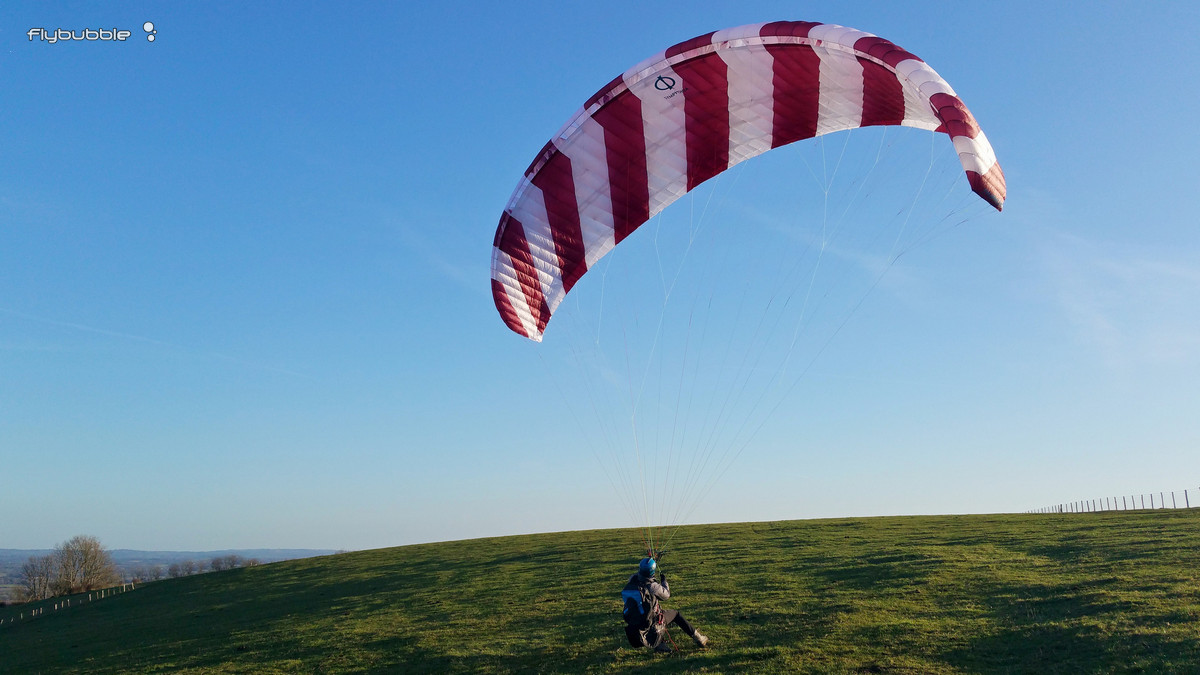
In the beginning, just focus on keeping it up in a reversed position. So do a reverse launch facing the wing, pull the wing up, and just work on keeping it up. Nothing fancy, just moving under the wing to centre it. Whenever it falls over one side or the other, moving your feet, keeping the wing up.

Try do small brake corrections, and big corrections with your feet. But then mix it up. Do it the other way around, just so you can learn what the inputs are doing. Use no foot input at all, just stay in one spot, try and do everything on the brakes, and see how that changes the feeling of the wing and its responses.
Ground handling exercise 2

Turn around and face forward, doing the same by feeling alone. So you’re just looking at the ground, you’re looking ahead, and you’re feeling what the wing is doing, which way it’s pulling, responding to move underneath the wing if it’s pulling one way or the other. Trying to feel what brake you need to put input in just to correct the yaw on the wing and bring it back to centre. You can spend quite a long time just walking around until you feel completely connected with your wing.
Ground handling exercise 3
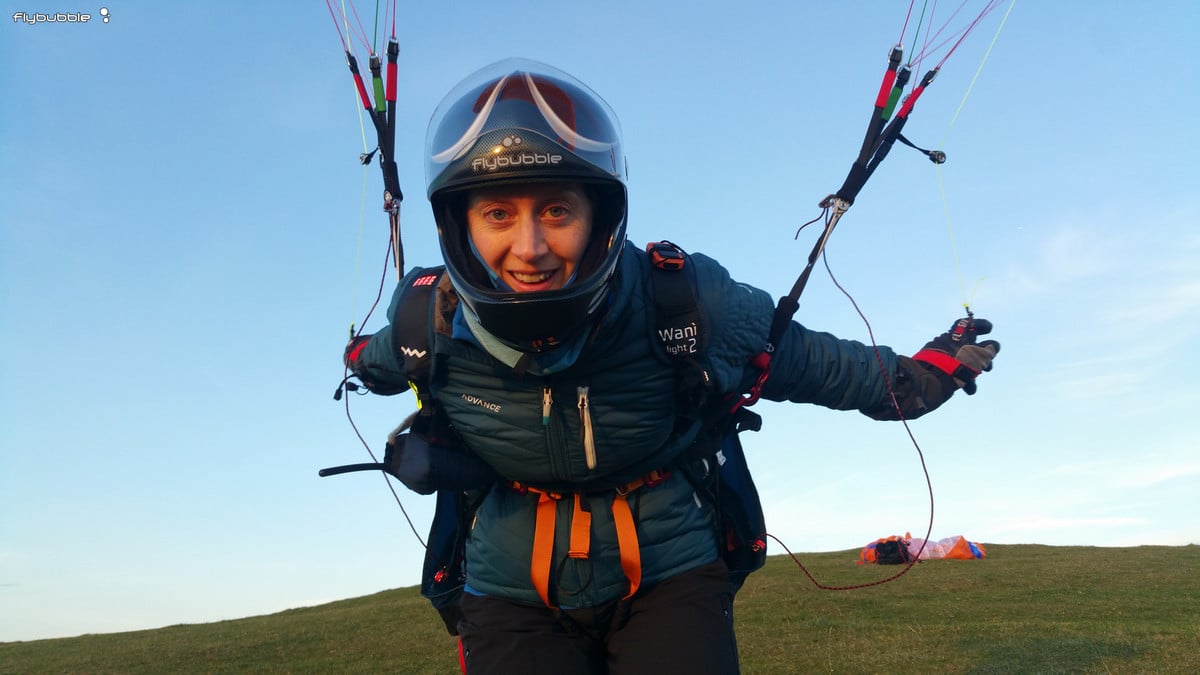
Practice loading up the chest strap before running. This helps prevent the harness from sliding up your legs, and it also gives you much better connection with the wing than running upright. So try and load the chest strap up and then increase to flying speed, covering the minimum distance.

This can take days to get right. It’s just a feeling of when you need to accelerate with your legs so you match the wing speed as it’s increasing. So try and get it to launch you and get cleanly off the ground without much of a pendulum, you don’t want to try and swing ahead of the wing and then the wing catches up and dumps you. So practice on that: loading up the chest strap, increasing to flying speed with the minimum distance covered.
Ground handling exercise 4

Work on your transitions. So go back from a reversed launch position. Turning without bobbing your head, trying to keep a low martial arts stance so you can swing around to facing forwards and turn back to face reverse without the glider being aware that you have actually moved. Focus on getting a smooth continuous pullup, so from reverse position, bringing the wing up, turning continuously and running with a short launch run, if you keep that process really smooth you can get a nice short effective launch.
Ground handling exercise 5

Work on slowly bringing the wing up, so controlling that speed that it’s coming up with a slow rise. You control the speed by your movement, so moving away from the wing or towards the wing to control that pullup speed taking the power out of the wing to bring it up as slowly as you can so it’s still coming up all the time and it’s not dropping back.
Ground handling exercise 6

Work on a slow descent, controlling the descent speed by using your A’s. This will give you some control, develop a feeling of the power in the wing, and also save your wing from being whacked down on the ground.
Ground handling exercise 7
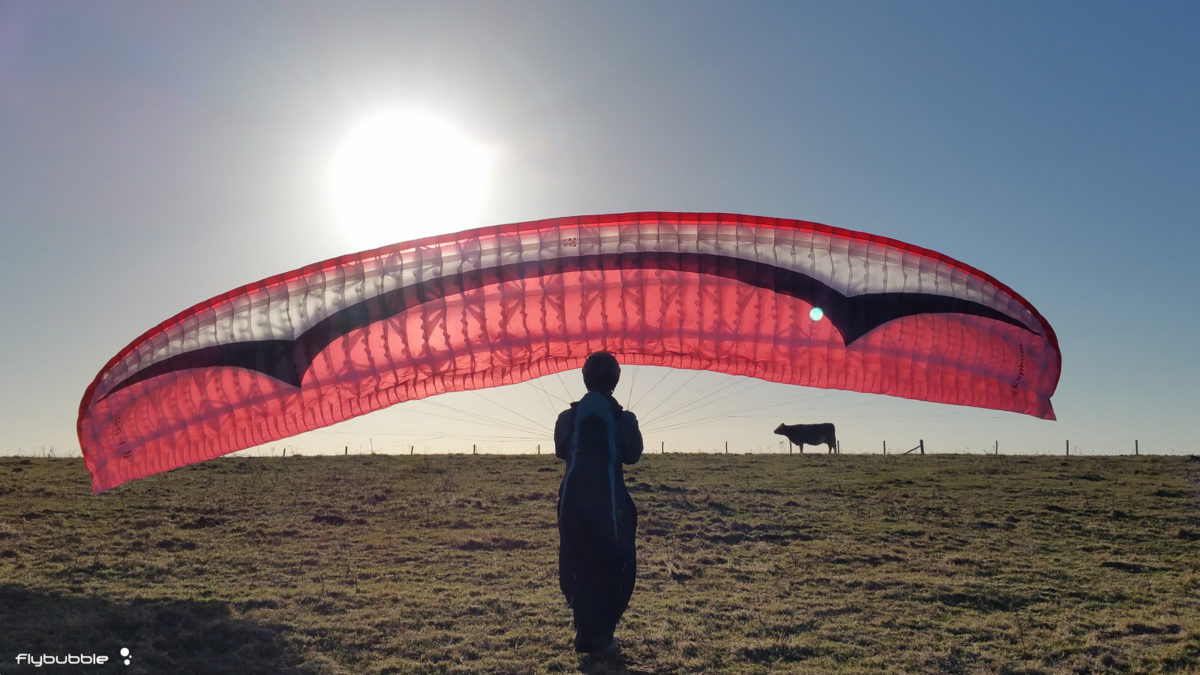
Explore the stall point. Try and drop the wing back a bit either by walking towards it, or using a bit of brakes, or both, and try and establish exactly where the point is on the arc when your wing stalls.

Every wing is different, it depends on the wind speed and the slope you’re standing on, but it’s very good to get an idea of when it’s about to stall, and just as it stalls, see if you can get it to refly. So work with that, stalling it, letting it refly. You might need to grab the A’s to re-engage it, to energize it again, it depends on the wing. But play with that and experiment with more or less stall, so you really learn about that transition phase between the wing flying and the wing not flying.
Ground handling exercise 8

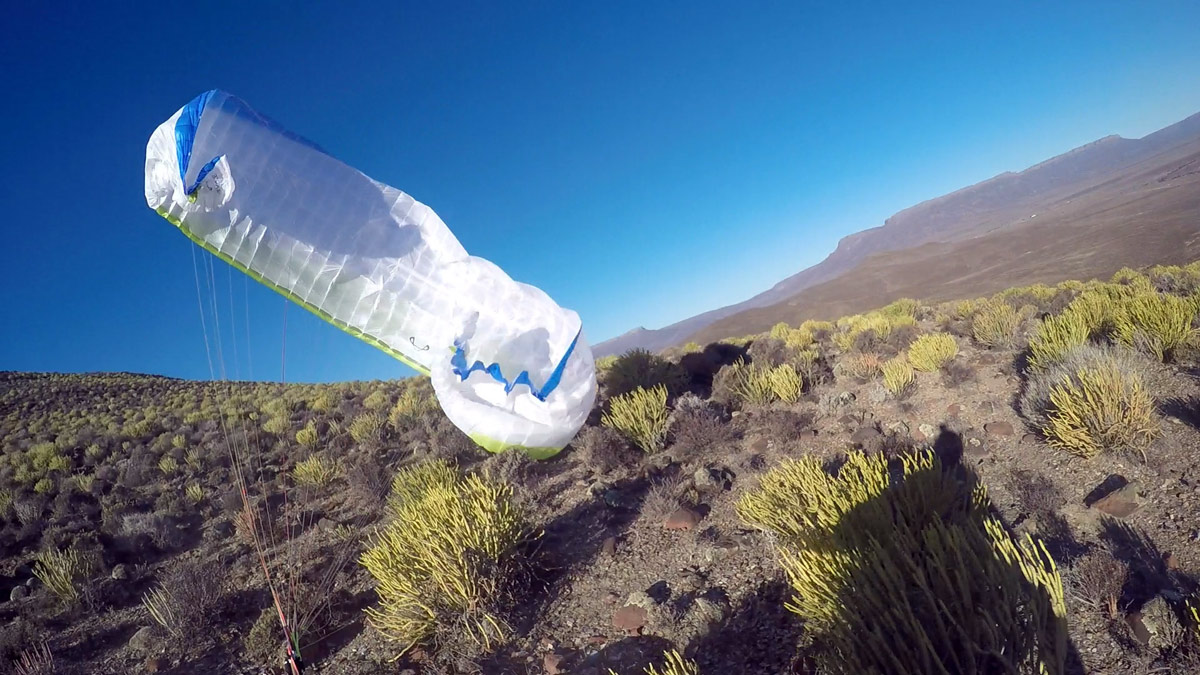
Then explore the pitch forward, allow the wing to search ahead of you on launch without checking it on the brakes, and see if you can anticipate when it’s going to collapse. A sharp jab down on the brakes will catch the collapse, but often it’s going to front tuck, then blow back behind you, you’ll need to reverse pull up again. Do it over and over until you develop a feeling of what the wing looks like and feels like just before it collapses in front of you.
Ground handling exercise 9

Do tip touches to develop fine control on the brakes. Sending the wing over to the side really slowly. Trying to keep your body position fixed, leaning away from the wing, so rotate your body slightly so you’ve got a nice balanced position, and then use the brake to just slowly fly the wing back up over head.
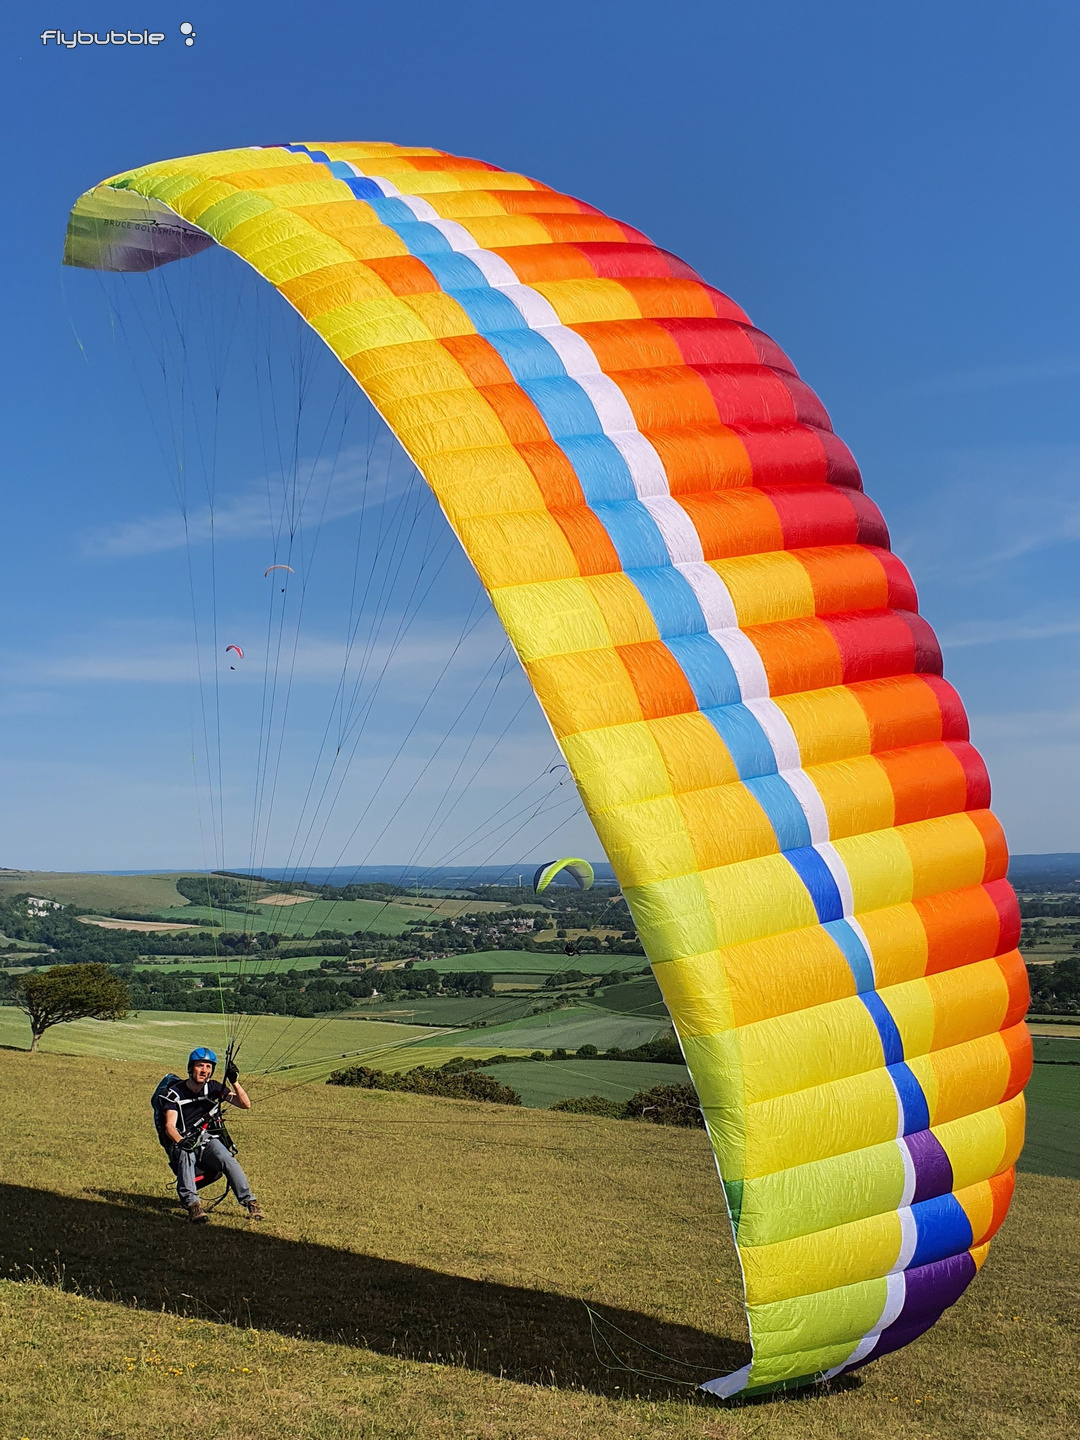
Do it on both sides, this develops real fine control on the brakes. It’s much easier to stall the upper wing tip when it’s over on the side, so if you can fly it back up and put it back down again, you know you’ve developed good control on the brakes.
Ground handling exercise 10

Then try some pullup variations. See if your wing will pullup without the A’s, just leaning back into a stiff breeze, and if it does that see if you can control the wing using the back risers only, so leaning back, letting the wing come up and then controlling the pitch with the back risers.
Try both A’s in one hand, and the brake in the other, and swapping hands. That’s quite a useful technique for thermic launches and when you’re not quite sure about the wind direction or it’s changing a lot. Practice that, swapping hands, pulling the wing up, keeping control.
Practice hooking the loose brake with a finger so you’ve got both brakes with that technique, that’s a nice variation, and also experiment with the A’s and C’s launch, see if that works on your wing, what it’s like, how much steering you’ve got. It’s all about learning about your wing, and your options.
More ground handling challenges

There are lots of extra things you can try with ground handling. If you’re bored with those ten exercises I’ve given you, you can try skew launches, try aborted launches, cobra launches. Try launching backwards, while still facing the wing in the reverse position and then swinging out in the air. Try a ‘no control’ launch: that’s where you don’t put any input in on the brakes, you try and do it all with body weight, just bringing the wing up, balancing it, turning, running off, launching.
If you’re still bored, go and look for some turbulence, just like the crows, they love to play behind something that’s creating rotor, well you’ve got that nice open slope for ground handling, go and find an obstacle and mess around behind that so you learn about broken airflow and bringing the wing up from dead air into strong wind.
Put some obstacles out, run around them. Have fun!
Our top 10 ground handling exercises:
- Keep it up (reversed)
- Face forwards (balance)
- Flying speed with minimum distance
- Transitions: smooth turns
- Slow rise
- Slow descent
- Stall point and refly
- Pitch forward and collapse
- Tip touches
- Pullup variations
Resources
Highly recommended DVDs: Advanced Groundhandling and Ground Handling Techniques
For more skills, check out our range of Paraglider Control articles in the Flybubble Pilot Knowledge Base.
Also check out related products in our shop: dedicated Ground Handling Wings, simple, light Mountain Paragliding Harnesses, Helmets and Windsocks & Wind Meters.
We also sometimes have used old wings which are no longer airworthy in stock, which we sell as Ground Handling Only Wings.
Ground handling paraglider skills video
Brought to you by Flybubble
Like what we do? The best way to thank and support us is to buy gear from us and recommend us to others. Review our service on Trustpilot and our products on Flybubble Shop. You can also subscribe to Flybubble Patreon. Thank you!

