Even if you have a healthy store of natural ability to fall back on, you can improve your safety by developing your flying skills and working your way toward that 'green light' nirvana.
Some pilots are naturals, others must learn the hard way. Unfortunately, it is human nature to think we are in the first group until we discover we are in the second. So assume that you are one step closer to danger zone than you estimate you are. Even if you have a healthy store of natural ability to fall back on, you can improve your safety by developing your flying skills and working your way toward that 'green light' nirvana.

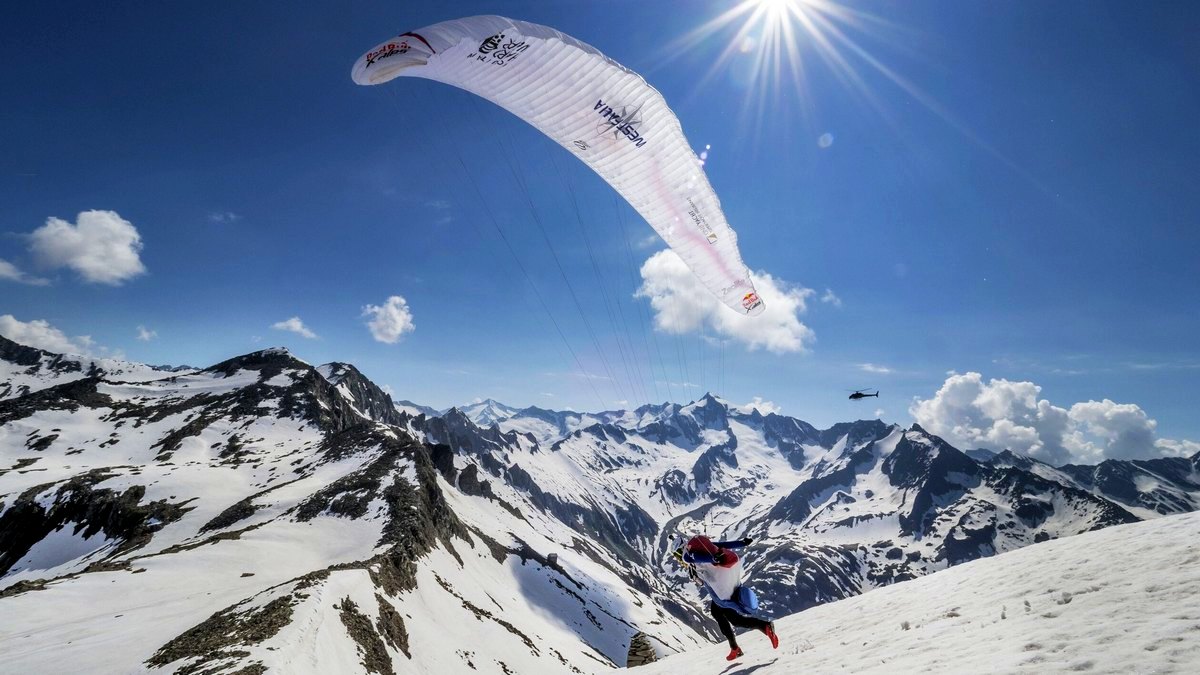
^ Mastering aerobatics can lead to developing spectacular control
1. GROUNDHANDLING
A quick way to enhance your ability is to take your glider to a field or easy site and work on your ground handling. Or come on one of Flybubble’s Advanced Ground Handling seminars.
Have you considered getting yourself a wing specifically for ground handling practice? Either a cheap old one (to avoid wear-and-tear on your own wing) or a purpose-built ground handling wing (which you can also use in a bit more wind).
Good launching does wonders for risk management. It's all about flying when you want to, not when the gusts decide. It also helps to build muscle memory and reduce reaction times.
It's best to find an area with a bit of a slope, because the glider will sit overhead instead of hanging back slightly, making the responses similar to what you'll find on the flying sites.
Okay, but what do you actually do? Just stand there with the wing up? That will help, but there's a lot more to it! Here are some tasks:
Task: tip touch. Once your wing is settled overhead, keep your feet planted where they are and let the wing fall gently down to one side. Use the high-side brake to slow the descent, but let it go to the ground. Then try to fly it back up. This develops useful gust-correction abilities and also an awareness of fine-brake control.
Task: blind handling. Close your eyes and try to keep the wing flying for as long as you can, facing forwards. This really develops the sensitivity to the riser movements, which will help you react before the effect of gusts are visible on the wing, and ultimately, sense where the thermals are.
Task: power curve. Find a grassy area and try launching from a seated position. Try holding the wing overhead. Try to fly it down to the ground on either side, and back up again. Try to use the wing to lift you back onto your feet. Try this facing forwards, and reversed. This develops a sensitivity to the power in the wing, the effect of brakes and pendulum control, and an awareness of the aerodynamic forces.
Task: slow pull. Develop finesse at bringing the wing up as slowly as possible, using A risers, without it stalling back down to the ground. Control the speed by leaning back or moving towards the wing as it rises.

^ Working on the tip-touch with an instructor

^ Perfect timing of the launch run gets you airborne quicker
2. GROUNDFLYING
Ground flying is the next stage. Ground flying? How is that different from ground handling? Well, this will only work on a flying site, or shallow slope, in wind. Your wing must be generating lift.
Task: where is my stall point? An absolutely vital skill to develop, allowing you to make pin-point slope landings, safe top landings, fly slowly without fear, avoid traffic, and even land almost vertically in emergencies. Hover one foot over the ground with your legs down, flare and hold the flare until you feel your wing soften and your sink rate suddenly increase. Once you're familiar with this feeling, look up to the side to see how your wing responds. This will develop your ability to recognise the approaching stall in the air. It usually begins on the tips - they peel back. Play around with this over and over, you can never get enough of it, but only do this very low. With time you will be able to feel the stall approaching, when you can instantly release the brakes to keep the wing flying just faster than stall. Notice also how gusts stall the wing earlier than you were expecting, and how asymmetric input causes the wing to spin.
Task: short launch run. Get it flying in three steps, regardless of the wind strength. The trick is to develop precise pitch control during your launch run, by matching your loading on the chest strap with the glider airspeed. Try launching by running fast, out ahead of your wing (it won't work too well, you'll pendulum up then down). Try launching by allowing your wing to pitch ahead of you (not too much or it will just fold). Work on this until you can hit the perfect balance point which is just ahead of vertical, where the wing pulls you forward off the slope with a very short launch run.
Task: asymmetric collapse recovery. On the ground, collapse half your wing by pulling hard on one A-riser set. Lean/run into wind hard to keep the airflow up and keep the wing flying straight. What you'll notice is that the remaining half of your wing stalls with less brake applied than a full flying wing. Use a big, deep pump on the collapsed side to clear the wing. This exercise develops your familiarity with the key skill of controlling asymmetric collapses, and an awareness of the changing airspeed and stall points during collapses.
Those are just a few of the tasks, along with launching from a bunched layout, bringing the wing down safely, cobra launches, big ears, controlled kiting, slow flying, spin landings, and much more. So it doesn't need to be perfectly soarable to be developing flying skills.
3. AIRTIME
Nothing beats it. The more you can pack in, the faster you'll develop. If it's flyable, don't sit on the hill waiting for it to get better (so you can avoid a walk). If it's only strong enough to ground handle your wing, do so. Get it out of the bag! Flying is a compound learning curve, and the hours you put in now are your foundation for the higher steps.
Supercharge your logbook by going on a guided flying trip.
^ Pilots amassing quality airtime on an instructional trip to Spain with Flybubble
4. TANDEM FLYING
Some schools offer tandem flying instruction, where you can join an instructor and get an intensive one-on-one session which will expand your skill set. We'll give you the controls so you can develop your abilities on any tasks you'd like to work on.
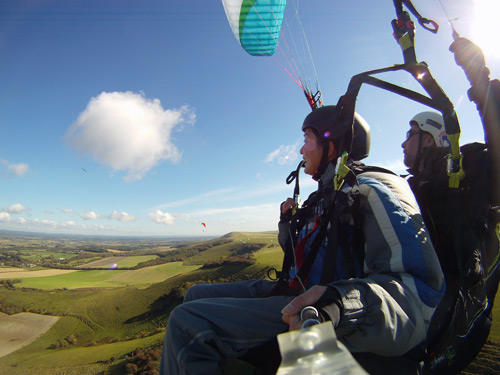
^ The aerial classroom – tandem flying offers unequalled instruction for pilots
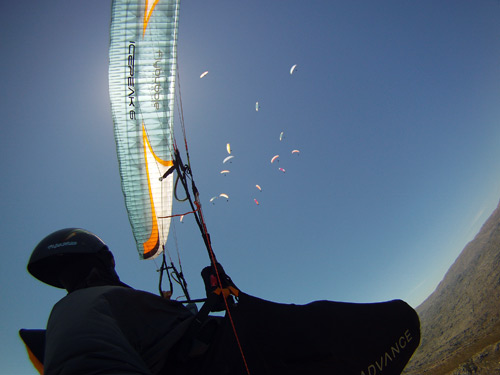
5. SAFETY COURSE
To develop the next level of ability, you need to go on a Pilotage course or the full-blown SIV. This will be run over water, with a rescue boat, and ridiculous amounts of altitude to spare. You get full instruction, and step by step progression through the various manouevres. It will absolutely transform your flying, removing fear and allowing you to feel freedom. We recommend Jocky Sanderson and Kari Eisenhut. Aerobatics are best begun in a manoeuvres clinic, but thereafter you can build your ability to make smooth wingovers and spirals through practice, practice, practice - up high. The awareness and sensitivity you build up with your wing is invaluable and will really help your thermaling technique and your confidence in the air.

^ Have I found my stall point yet?
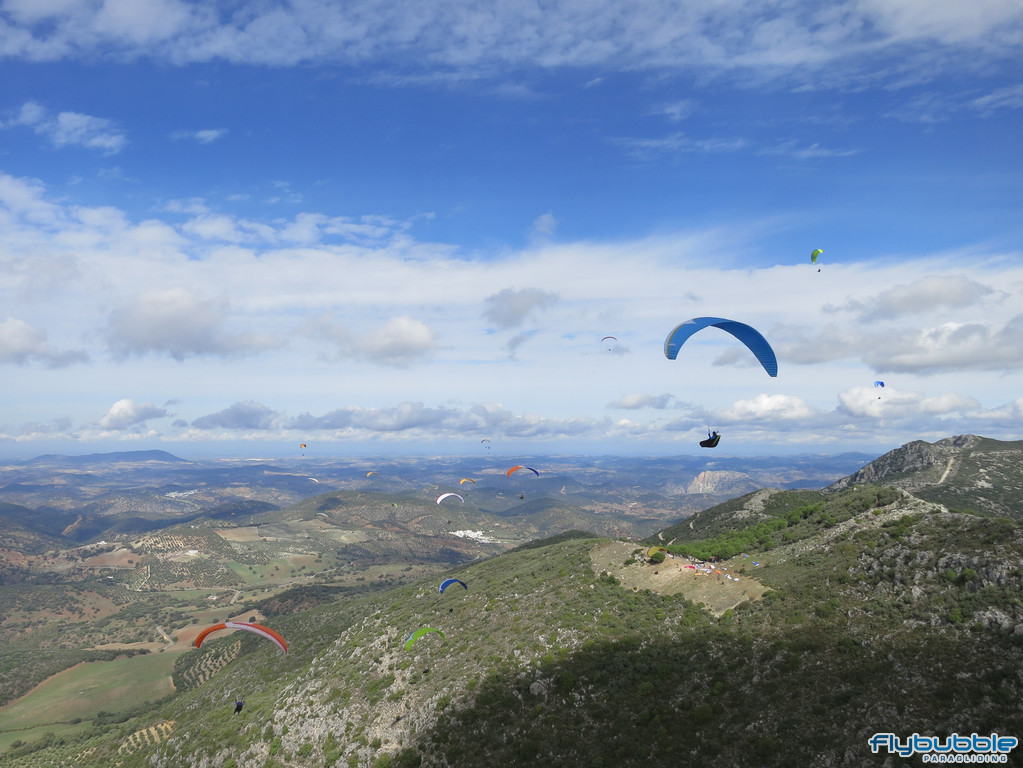
6. COMPETITION FLYING
Competitions round off the picture, where your ability will undoubtedly increase – tactics, mental focus, gaggle flying, setting goals (and reaching them!) make for an intense journey. Competition pilots are often very helpful at sharing tips, and because you have a direct comparison with other decisions in the air you build experience quickly. With live tracking and post-task-replays on Google Earth, you can really study the route choices and flying decisions and learn the tactics necessary to make you a winner.
^ Chasing the lead gaggle in the Pre-PWC South Africa
In the next article we'll investigate ways to improve your knowledge about all aspects of flying, to help understand where the risk lies. In the meantime, get out there and practice your groundhandling to reduce your 'ability' risk.
Brought to you by Flybubble

Like what we do? The best way to thank and support us is to buy gear from us and recommend us to others. Review our service on Trustpilot and our products on Flybubble Shop. You can also subscribe to Flybubble Patreon. Thank you!