
I thought it would be interesting to you to go behind the scenes during a Flybubble wing review, and see what I do to define the character of a new paraglider. This way you can learn some tips and tricks to apply to your own flying, and you’ll understand more about the challenges and limitations of wing reviewing.
In this article I expand on the concepts presented in the accompanying video (down below).
1. Inspect the leading edge

The shape of the leading edge can give you some clues to the behaviour of the paraglider. Is there a big camber on the aerofoil? (Great for producing lots of lift at slow speed). Are the cell openings really small? (Less drag but slower reinflation). Is it heavily reinforced (with rods running a long way back)? This usually goes hand-in-hand with set-back A-line attachments, which produces a very solid feeling wing that could be more dynamic in big collapses. A quick peek into the cells will give you an impression of the complexity of internal reinforcing and cross bracing, which will help to retain the wing shape and also improve the longevity of the wing.
2. Inspect the risers
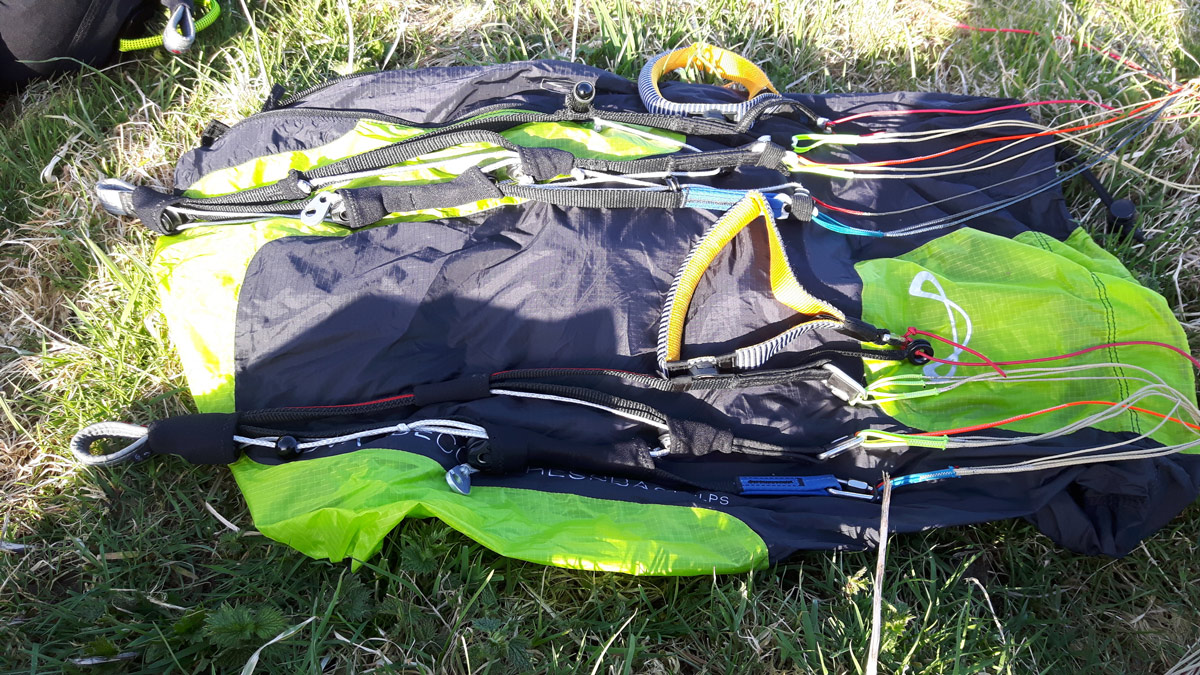
You can get a feel for the quality of the manufacturing just by handling the risers. What are the finishes like? Are the lines helpfully colour-coded? Do they look protected enough? Are the brakes secured with magnets (luxurious) or poppers (feels cheap)? How are the lines secured? Do you like the feel of the brakes in your gloved hand?
3. Test the kiting
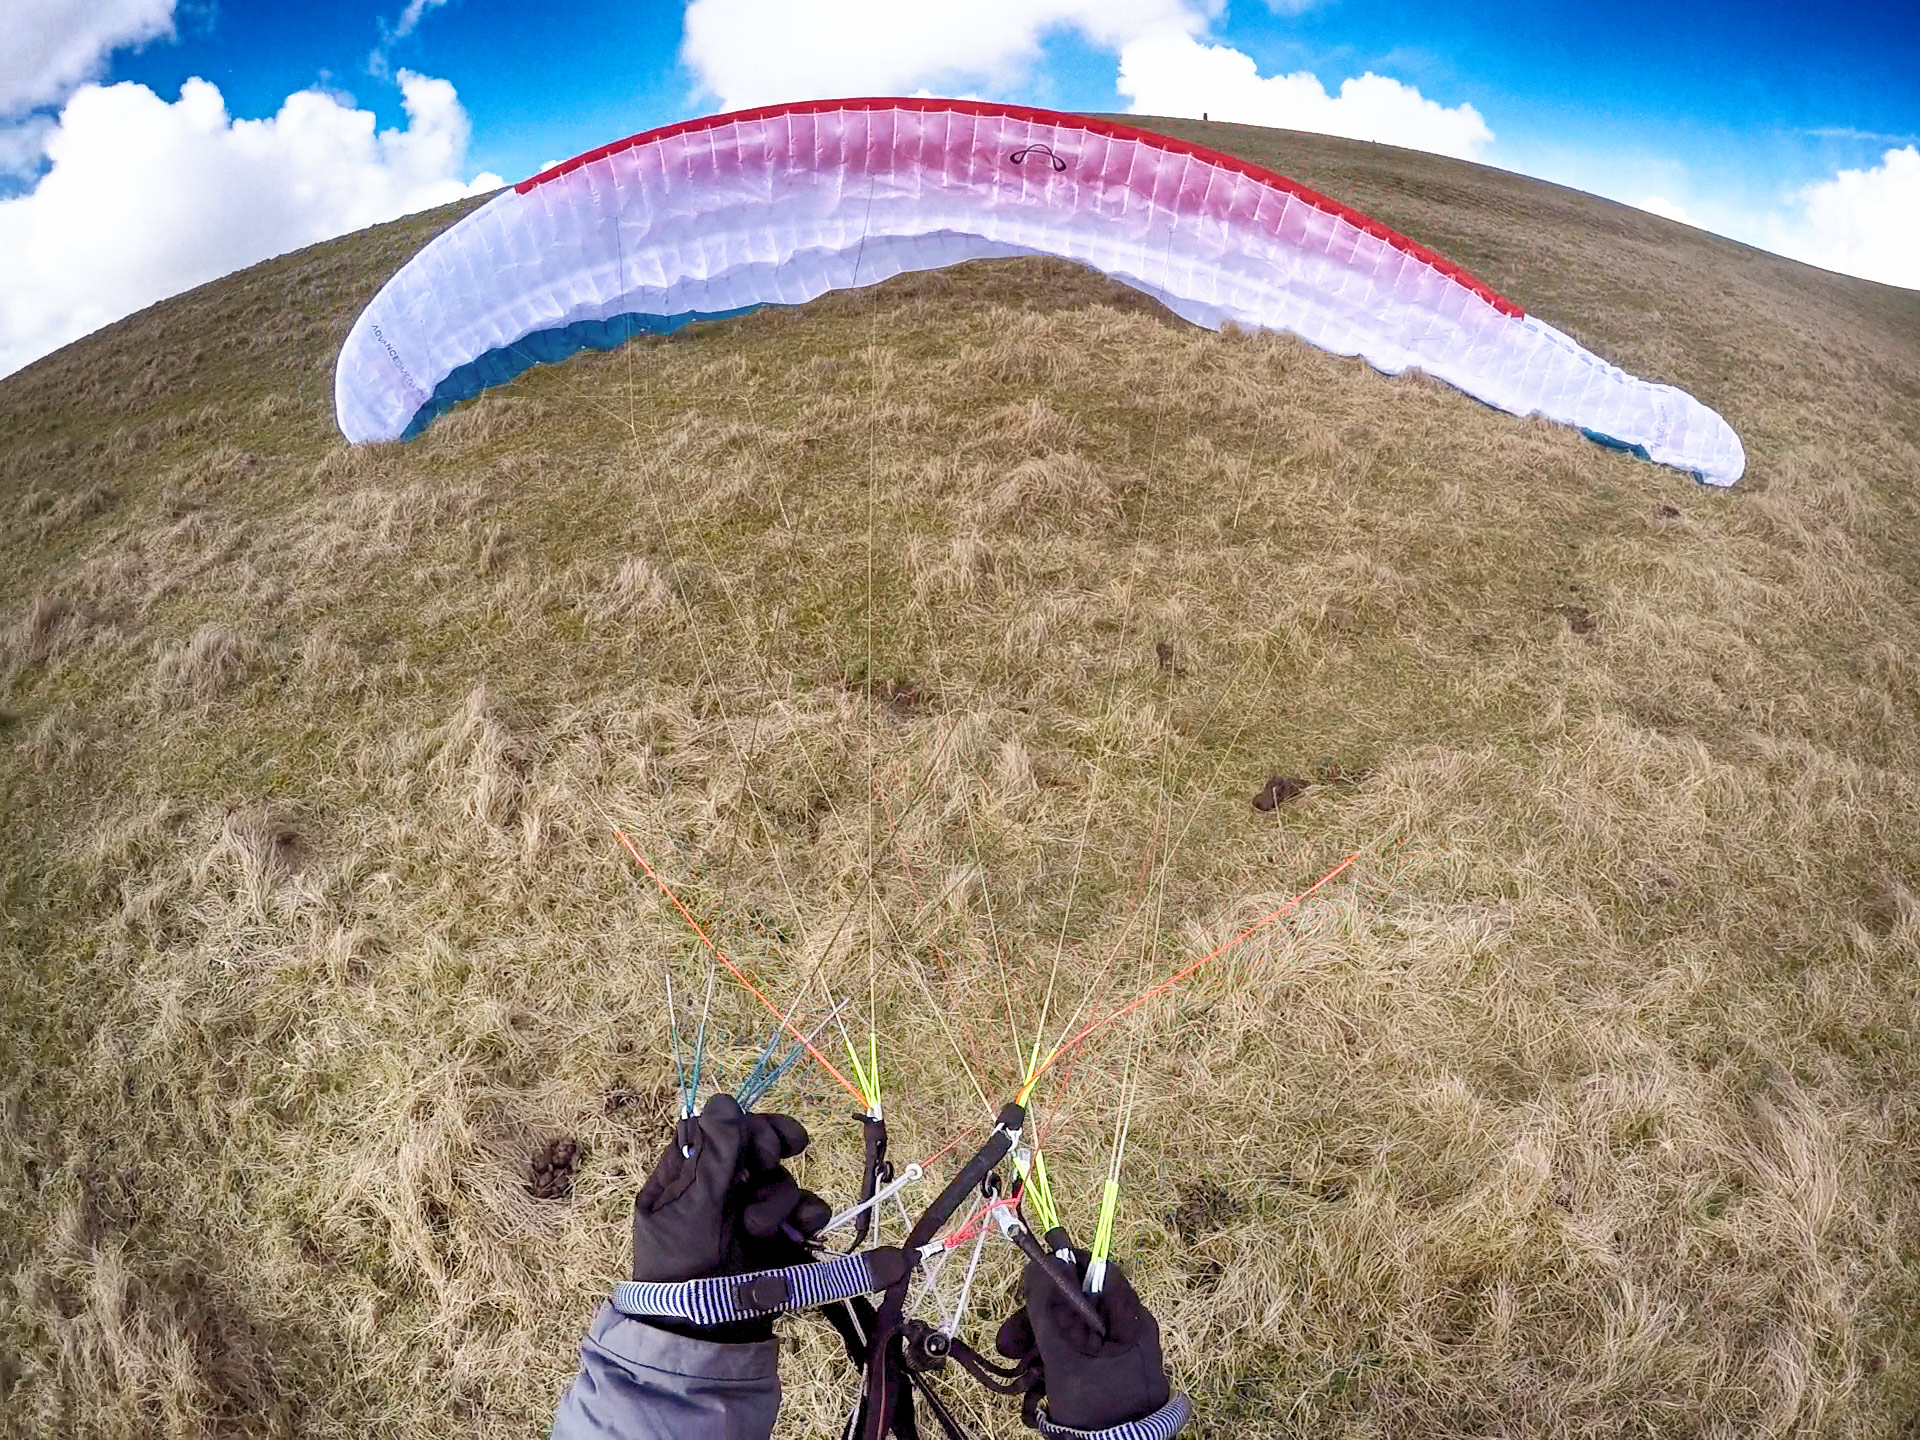
Although many pilots don’t kite their wings or don’t have sites where it is possible, I have the opportunity in the south of England to play with wings on a soft bed of grass. This means I can analyse the launch in a more detailed way. Learning about the way the wing tolerates extreme angles can reveal information about its character.
4. Test the stall point
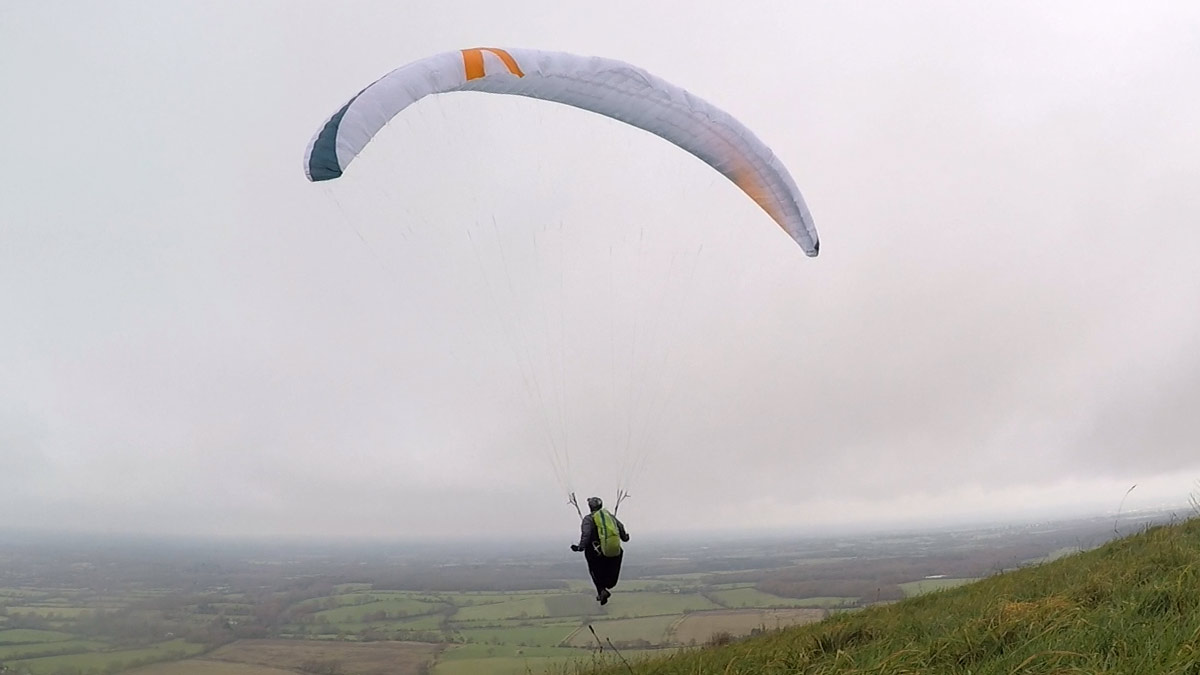
We made a video on doing this test close to the ground. Does it have a sharp sudden stall? Does the pressure increase dramatically, giving you a good warning you are getting near to danger? This is useful information which you can appy to toplanding or landing in grotty air, and launching from less-than-ideal launch sites.
5. Feel the handling
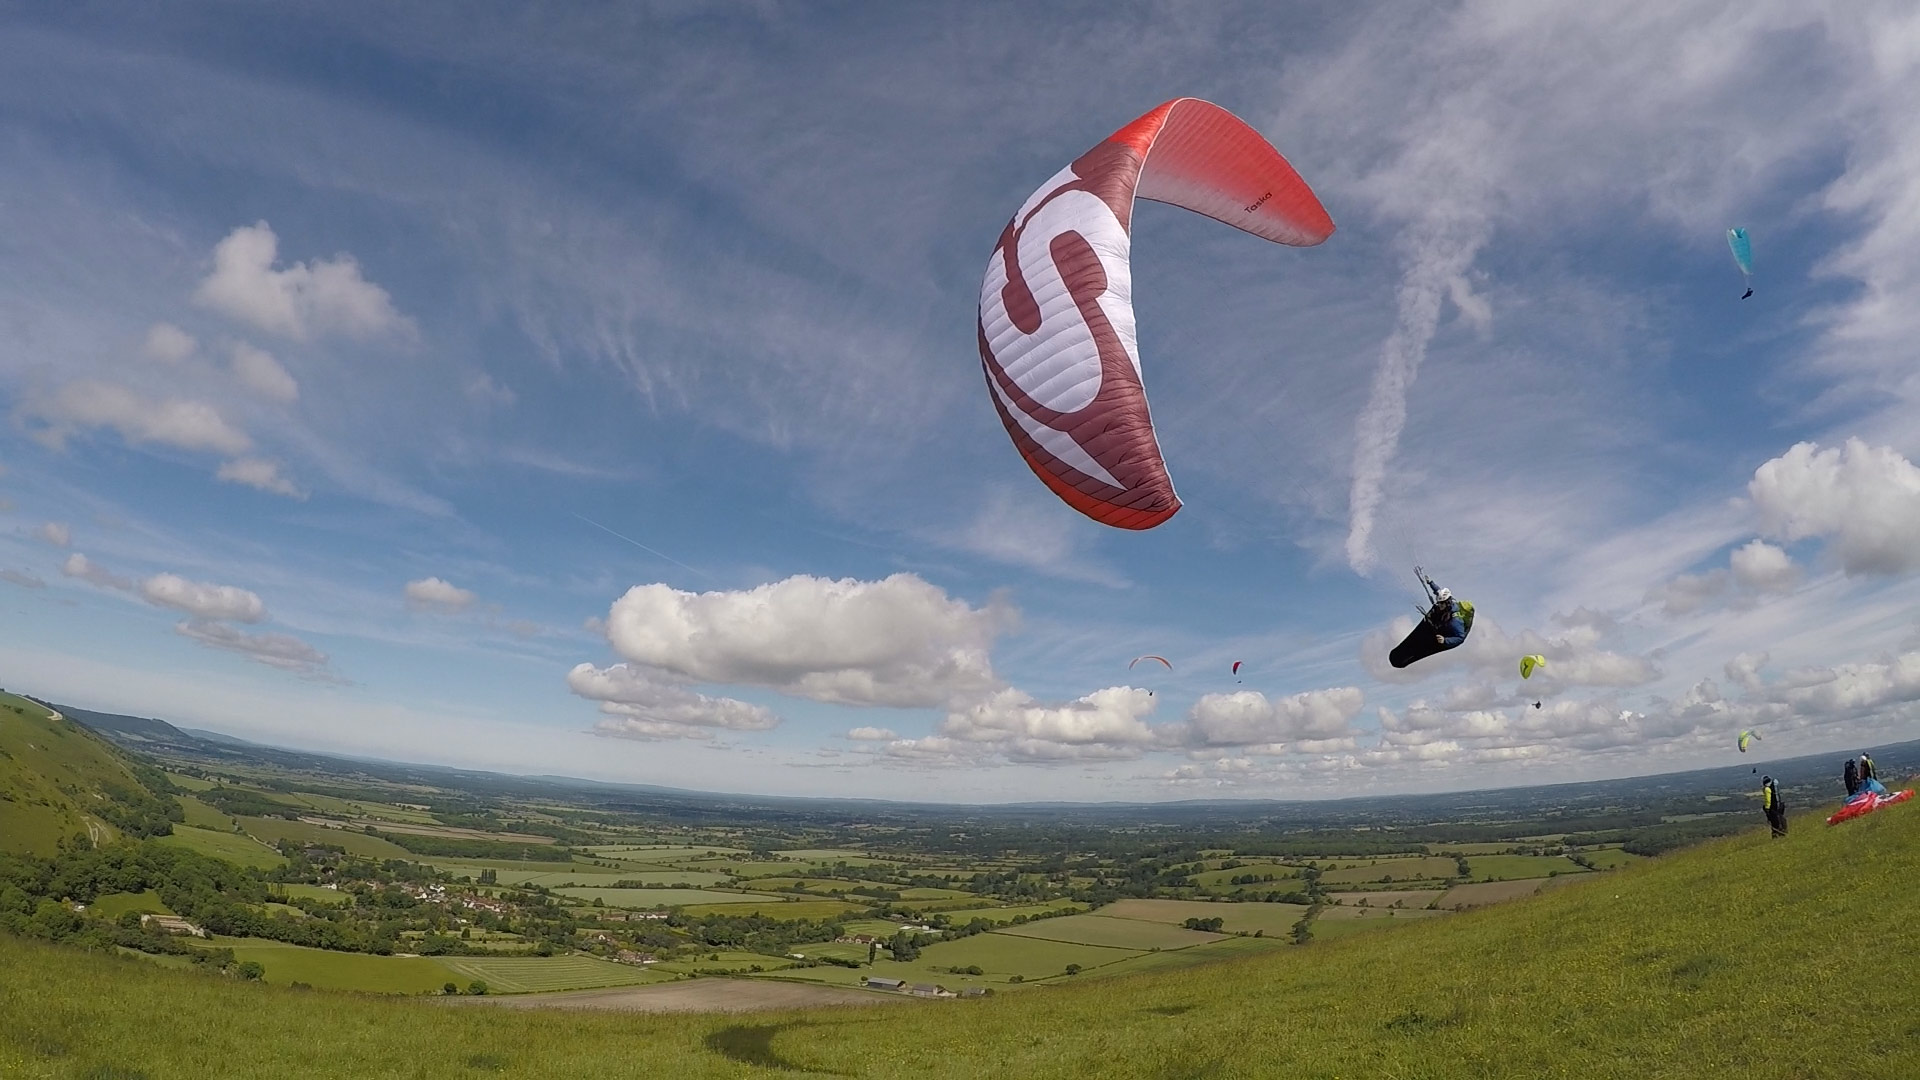
For the first few minutes of flying, all that I do is try to feel what the handling is like. I do lots of cornering, trying to tighten on pockets of lift and seeing how well the wing responds to changes in turn radius, shifts in direction, turn reversals and weightshift. This is probably the single aspect of the wing that all pilots will notice, and it will define the feeling of your flying experience for all the years that you own the wing. Everyone likes a responsive wing, but not everyone can handle the same level of responsiveness, so I'm trying to judge the handling relative to the target group of pilots.
6. Test the speedbar
If I have good conditions for it (good height, steady wind, few thermals) I do a rough speed test using GPS speed increase between trim and full bar. This almost always confirms the standard for the class (A = +8km/h, B = +11, C = +14, D = +17, CCC = +20). What is more interesting to me is the feeling on speedbar. Do I get a tightening in my tummy that signifies the wing has become critical and is about to blow out? Does the wing feel solid? Can I still feel what the air is doing or is the wing too rigid?
7. Push the limits
Part of my approach is to experiment outside the normal flying envelope to learn about the wing. I try to crank in some aggressive turns and see if the wing behaves well or resists my inputs. What I do here depends on the class of wing. In the higher classes, a wing should do what a pilot wants it to do. In the lower classes, the wing needs to prevent the pilot from doing stupid things, so if I’m testing an EN B wing I’d be yanking on the brake and looking to see that the wing didn’t spin, whereas on an EN D wing I’m trying to see if I can force the wing to turn tight and keep it flying.
8. Analyse the feedback

As the wing passes through air currents it can transmit this information to the pilot, or absorb it into the cross-braced structure, depending on the construction of the wing. Some wings have a lot of roll movement, some flex at the tips, some manage to transmit the information in more subtle ways. I like feedback from a wing, but I don’t like it to be overwhelming … there must be enough there to work from. A wing that is completely calm can be misleading, and although it’s unlikely to be dangerous, it stops you from being able to sense what’s going on ahead of the leading edge.
9. Test the spin point
The spin can catch pilots out when trying to thermal in lee-side conditions or anywhere with sharp transitions into narrow cores. I like to test this while climbing in a thermal, to make it more relevant. I do this by initiating a half-turn, releasing, then turning again as the wing is levelling out, which is a recipe for a spin. I want the spin to be obvious, with the tip bending back in a steady progressive manner, and an instant recovery when released. Some wings hide the presence of the tip stall then suddenly slip and rotate (dangerous). Others tend to pull you into an accelerating turn, protecting the wing from the spin (good).
10. Test the stall point
Yes, we already did this on the ground, but up high it can feel different. I’m looking for a good resistance to stalling, and no funny business on entry or exit. I’m not doing a full stall here, just approach to the stall point and releasing as soon as it begins to stall. This just helps me to define the brake range.
11. Big ears
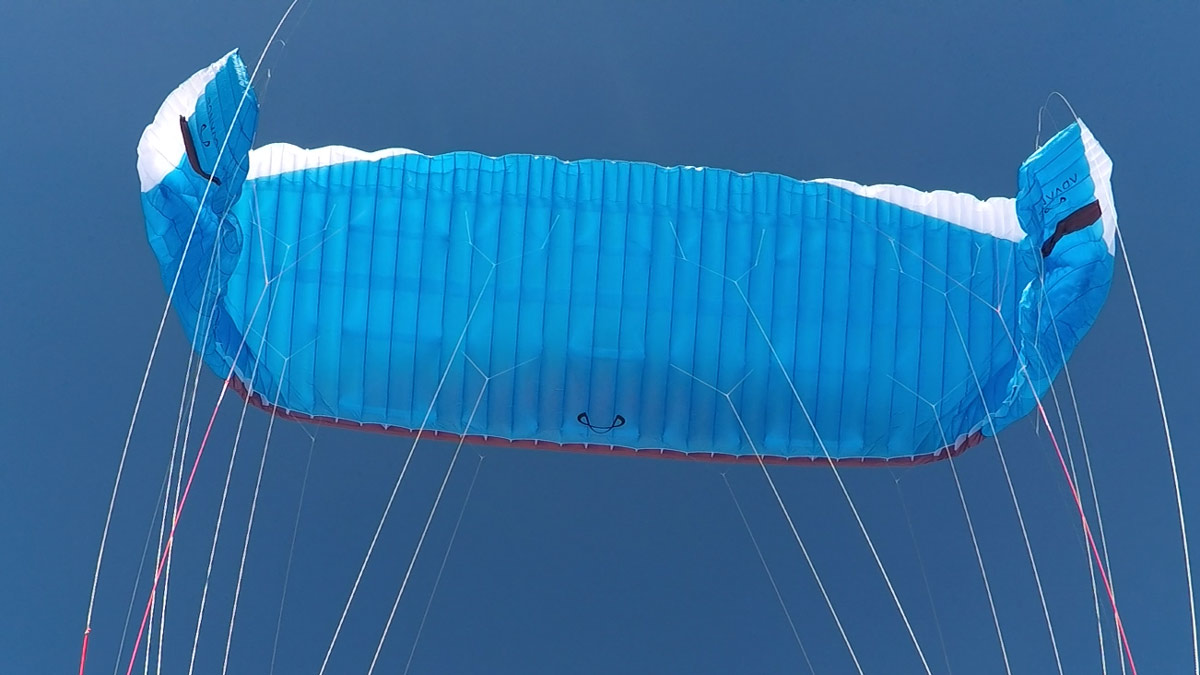
I think this is an essential manoeuvre and goes a long way to making a pilot feel confident about a wing. Big ears are the only descent manoeuvre that retains your forward speed so can be used when wanting to come down for toplanding, avoiding cloud near mountains, avoiding airspace while continuing on an XC, or just for getting down without high G forces when you’re tired of flying. I don’t like flapping ears or ears that fight me to reinflate. I prefer ears to stay settled but they must not slow the wing down a lot. I often test the drag effect by doing a few wingovers with ears in, then levelling out. Very draggy ears can slow a wing into a stall at this point (an instant fail from me). Big ears must be foolproof, because when you use them it’s often in extreme conditions.
12. Asymmetric collapses
The EN test pilots have done it already. There is no reason to do these in a review, but I usually yank a few asymmetrics in, just for fun. It gives me an idea of how much pressure there is in the leading edge which hints at its collapse resistance. It will highlight any unexpected aggressive reactions.
13. Pitch control
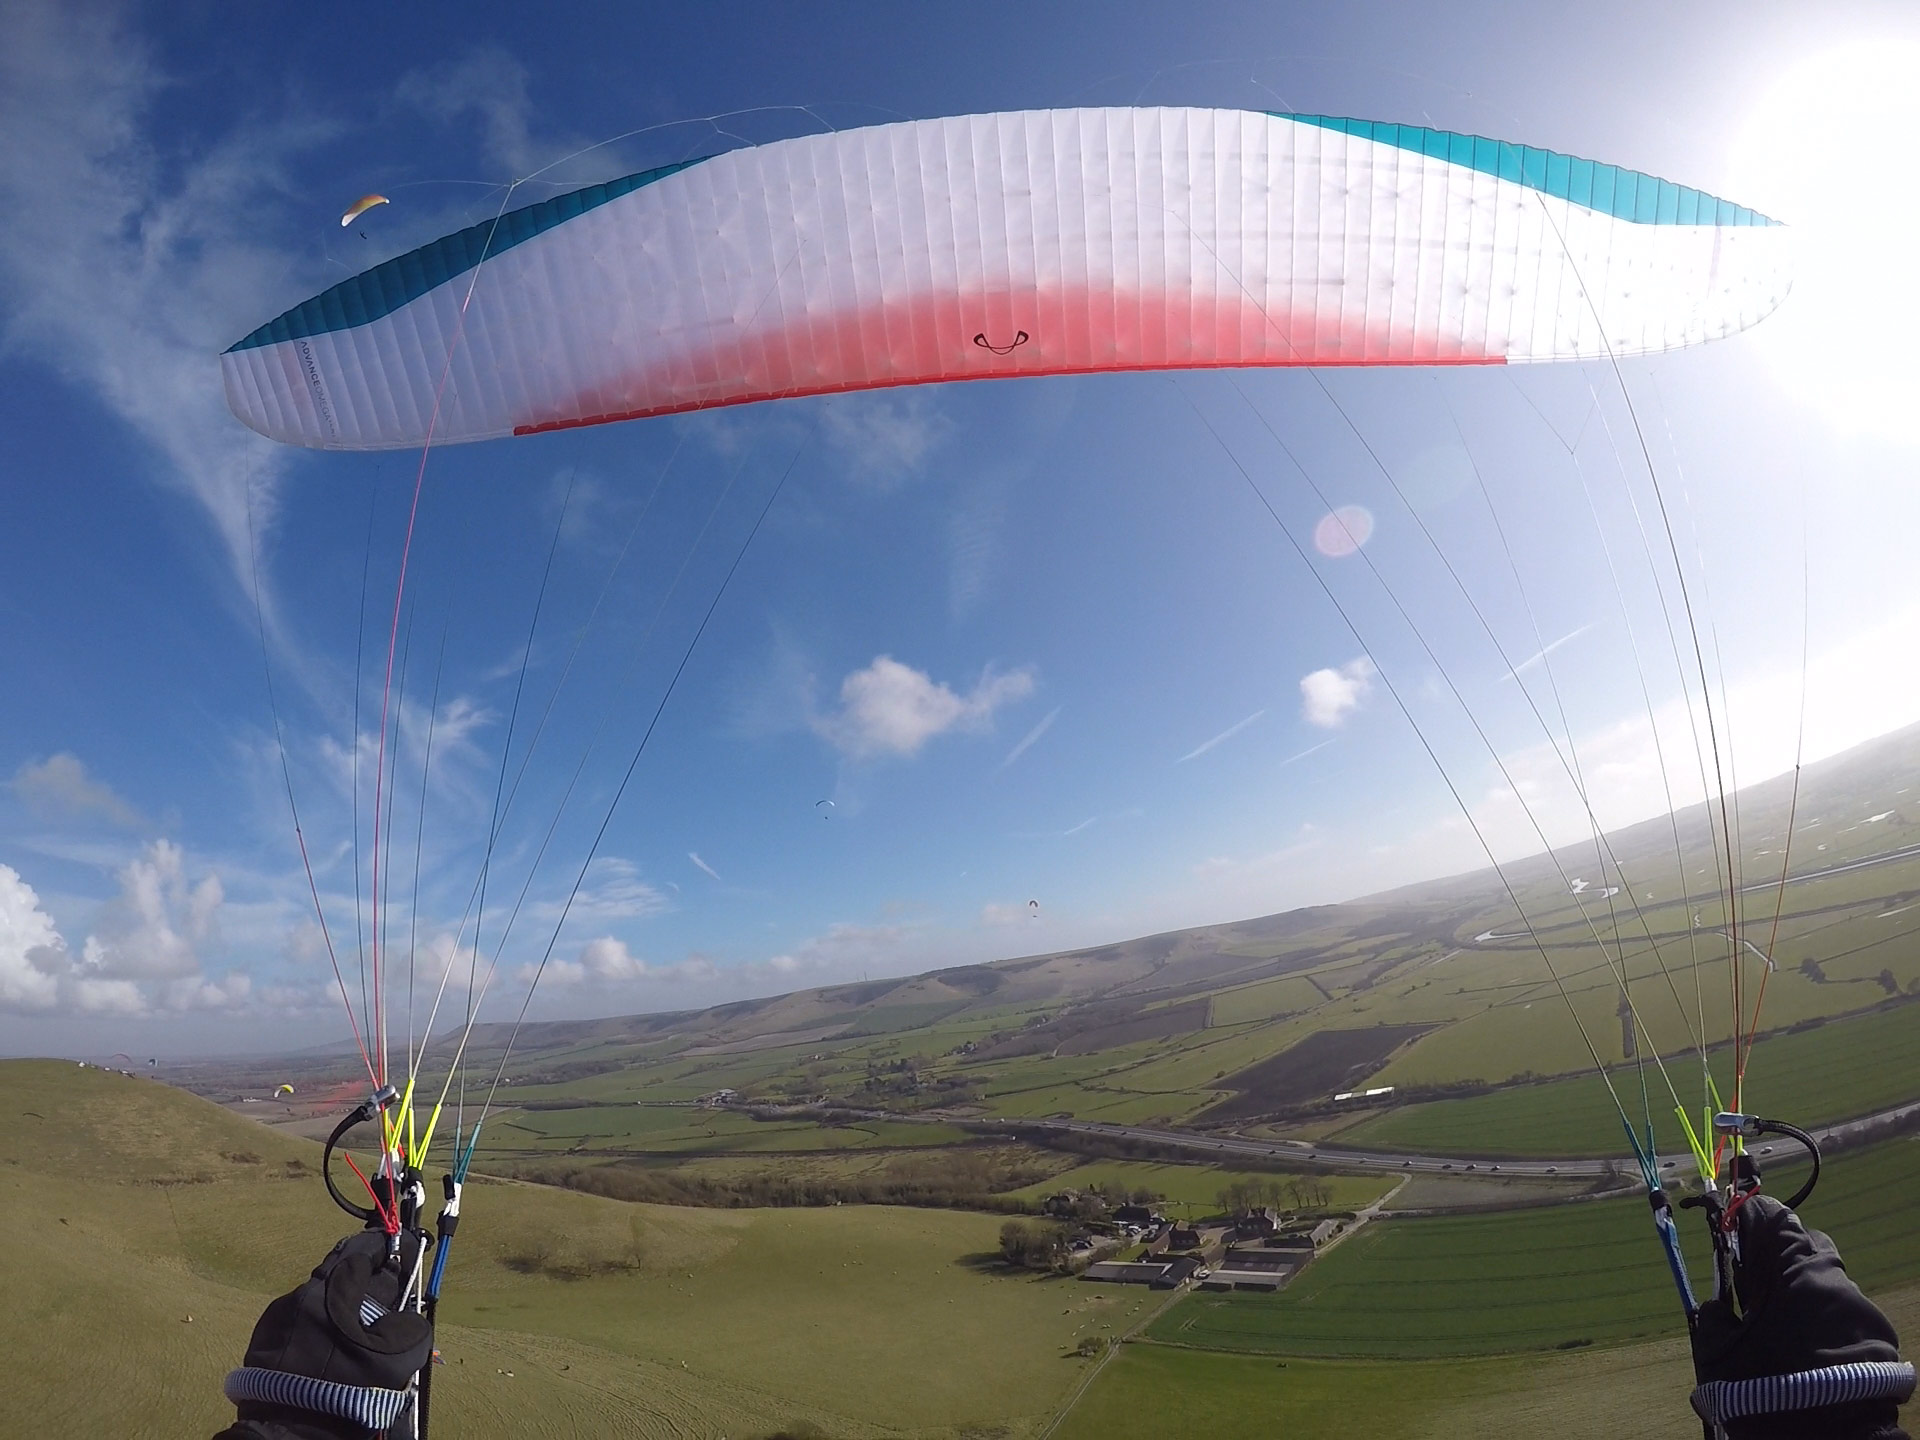
The degree of freedom a wing has in the pitch axis is usually directly linked to the class. EN A wings have a huge amount of dampening, so inducing pitches is difficult and the wing absorbs much of the energy that tries to destabilise it. EN D wings often have great pitch freedom, but this comes at a price. If you aren’t very fast with your active flying inputs, you will lose all the performance advantage of the wing with lots of swooping up-and-down flying. If you can control this well, you get more sensitivity to the air, and more energy to convert into your climbing turns. By inducing a few pitch cycles I can feel if the wing shoots quickly forward, and if the wing absorbs this energy or continues to the point of frontal collapse. I like a little energy here, but not unrestricted freedom.
14. Define the character
This is the hard bit: using words to capture the essence of the wing, in a way that you understand. I always try to do this with reference to the class of wing. So if I say it’s “solid” but we’re talking about an EN D, it means it’s solid for a pilot with probably 500 hours of flying time, multiple SIV courses, 100s of XC kilometres under the belt and a natural gift for flying. If you learnt to fly off the internet last year and decided to upgrade from the oversized school wing you borrow from your friend, it’s going to feel “impossibly unstable”. The words I use are only relevant to the target pilot. So part of reviewing is pretending to be different pilots: when I’m reviewing an EN D wing I’m imagining that I am the typical EN D pilot, and I’m analysing the way the wing feels in those terms. The pilot I imagined might not be at all like you.
15. The summary
We try to sum up the review by answering the question: “Who is this wing for?”
Some pilots have asked us to rank wings against each other, but we don’t do this because we think this is misleading. There’s no best wing in each class, just the wing that’s best for you.
Each wing does different things well, some have a great blend of all aspects, some are unsuitable due to their weight ranges. It’s a big investment so we prefer to spend time with pilots finding out more about their flying goals and experience before recommending the right wing.
Hopefully this video will help you to identify what we are doing in our wing reviews so you can make an informed decision.
Want to see more? There's no better way to support our efforts than buying from us. We'll ensure you get great service! Choose from our huge range AND enable us to produce more videos and articles to benefit the freeflight community.

