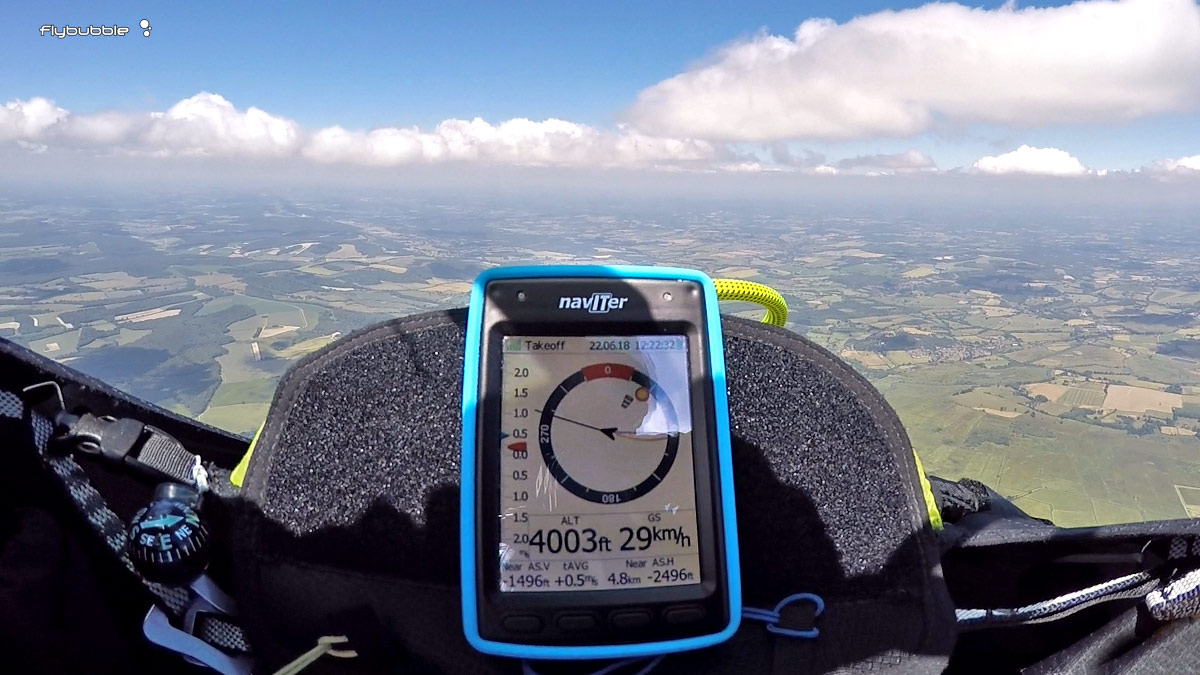
The Naviter Hyper is a light, compact flight instrument designed for everyday use and cross country pilots. The Hyper “gives you enough information to put you on track to your target, avoid airspace, accurately core and return to thermals, and make every thermal count”. When you can do many computing things on your phone, there is a question many minimalists will ask: is it worth forking out more money on another box?
Naviter is not just another tech company: they are competitive, active pilots and great software engineers. They test the instruments in flight and use this experience to constantly improve their products. They are renowned for their Oudie flight computer, which we reviewed here.
As a volbiv enthusiast I found the Oudie too bulky and power hungry for my needs, although there was no denying the performance, particularly the ease of task-setting, airspace avoidance and customisation.
Enter the Hyper, with a tiny form factor, lightweight, simplified, yet built upon the expertise of the Naviter software engineers, and supported by the same knowledgeable and helpful team. I’ve had it for over 6 months which has given me a good chance to get to know it.
Naviter Hyper: construction
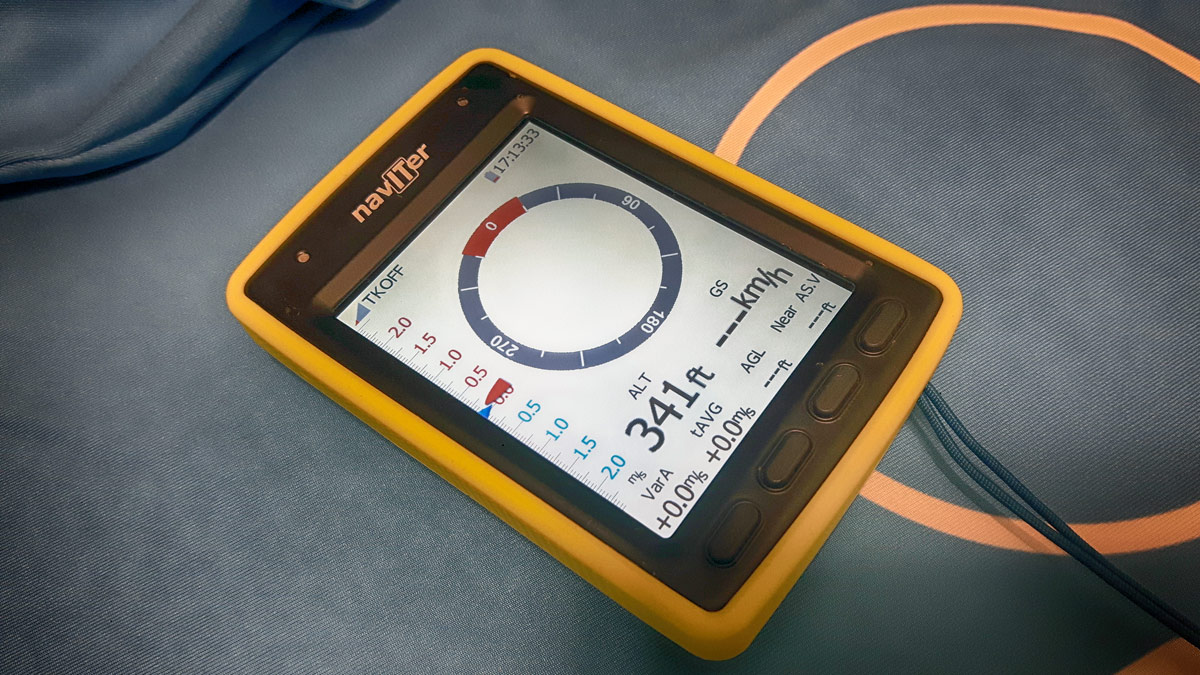
It is small, which is very convenient, but this means that it only has half the screen size of a mid-range phone. It’s also locked in vertical mode, so if you fly west-east (as I usually do) the airspace map is very limited unless you engage the Track Up mode which matches your heading with the top of the screen.
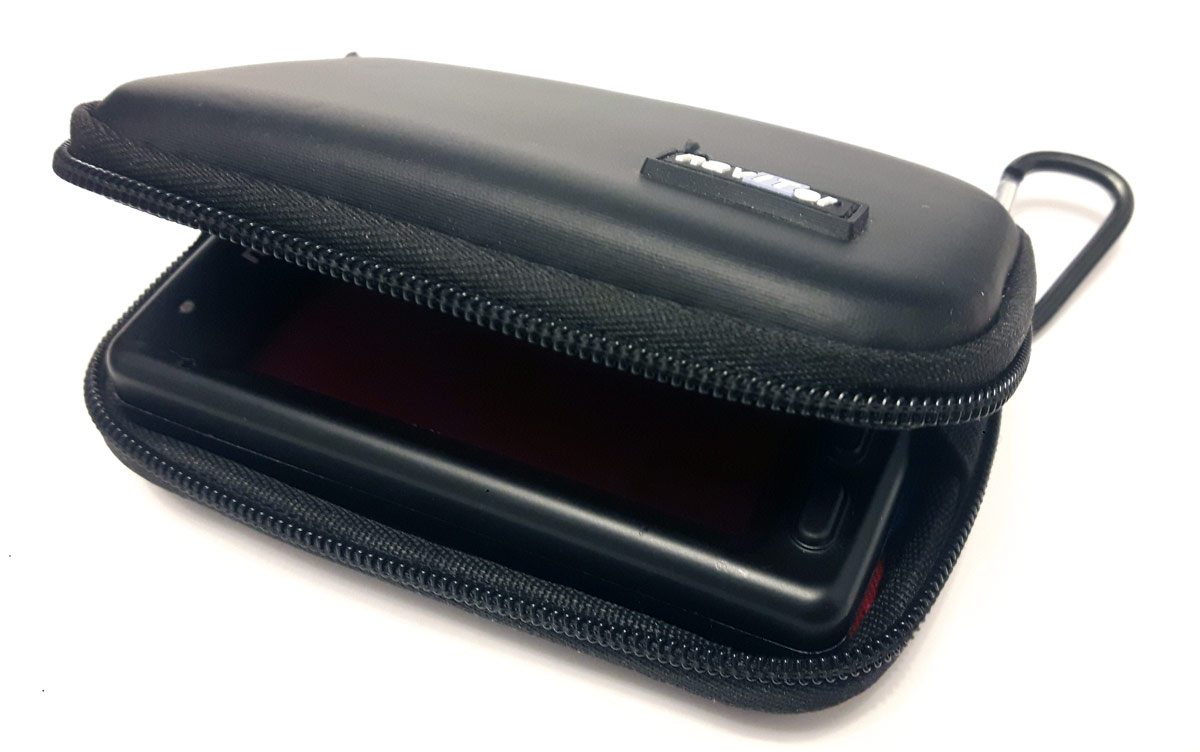
It is bright and very clear, even outside in sunlight. You notice straight away that it is also very rugged. A hard plastic with a rubbery feel encases the recessed screen. The built-in lanyard gives you an instant and simple way to secure it. Adding the Naviter Hyper Jacket means you can drop it on your flight deck and forget it, and flip it over to protect it when packed, important if you want the screen and silicone coating to last.
The battery life means it should endure the whole weekend, so your precious phone won’t be drained by running its screen and GPS. Add the accurate and responsive vario, fast reliable GPS, valid IGC track log generation and preloaded airspace and terrain maps (worldwide) and you begin to see why it makes sense to have a dedicated flight instrument even if you’re a minimalist, especially as its best to have a backup in your back-country gear.
Naviter Hyper: Controls
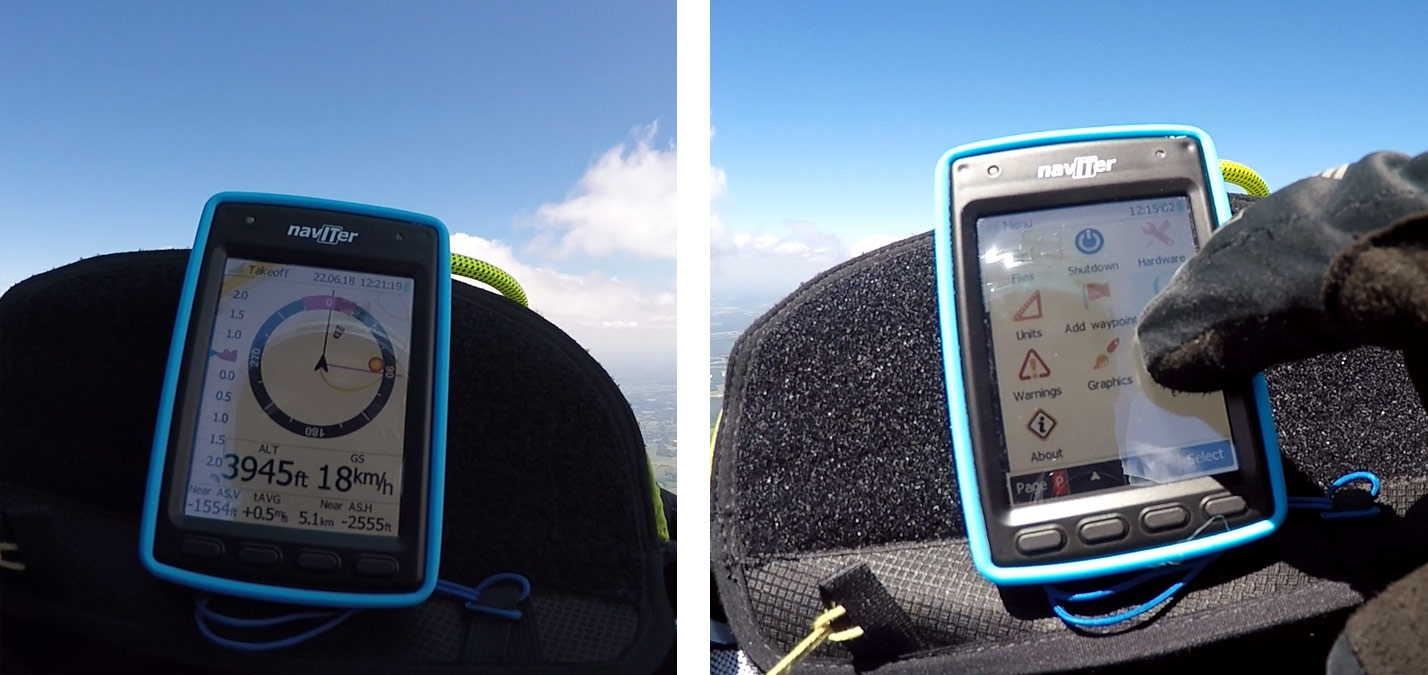
It has a glove-friendly touch screen, which allows you to long press any info box to switch to another data field you’d prefer to see. This is very useful. When flying, I’ve often found that the info I thought would be best isn’t relevant, and it’s simple to read through the well spaced alternatives to choose the most appropriate data. Over time you’ll develop the perfect setup for your kind of flying.
The Settings screen has a spacious touch grid and is easy to navigate on the fly. By long-pressing on the map screen you get the ‘nearby waypoints’ list which offers GoTo options, only useful if you have preloaded turnpoints (train stations, perhaps?).
It took me some time to become familiar with the button controls: they require a slow double tap: once to bring up the menu bar, once to engage the element, so to advance to the next page when flying, you must press page, page (then wait a little). Easy once you have learned the timing.
The power button is concealed and difficult to press in flight (or by accident, in your bag). You can activate a Screen Lock by long pressing the left button and choosing ‘Lock’. Contrary to what you might hope for (a visible screen that is just insensitive to accidental screen touches) in this mode the screen automatically turns off after 5 seconds of inactivity. A long press on any key wakes it, but it needs a swipe to reveal any info. This two-step procedure makes it slightly awkward to use so it’s likely you’ll just leave your Hyper screen on all the time, which means you are practically looking at the lower limit of the claimed battery life.
There are small volume buttons on the side of the case which work fine for occasional volume adjustment from mute to moderate to LOUD.
Naviter Hyper: Functions
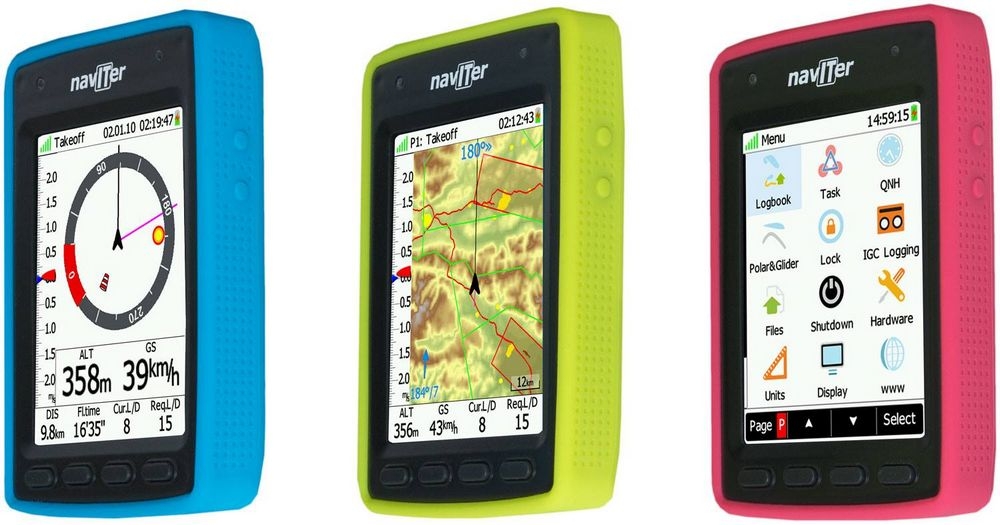
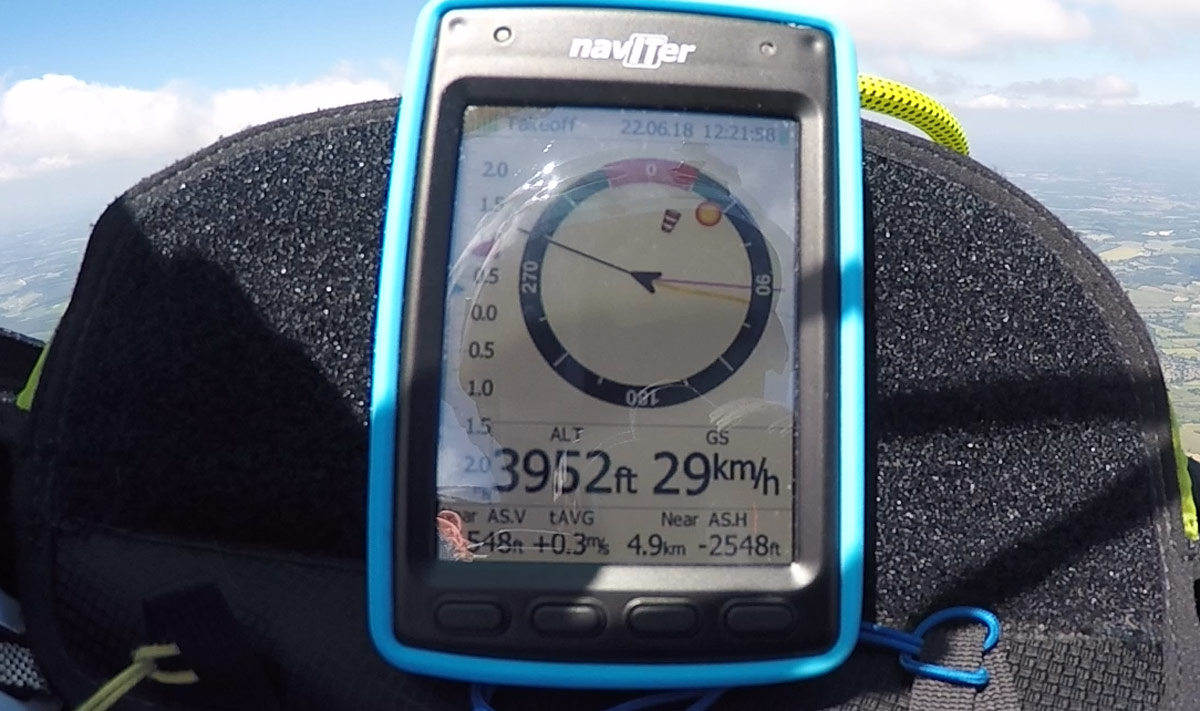
The main Compass Rose screen gives you a clear visual indication of your flight track and direction to goal, and when you do some steady circles, the current wind speed and direction will show up. Information boxes run across the bottom (2 large, 4 small).
The Thermal Assistant gives you a coloured zoomed in track that pops up when you begin to circle, making it easy to link up the good bits as you drift and turn.
Double press the right button, and you go to GoTo, which gives you quick goals: Takeoff, Task point, Waypoint or Last Thermal (hooray!).
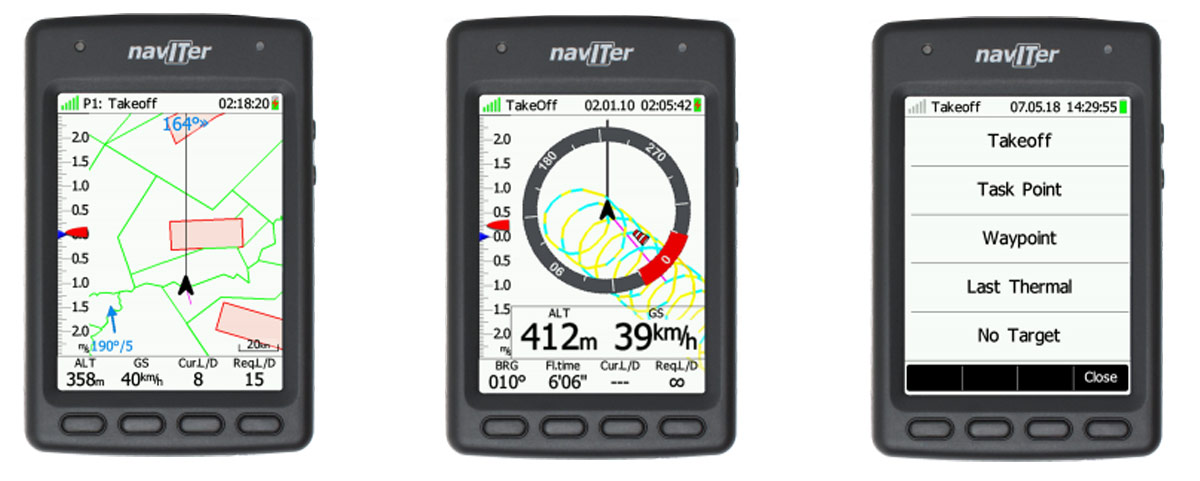
The Airspace View shows a top-down map with other user-defined information boxes along the bottom. Warnings pop up as you near restricted areas, giving you time to avoid or acknowledge the warning and remove it from the screen. You can choose to have North Up (my choice) or Track Up (‘satnav’ style).
A second Map Screen makes a second zoom level easy to access, and also means you can place some strategic information boxes relating to gliding here.
The final screen in the carousel is a comprehensive Settings Menu, which I found straightforward to use. For those with more technical aspirations, it has an FAI triangle assistant and OLC optimisations.
It will detect the start and end of your flight automatically, recording a track log that is easy to find as soon as you plug the unit into a computer. Naviter recently added the Hike & Fly mode to offer screen-off tracking during the walking phases of an adventure or race.
Naviter Hyper: My setup
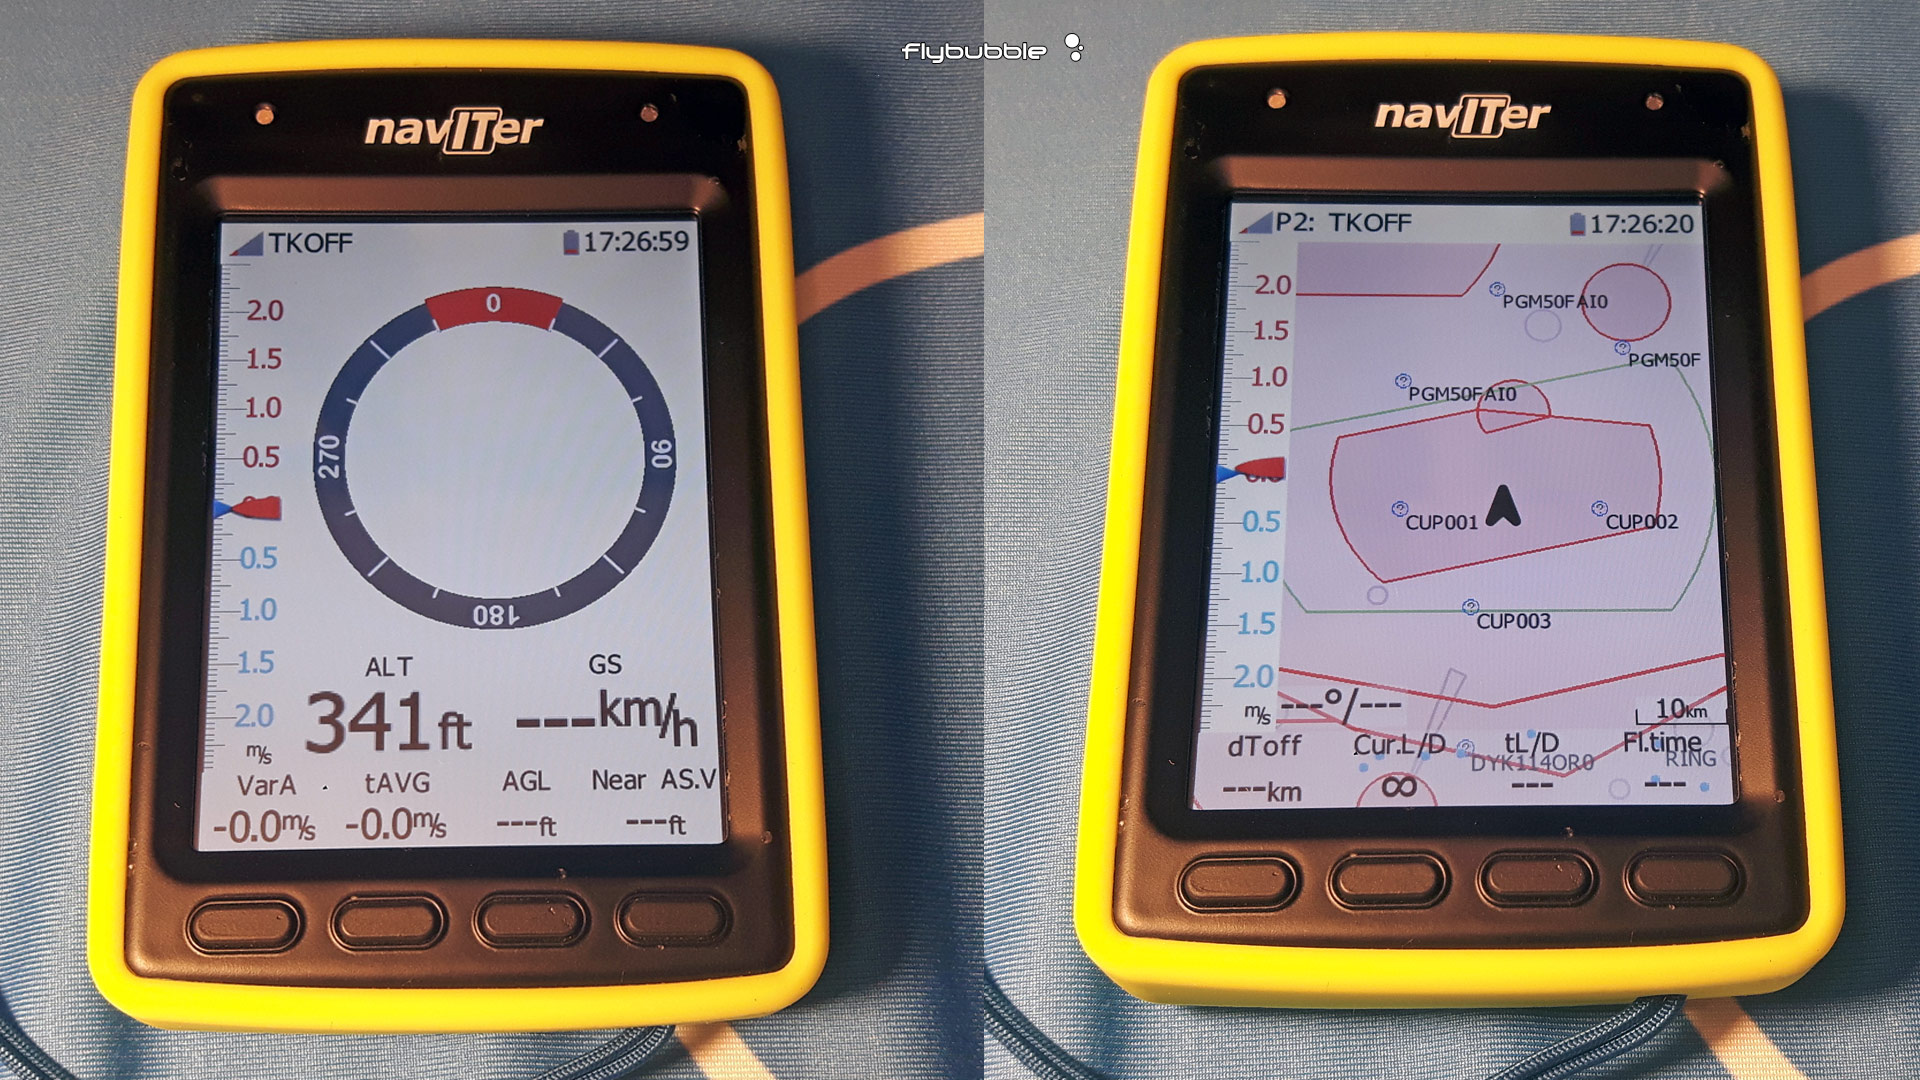
Page 1: Climbing
Although I like to have the vario bar on screen, I don’t honestly look at because I rely on audio indications of immediate lift. If I paid closer attention to the vario bar I would notice that it has a blue (immediate) lift indicator and a red (averager) indicator, so you can see at a glance if you are in the bit of the thermal that is pulling the average up, or down. You can adjust the scale to reflect conditions. I’d rather you watched where you were going.
Down below I have Altitude and Groundspeed nice and big. Below this my Average vario, Thermal Average, Height above ground and Near Airspace Vertical. I occasionally glance at the Average Vario figure (15 seconds) to mentally track the changes in a thermal, and compare this with the whole average of the thermal (Thermal Average) for speed-to-fly decisions (when the 15 second averager is weaker than the Thermal Averager, it’s time to move on, during peak time, unless there’s a crux move ahead). Height above ground is useful during XC flying as rising terrain can creep up on you. As I fly in the UK, I always have some kind of airspace nearby, so on this ‘climbing’ screen I need the vertical separation visible all the time.
The wind speed and direction shown in the compass rose is useful during thermaling, as I often point into wind to find better lift. As with all instruments, this ‘base wind’ is a rough approximation. The last thermal ‘hotspot’ gives you something to aim back at if you’re lost.
The Thermal Assistant reveals a highly zoomed in track coloured by the strength of the lift, to help you find the best bits. The track snailtrail shows up as a background on Page 1, inside the Compass Rose. It’s fine in light winds but I found the track loops off the screen fast during windy XC flights.
Page 2: Local Map
I switch over to my zoomed in map screen when I’m nearing a turnpoint or airspace. So this shows my Altitude, Near Airspace (Horizontal) and Near Airspace (Vertical). This is also useful in new areas because the coloured terrain mapping helps me orient myself and ‘see around the mountain’.
Page 3: Gliding Map
On glides I switch over to a zoomed out map for a strategic overview, where my relevant info boxes show Distance to Takeoff, Current L/D (glide angle), required L/D to complete the task (assuming I have a goal set) and Flight Time (useful to warn of fatigue).
Naviter Hyper: Evaluation in flight
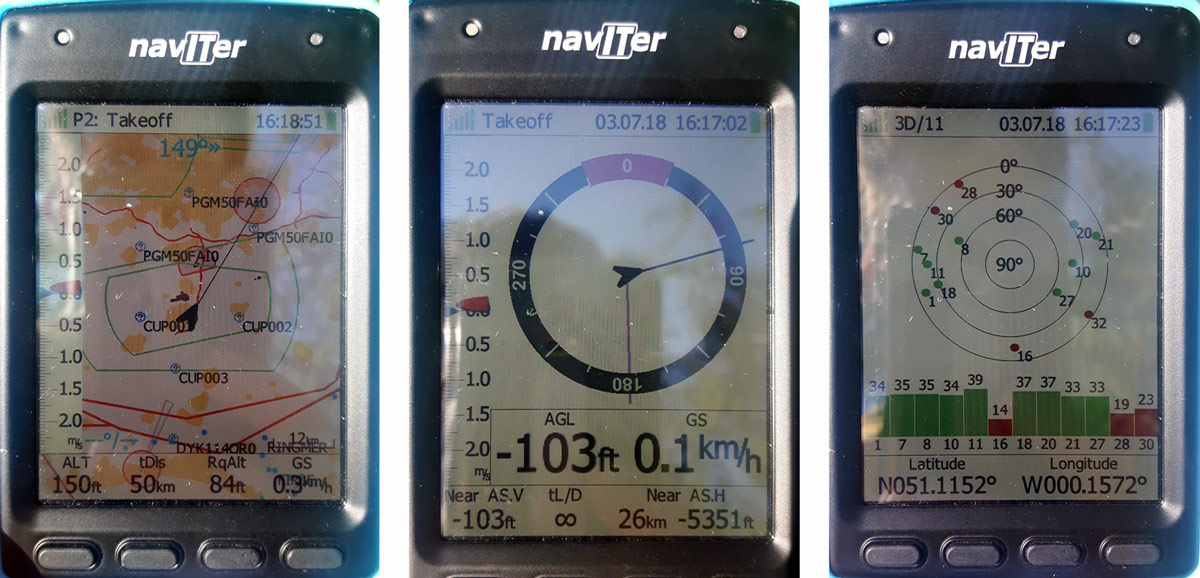
The screen is clear, bright, but quite reflective. I thought it would benefit from a matte screen overlay, but this reduced the great clarity. I found on the riser mount it produced too much reflected light, but on my cockpit it was adequate, not as clear as an e-ink display, but much better than my phone.
Mounting options
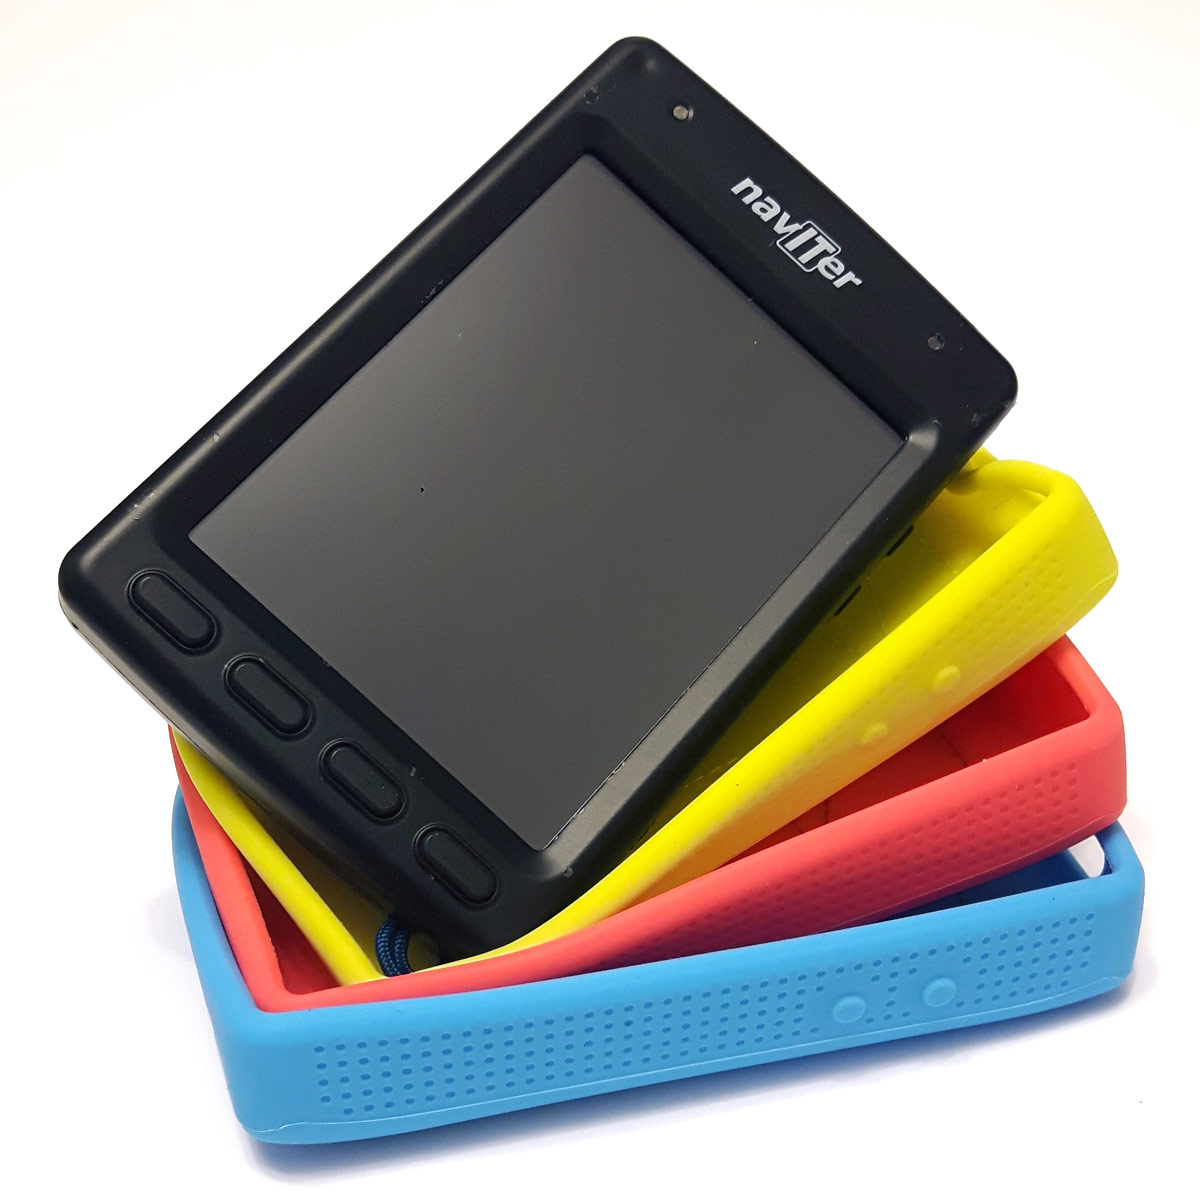
You can use the included self-adhesive hook-and-loop fastener directly on the back of the unit. Or get the Hyper Jacket which works nicely on a cockpit but is a bit too soft and flexible for combining with the riser mount or leg mount.
Vario
The vario algorithm is the same as the Oudie, which many top pilots praise as being ultra responsive and accurate.
The ‘hyperscale’ vario sound takes some getting used to. If you’re used to the conservative Flytec language, it might seem jumpy and melodramatic, but it is just very sensitive. The tone scale is steep in the first 1m/s which helps for mapping light (critical) lift.
Regarding the altimeter, it has an auto QNH setting, so there’s nothing you need to do, just turn it on, fly and observe the airspace warnings. It will show you barometric altitude, and flight levels if you want.
Airspace display
The Hyper has a very simplified top-down airspace display map (red boxes, and shaded red boxes if you’re going to bust into them). You can quickly check your position relative to nearest airspace and view airspace areas to avoid down track. A pop-up appears automatically when a potential airspace violation may occur, triggering a sound warning. So for simple or known airspace situations, it is adequate.
However, for complex airspace navigation I found it inadequate, because you cannot interrogate the airspace by tapping it, and there are no labels on the airspaces. (Naviter say it is on the to-do list). Unlike on the Oudie 4, when you tap on a mysterious airspace box you only get a list of nearby turnpoints. At present it does not show me enough information to navigate safely in the UK airspace, so a secondary widescreen device is recommended to complement the Hyper.
If you are doing volbiv in a remote region, or XC in many less crowded parts of the world, a warning about the nearest unidentified airspace ‘blob’ is probably adequate. As most pilots fly with their phones, I’d suggest using a freeflight app for occasional airspace reference as a complement to the Hyper, which will keep you continuously informed about the shifting air currents.
Turnpoints
If you are organised, you can easily set up a task on Naviter’s amazing free flight planning tool, connect the Hyper via USB cable, and drag and drop the file into your Tasks folder on your Hyper. There’s a trick to setting it up, make sure you first go to Files>Waypoints, check the box, OK, and then go to Tasks>Load task. Away you go!
Unlike the Oudie 4, you cannot enter a turnpoint/goal/goto by touching the screen to select a destination. This is so useful and makes the difference between being able to use the instrument for task setting on the hill, or having to prepare everything the night before on PC. (Naviter say a turnpoint solution is coming).
Battery
Fully charged, flying in mild conditions (20 degrees ground temperature, altitudes <5500ft) my test unit came up slightly short of the 12h total (with auto brightness). Some more power management features would be welcome, like an auto-dim screen that only brightens when you tap it. (Naviter say it’s on the to-do list). However, if you plan a long trip, you can use the same powerbank you probably already have for your phone.
Naviter Hyper: Who is it for?
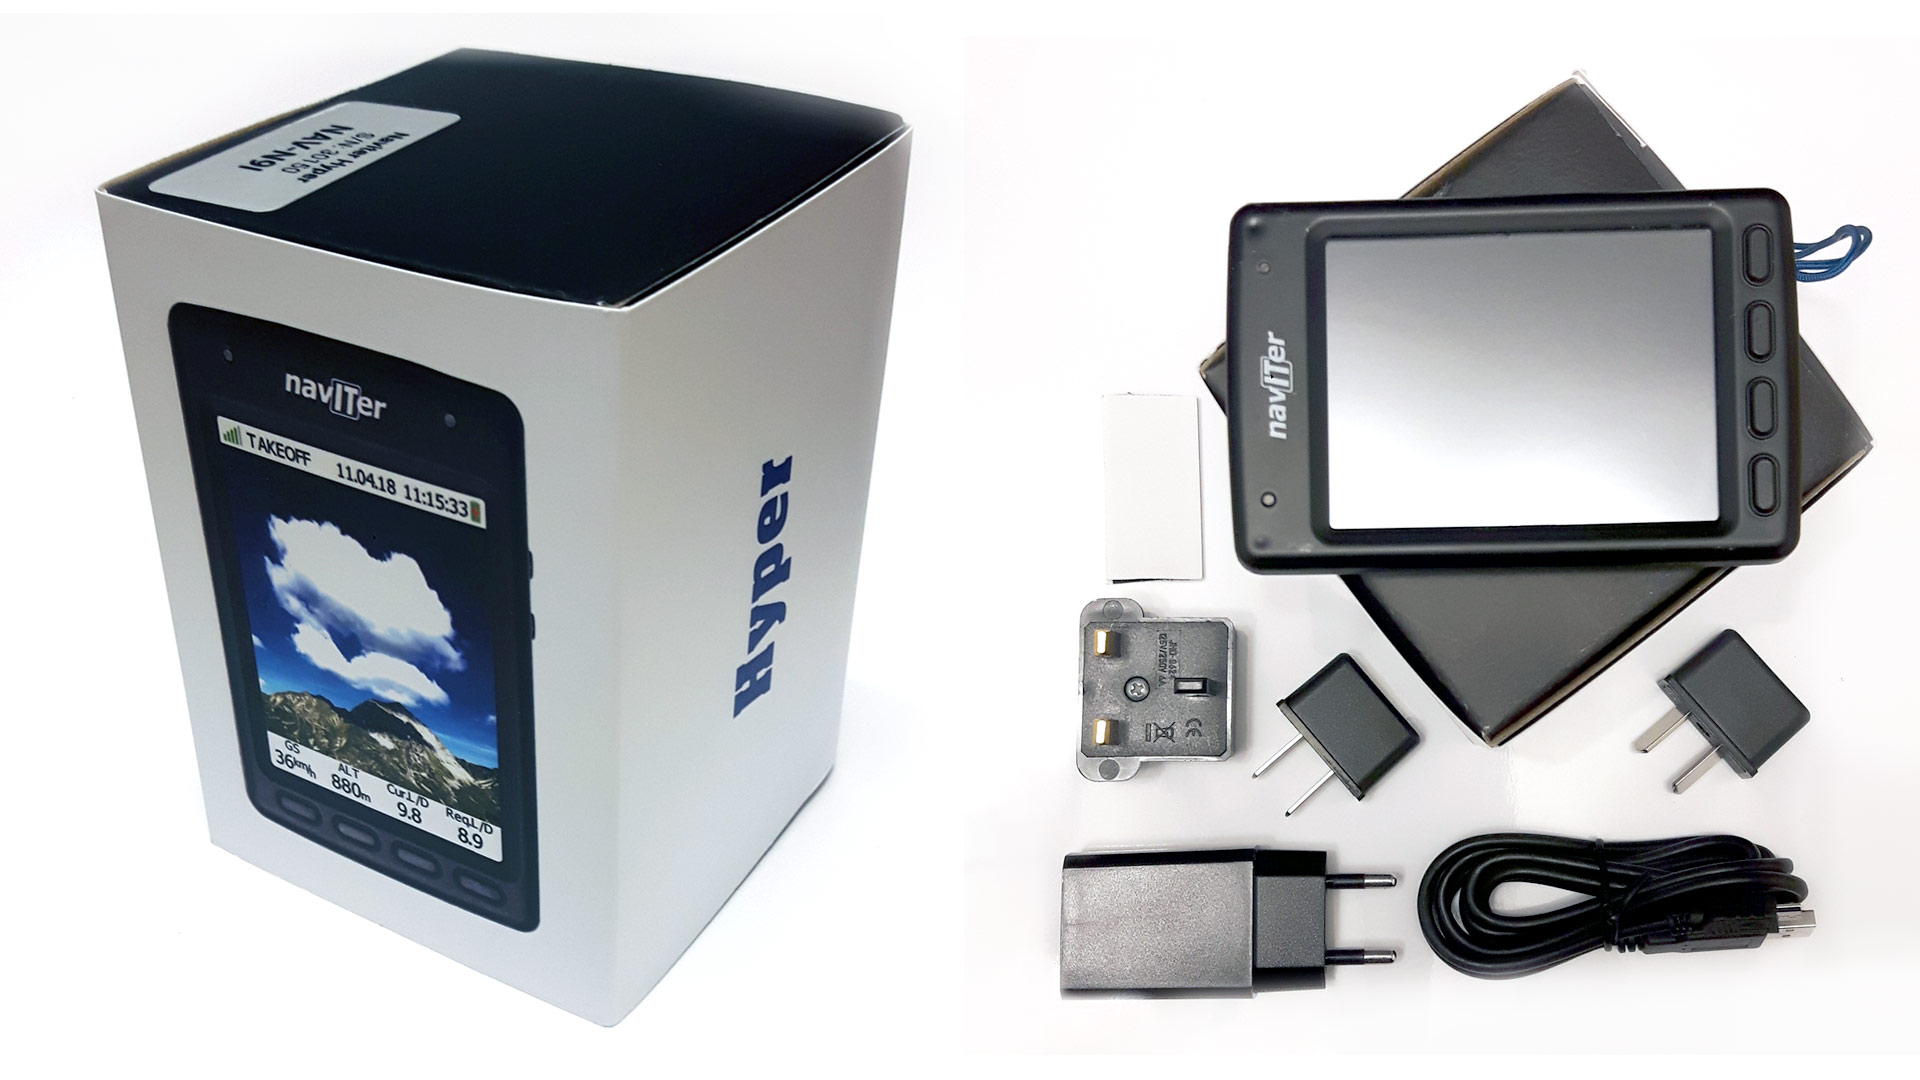
Overall it’s a bright and melodious little unit, with a lot of good things. If you value light weight and simplicity, colour screens and clear design, you’re getting some great functionality in the Naviter Hyper. If you need to navigate through complex airspace with a big screen overview, and like to pop in impromptu goals for the day, consider the Naviter Oudie 4 Basic. Both appear to have roughly 12h life in optimal conditions under normal operation.
With a few key software improvements it can become a great instrument, so we look forward to seeing how the Naviter team develop it further with firmware updates. Say’s Andrej from Naviter: “New screen lock functionality and airspace interogation is very high on our priorities list.” Check the current status of available features, updates and downloads.
Find out more about the Naviter Hyper
Not sure if this is the right instrument for you? Check out our INSTRUMENT MATCH service.
Naviter Hyper: Video review
You’ve just broken airspace. What happens next?
Brought to you by Flybubble
Like what we do? The best way to thank and support us is to buy gear from us and recommend us to others. Review our service on Trustpilot and our products on Flybubble Shop. You can also subscribe to Flybubble Patreon. Thank you!

