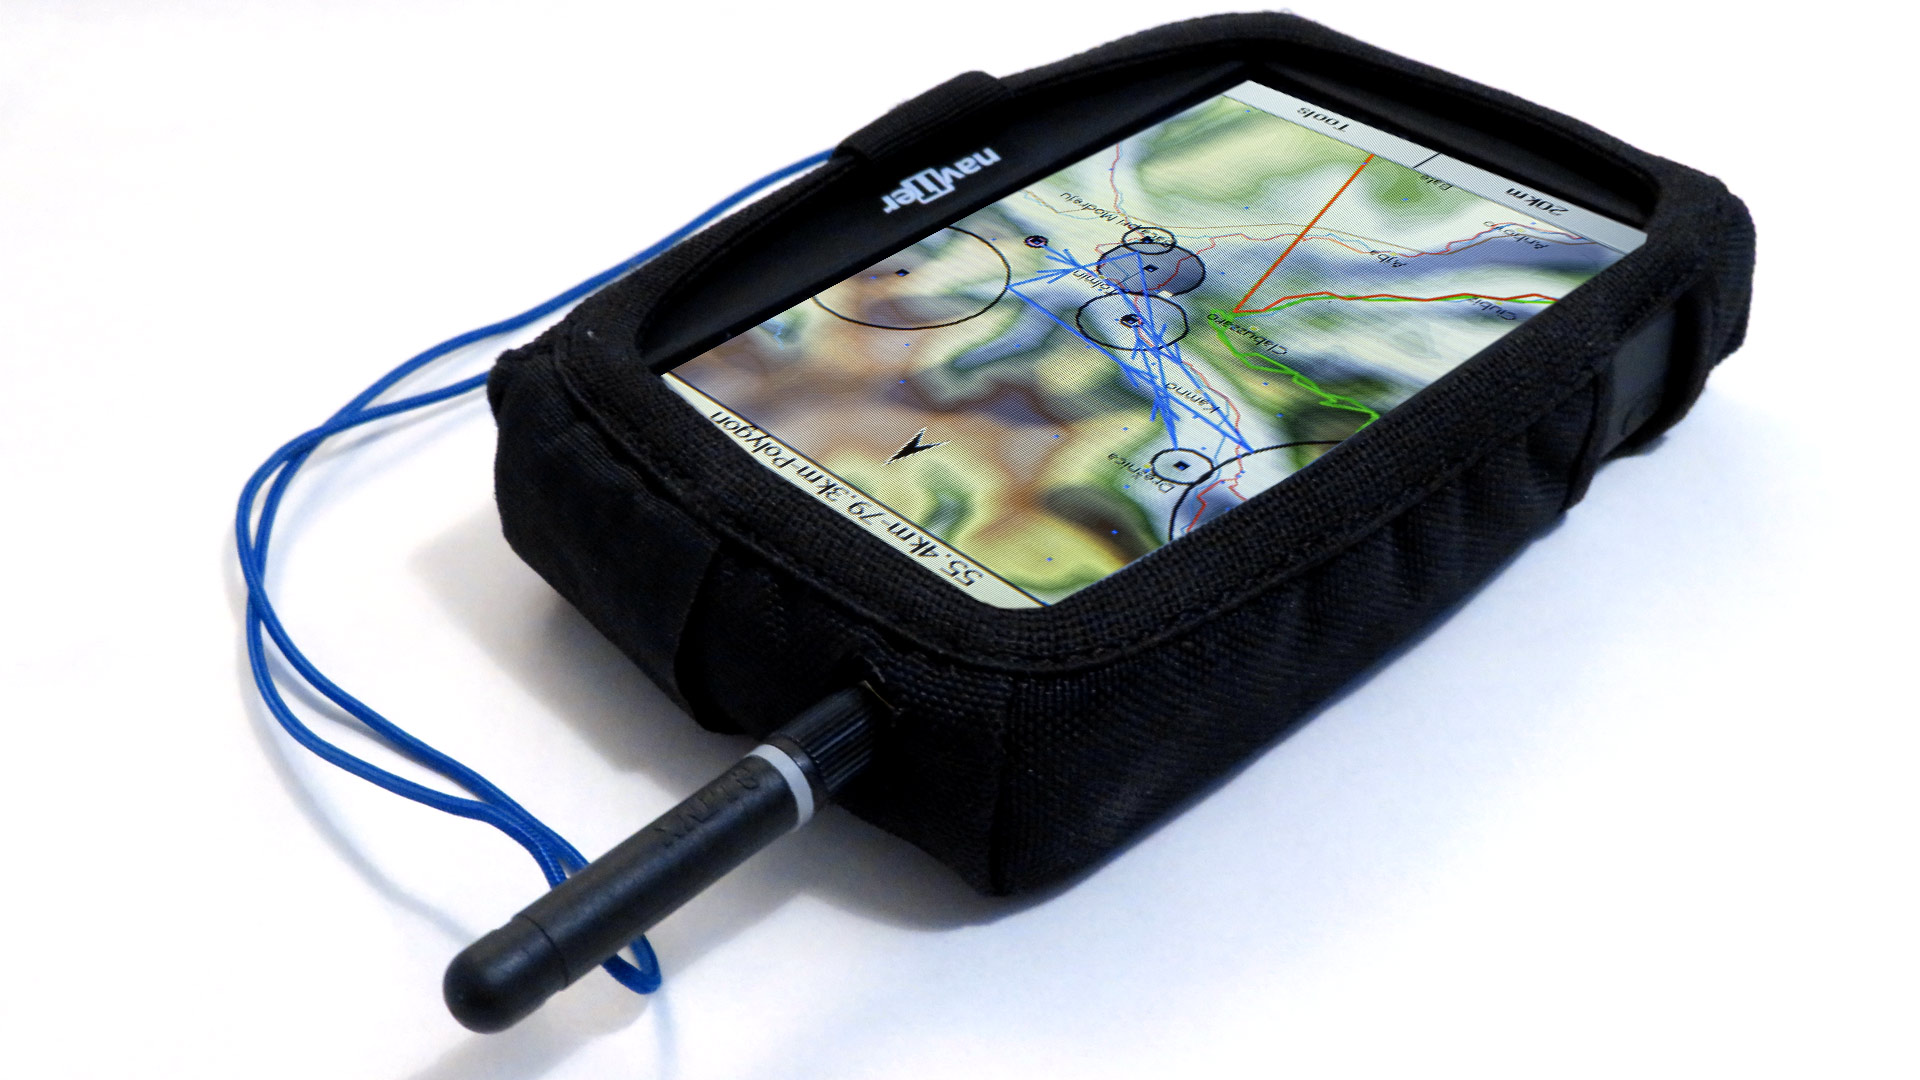
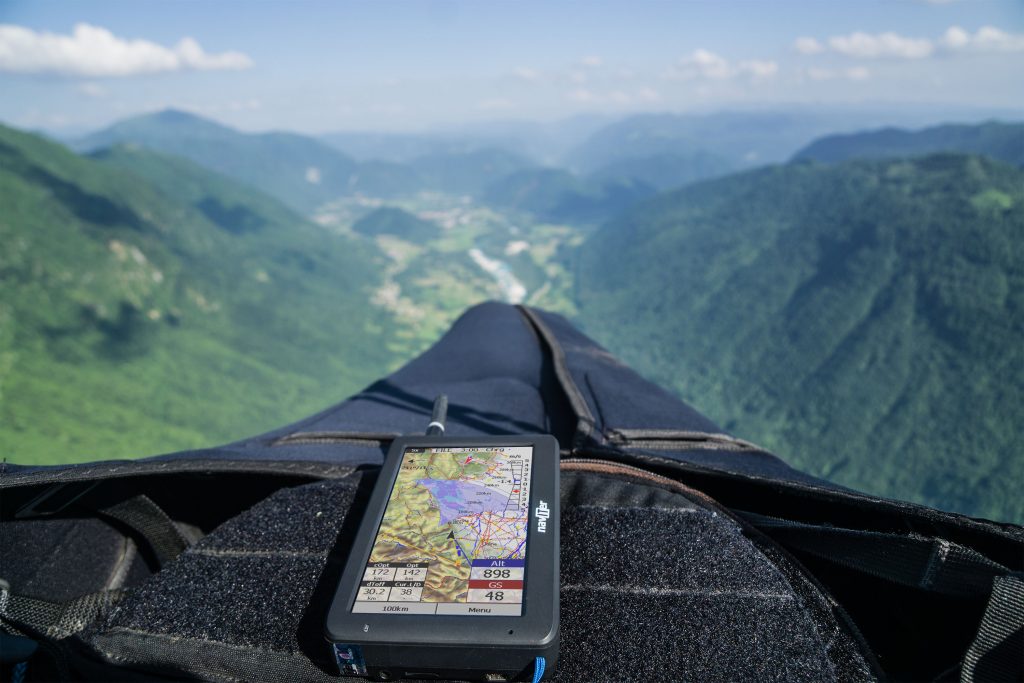
The Oudie 5 offers everything you need to fly at any level, including XC and competitions. It has a very bright screen with 100% touch screen interface. The Oudie 5 Pro is a big update on its predecessor. It has Electronic Conspicuity (FANET+) for the first time, a higher capacity battery, and a more advanced main processor board.
Oudie 5: First impressions
The most obvious change is the addition of an antenna, which screws into the top of the unit, and will need to be removed at the end of the flight if you want to stow the instrument in the supplied hard case. There’s also a soft case to make it easy to secure it to your flight deck, and a lanyard to prevent loss.
Although it’s still ‘turn on and fly’, you might want to change units for some things (like altitude). On some menus, the choices in the drop down boxes may be too small for your fingers, so use the stylus stowed neatly in the unit and under a hook and loop flap placed so you can get it out if it’s in the soft case. Note that you must save any changes to your profile if you want them there when you next switch on.
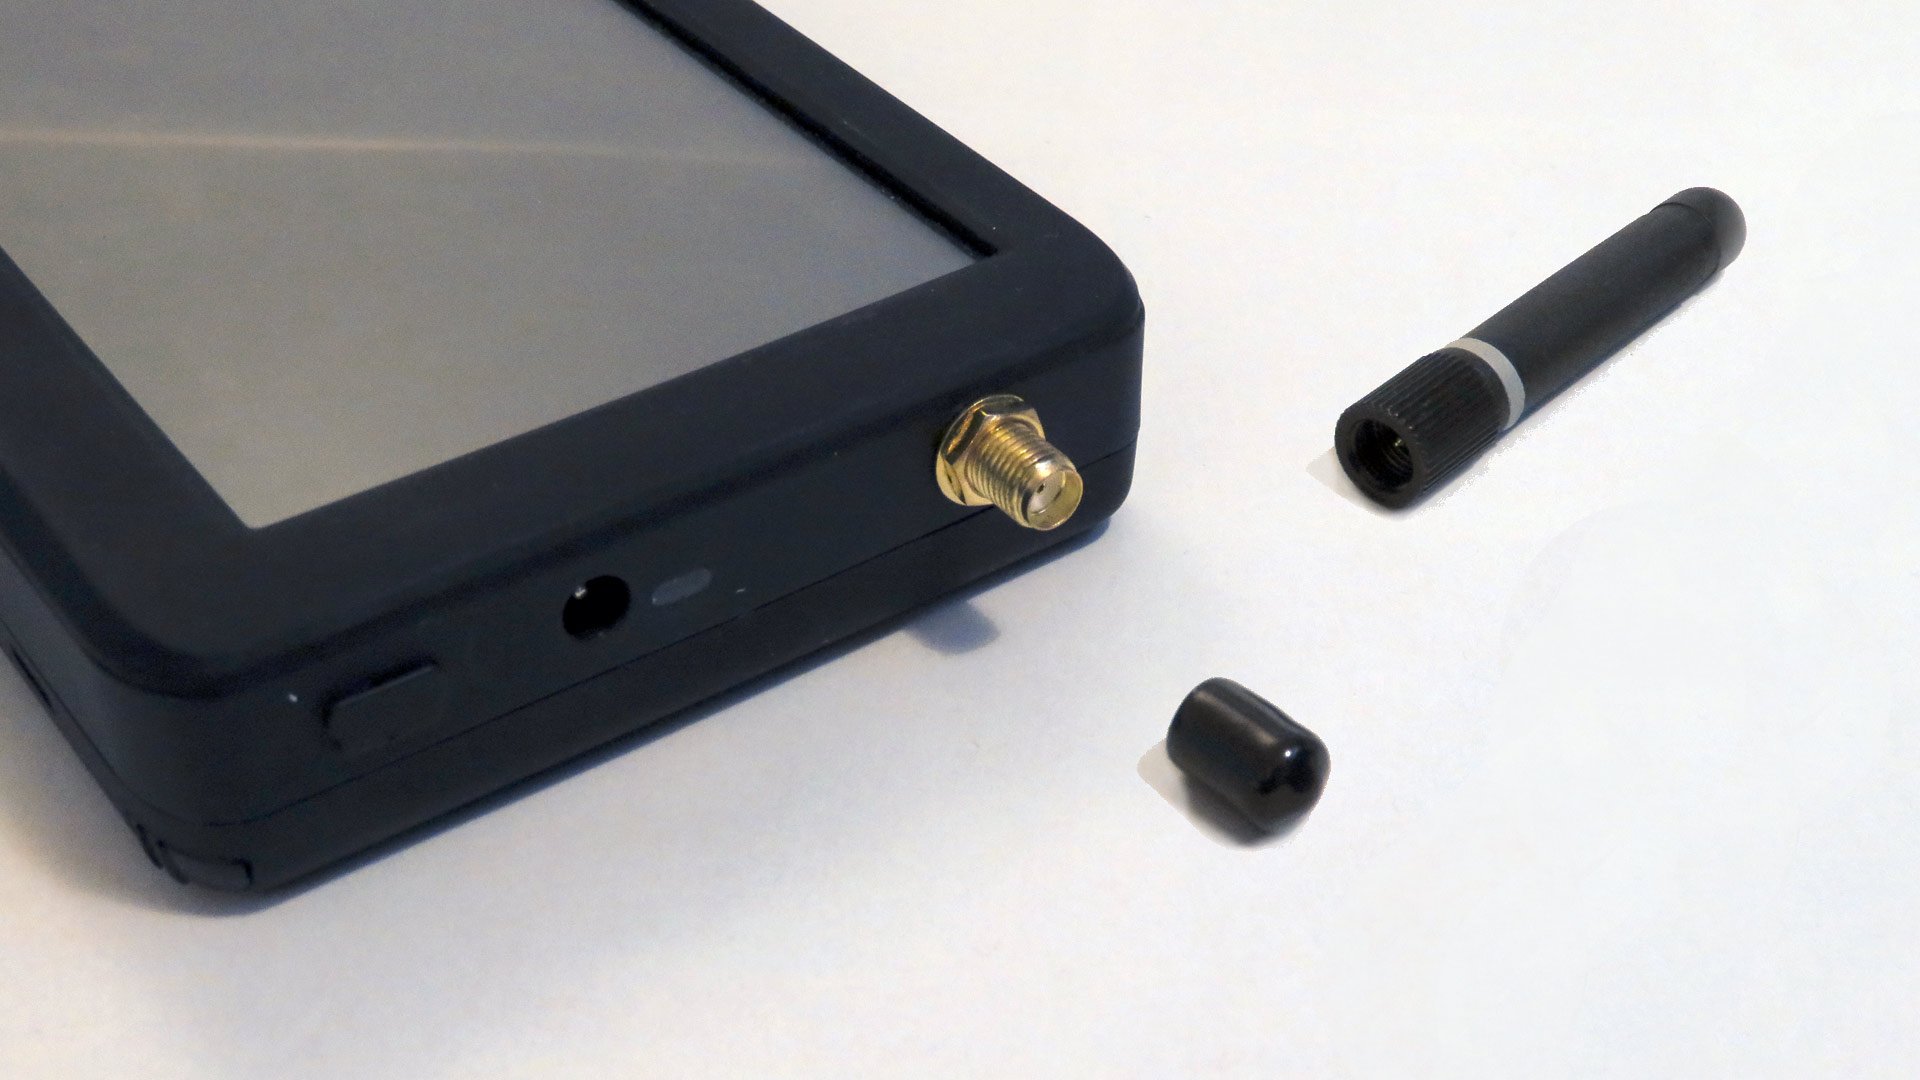
FLARM transmit and FANET are ready to go out of the box, but if you wish to see FLARM traffic on the screen via the OGN then you’ll need to get the instrument connected to the Internet via your phone. (More info about FLARM here). This involves using Oudie Live, so your Android phone will need this loaded, and its Internet connection shared via Bluetooth. Apple doesn't allow the Bluetooth protocol on their phones that Naviter uses, so this is early in our review to help with a decision for iPhone owners. (Internet access is only possible via Oudie Live so a mobile broadband hotspot or “MiFi” is not an option.)
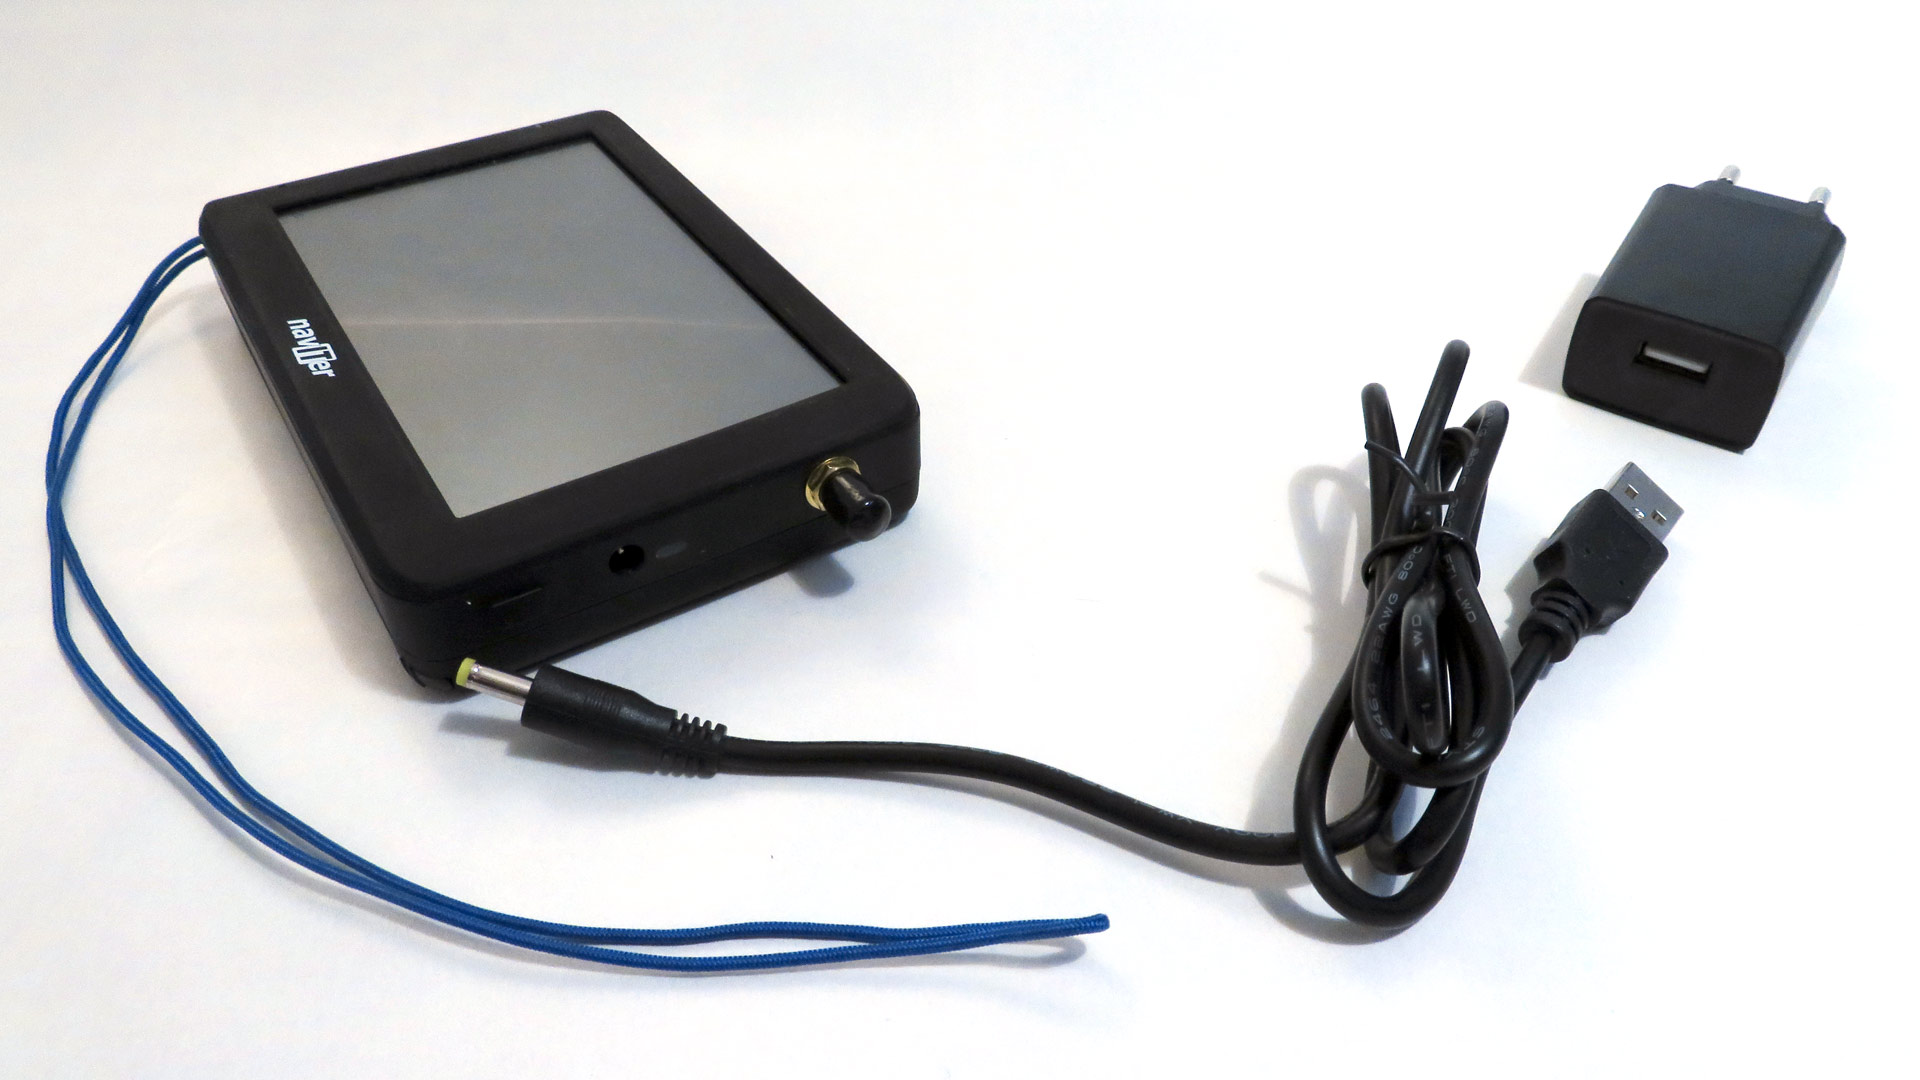
Charge the Oudie either via a USB mini plug or via the round-plug charging lead supplied with the unit (for faster charging). When it’s fully charged via USB, the red charging LED goes out. If you use the round plug, the LED next to it goes green when done. If you want to charge or top it up in flight, you must use the round connector.
The GPS lock is quick, and then you can fly. I’m very impressed with the high accuracy of the altitude when it’s set automatically from GPS.
The audio vario is clear and loud, even at the default 58%, and despite the high sensitivity of the vario you have no need to filter out false beeps that aren’t real climbs. I had initially felt that the vario was rising in tone too quickly for modest changes in climb rate, but given the pedigree of the instrument, I went with it, and found the extra nuance in lift strength worked wonders for my centring without having to look at the instrument. Once up and away, when you can look at the instrument, the automatic switch from normal screen to thermalling assistant is very useful. The cleverly calculated wind direction arrow helps to give you a very clear picture of wind direction and thermal drift at altitude.
As the Oudie is a touch screen device I always lock the screen once I'm ready to move into the takeoff area. The automatic switch from my set screen to thermal assistant means that I'm not likely to need to change the screen during my initial climb out from take off. Once I’m away from takeoff I unlock the screen if I need to look for stuff, which avoids accidentally touching it with something during launch and modifying the display.
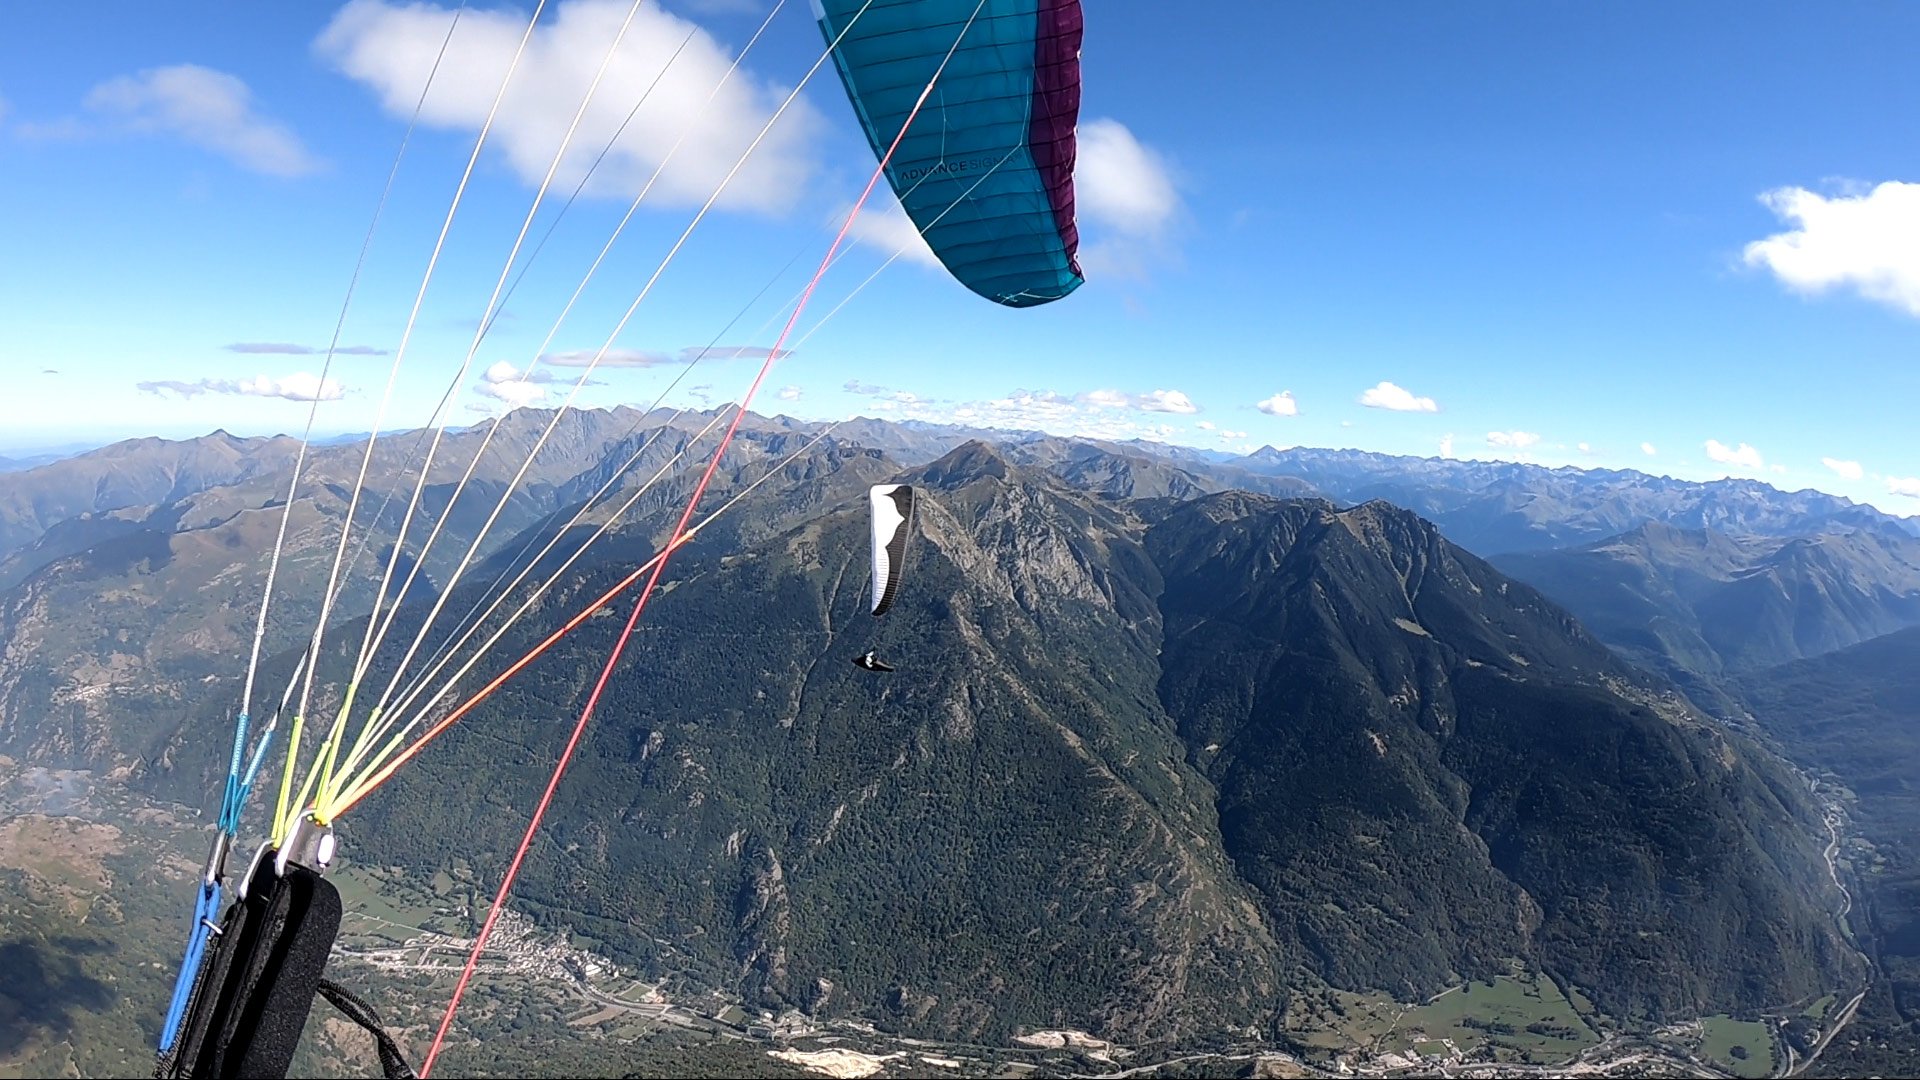
With some safe space around you, you are then able to look at the screen and see how other FANET equipped pilots are doing in your vicinity. I was able to see the names of other pilots, altitudes and climb rates beside their gliders, and also see FLARM equipped sailplanes via the OGN. Once up at altitude, this brief, accurate information painted a picture for me of where I might want to go for best soaring, or if I’d actually like to stay local for more guaranteed flying time. It’s so helpful because the information is there when you are ready to take it in, rather than arriving on the radio when you’re trying to concentrate on that low save or crowded thermal.
The default screen settings and position of the “info boxes” with numbers hit the spot very well, so give it a couple of flights before you change things. Ground speed and altitude are already given due prominence, so unless you have a competition to fly in or a defined task to do you’re set. If you’ve upgraded, then most things haven’t changed, you’ll be familiar with the interface straight away, and the EC component doesn’t affect your interaction with the instrument.
Oudie 5: The IT element
Most instruments need some external IT help to update firmware, maps or airspace. The Naviter Updater is provided for both Mac and Windows. Download and install it, and on PC you’ll see it appear in the bottom right hand corner of the desktop. When you plug your Oudie in, you’ll get a report on your maps and firmware, and the option to update simply by clicking a button in the window. You’ll also get to see if your device is paired with a SeeYou account, and if it is, when that subscription expires. If you do any updates, you will need to correctly eject the instrument from your PC and reboot in order to have them take effect.
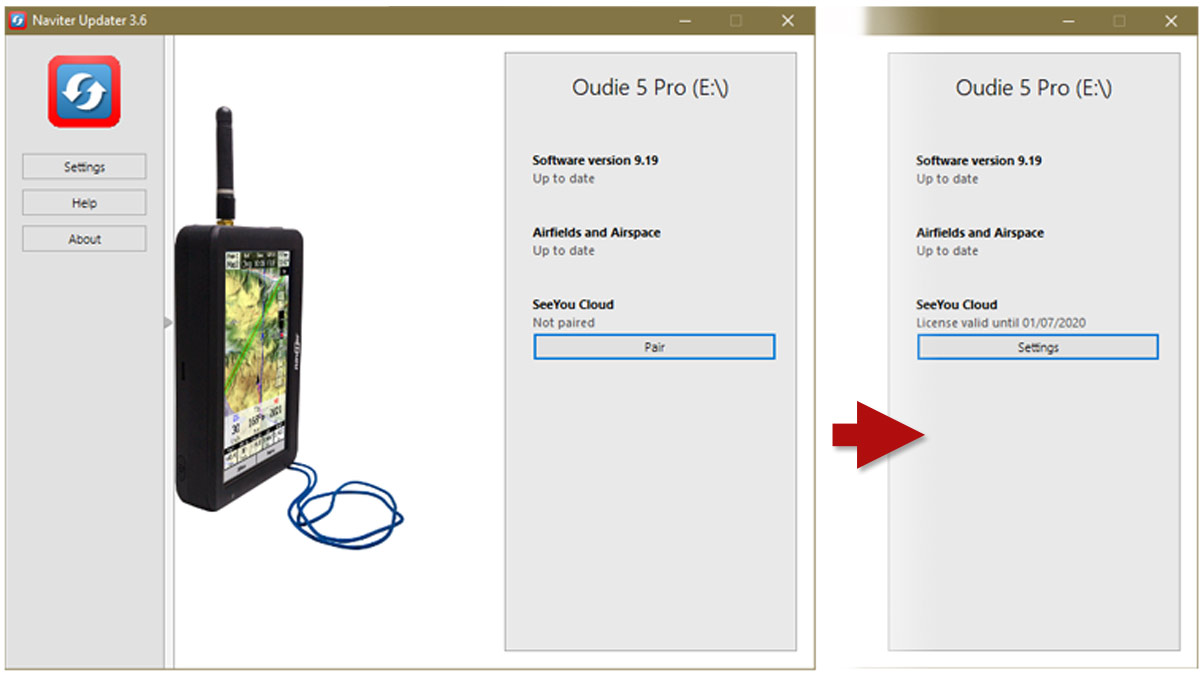
Watch the reboot as you are asked to confirm the update on the device. Firmware updates include extensions to your FLARM licence. Naviter Updater is a very simple way to cover all the bases, your updates will be straightforward. Just have the manual page to hand when you do the first one and follow the steps.
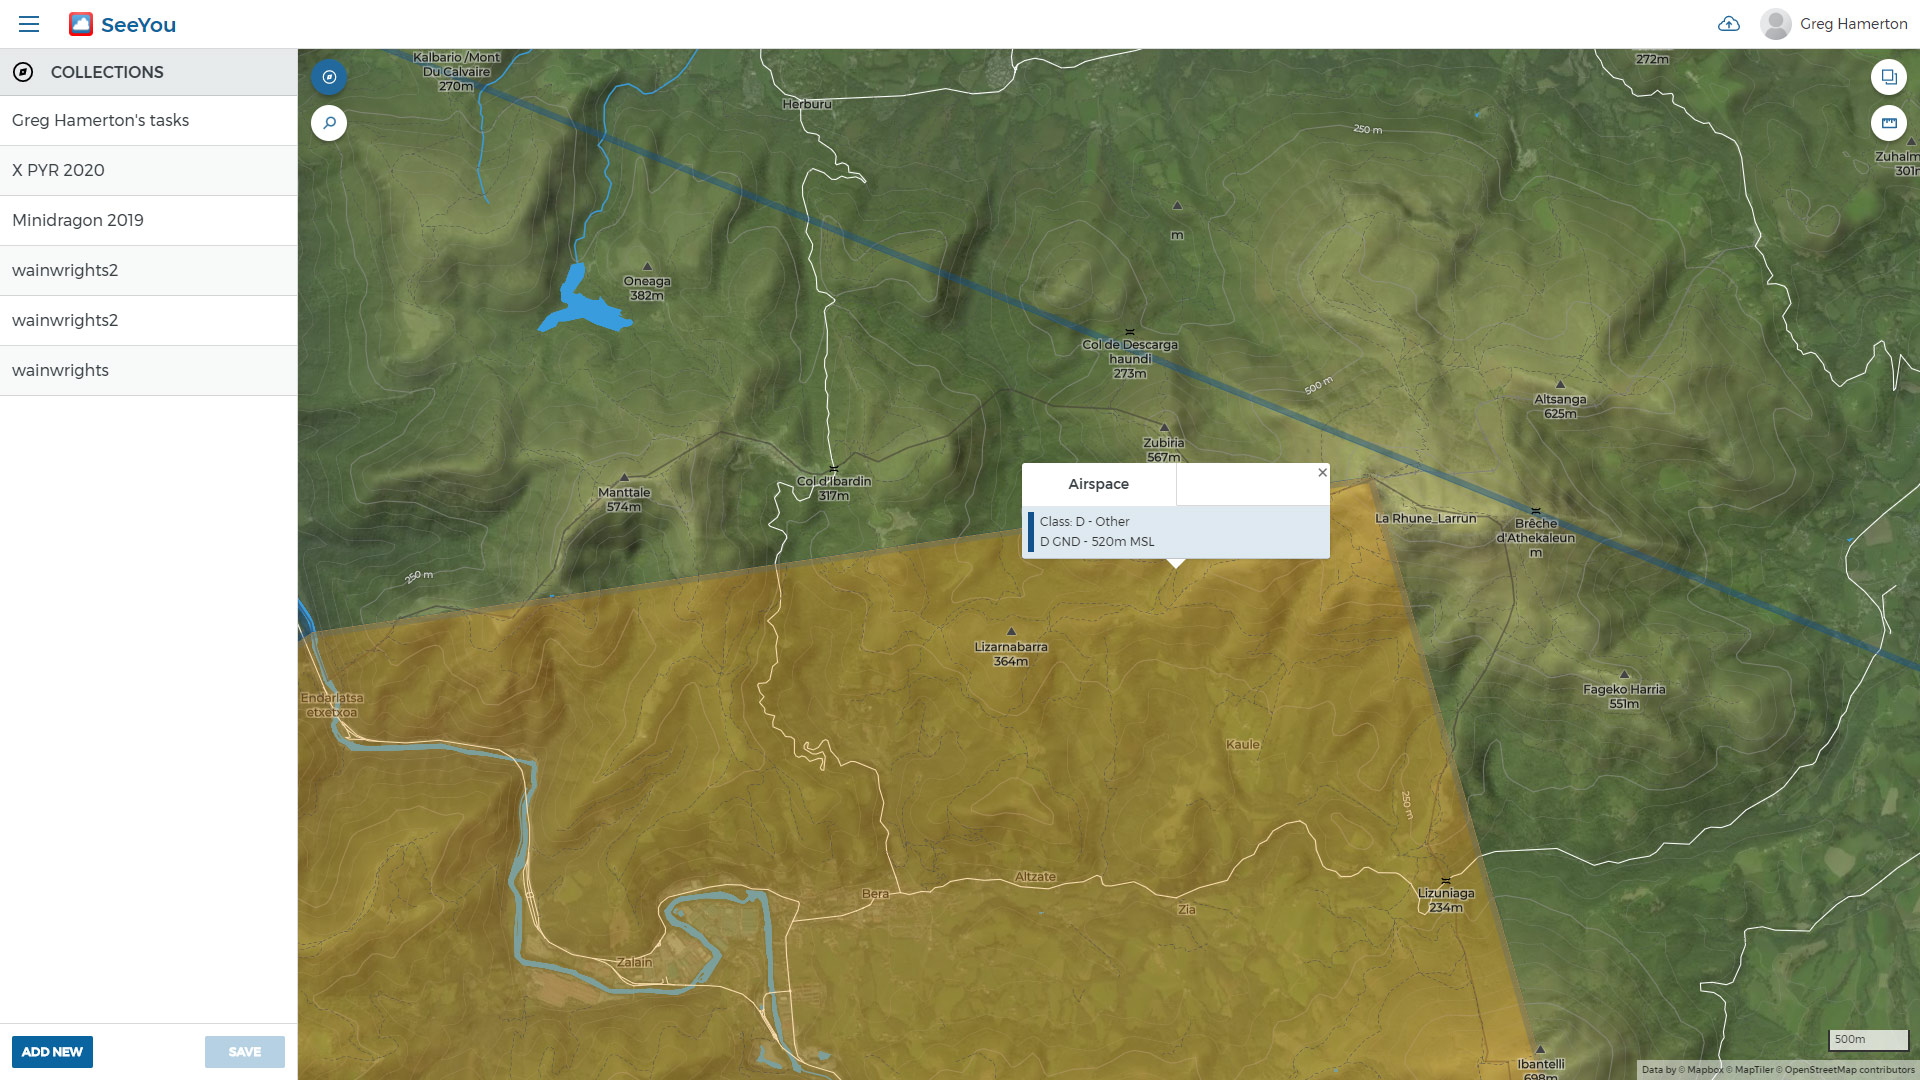
The Oudie software is called SeeYou Mobile. Naviter also does a version of this software for planning, analysis and turnpoint creation, which can be installed on a variety of devices for you to view or plan flights. This software will integrate tightly with the Oudie, downloading flights, uploading turnpoints and allowing for analysis of flights from different pilots alongside each other. You can also use SeeYou to upload defined tasks. SeeYou makes it easy to plan FAI triangles, for instance. See you can be loaded onto a PC as a traditional application or run as a web application on any platform (Mac, Windows, iOS, Android or Linux) with SeeYou Cloud subscription.
Lastly, Oudie Live allows the Oudie to connect to the Internet to receive information like FLARM data from nearby gliders. This is not a standard Bluetooth connection so the procedure needs to be followed, and it requires that Oudie Live be installed on your Android phone.
The Oudie 5 has a micro SD card slot, very useful for importing waypoints, tasks and settings or transferring the same between two Oudie 5s. There’s also an earphone jack to get clearer audio output.
Oudie 5: In more depth
It’s hard to know where to start with the Oudie configuration, as there is so much you can adjust. I usually change the Regional Settings because the default is to give us dates in American format. Visit the Units page next and choose metric or imperial units. Every parameter on your screen can be set to be in a unit of your choice. This is the flavour of the Oudie throughout the many menus and settings.
Things like the thermal assistant can either have a heat element in the trace of your flight path or can have rings in the path that indicate the size of the climb at that point.
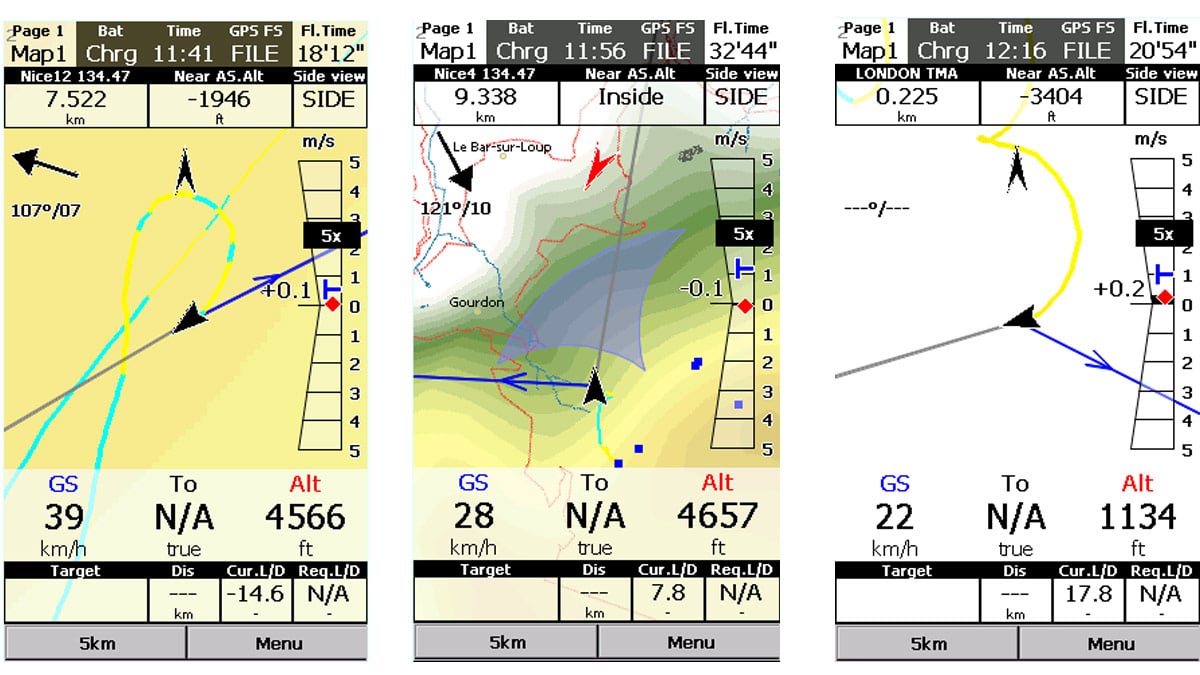
At the heart of the configurability of the Oudie is the screen. All of the infoboxes or widgets on the screen can be positioned where you want them and there are two distinct screen layouts that can be saved.
You can flick between your two screen layouts (Map 1/Map 2) in the top level of the menu, or top left hand side of either screen in the default set up. In addition, there is the thermal assistant screen if you choose to have that working. The widgets and infoboxes can be made semi-transparent, so that you are able to see both the information and the map underneath. You can also add buttons to the screens that give you direct access to things or actions in the menu.
It’s a testament to the real life experience behind the Oudie that all the stuff I wanted was already there, like a button to switch between screens, the automatic configuration of the thermal assistant, and a more airspace optimised navigation screen 1 and a clearer, emptier screen 2 for tasks. I’ve spent the best part of an hour looking at both screens to find something to change and I can't find anything. The good news is that if you want to change anything there's a mountain of things you can do and the Oudie will display whatever you want on screen 1 or screen 2.
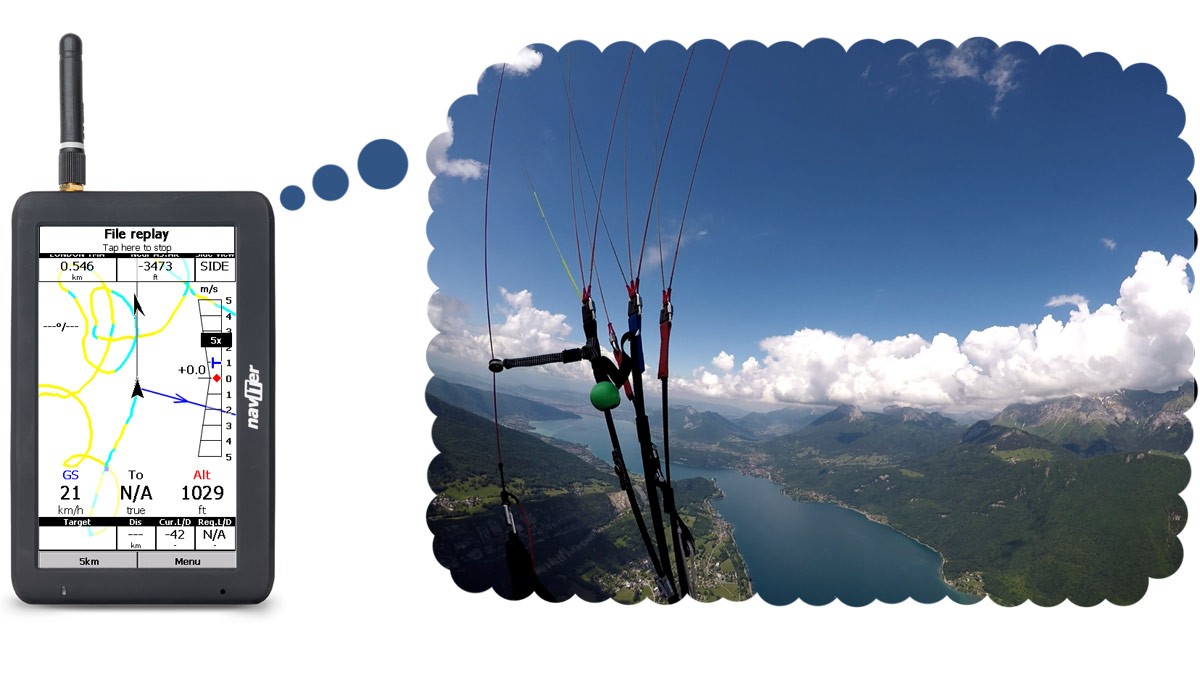
The Oudie can replay your flights. This is a fantastic tool to see what actually happened, to contrast with your impressions and to analyse great decisions or mistakes you made. Go into the “Settings” menu and select “Input”. Choose an IGC file recorded during one of your flights. Back at the main screen you will now be able to replay it. Adjust the replay speed and picture centring to your taste.
The Oudie 5 is fast, powerful and flexible for programming tasks. There are one or two caveats though. You need to take the stylus out of its storage position and use it all the time. A lot of the choices are in drop down boxes that will be too big for your fingertips. It is also not a good idea to program a task for the first time on take off just before a competition flight. That's not to say that task programming is difficult. It's actually very simple once you have been through it once, under no pressure!
To get the most out of the Oudie, practise the task programming using the manual at home. You won’t then be caught out by the first thing that you must do when setting a task in the Oudie is actually to go into the “Tools” from the task menu and make sure that you select “Clear Task”. This is not intuitive but is a requirement.
Once you finish setting up the task I'd suggest you visit the options menu, give the task a name and save it. Come up to the main menu and “Save settings” overall. Back in the task menu, select “List” and you’ll see your task with all the waypoints in sequential order. Now you're ready for the most annoying thing in flying competition tasks: meet directors who can't make up their minds. Here the power of the Oudie is evident as you're simply able to tap on a waypoint, modify or delete it very quickly, or insert another one. In the waypoint edit menu, any parameter can be changed instantly.
Who is the OUDIE 5 for?
If you already own an Oudie then it's a very easy decision to make the upgrade from the 3 or 4 to the 5 Pro. It’s worth it. You know you already like the interface and now you'll get a much more powerful main board, better battery and Electronic Conspicuity included. If you haven’t owned an Oudie or experienced one before, then think about how happy you are with touch screens, and an instrument with a screen in roughly the same form factor as a medium to large sized smartphone.
If this sounds good then the Oudie will fit the bill. Manuals are very easy to read and rarely needed. The support service from Naviter gives the rest a benchmark to aim for in terms of speed and accuracy, but is also not often needed and tends to be more for the occasional question about how to do something not often done.
If you want an instrument at the top level with everything included, an accurate and reactive vario and a touch screen interface, the Oudie 5 Pro is the one to buy. If you prefer buttons and a more classic, steady vario response you might look at the Skytraxx 3.0 as an alternative.
Reviewed by Steve Uzochukwu
Find out more about the Naviter Oudie 5 Pro and the Naviter Oudie 5 XC
Brought to you by Flybubble
Like what we do? The best way to thank and support us is to buy gear from us and recommend us to others. Thank you!
